ENGLISH 12-0672
QUICK SETUP GUIDE
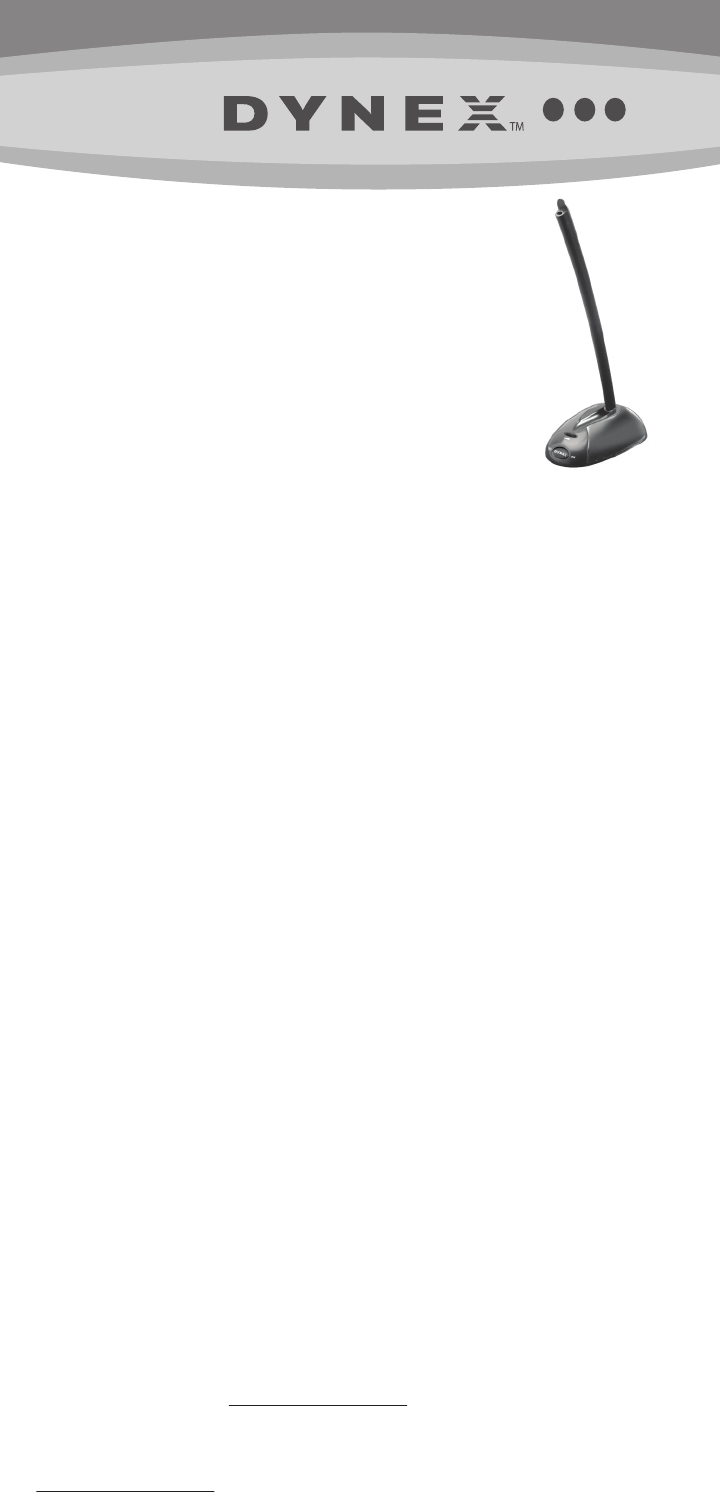
DX-USBMIC 13 | USB microphone
Package contents
• USB Microphone
• Quick Setup Guide
Installing your microphone
• Plug the USB connector into an available external USB port on
your computer or laptop. On most computers, drivers install
automatically and your microphone will be ready to use.
Note:
On Windows, if you are prompted with the Add New Hardware Wizard,
follow the steps to download and install the driver. This microphone is also Mac™ compatible.
Adjusting the volume
You can adjust the volume by turning the volume knob on the microphone.
OR
Your computer may also have volume controls in the operating system or within software that
uses the microphone.
Troubleshooting
If your computer or recipient is not picking up audio from the microphone, attempt the
following xes:
• Check the volume levels of your computer's speakers.
• Check if your computer's speakers are muted either in the operating system or on the
speakers themselves.
• Check your operating system's audio input settings.
• Check the microphone's volume and on/o settings.
• Restart computer.
Note:
If you cannot nd your operating system's audio settings, refer to your computer's manual.
Legal notices
FCC Part 15
This equipment has been tested and found to comply with the limits for Class B digital device, pursuant to Part
15 of the FCC Rules. These limits are designed to provide reasonable protection against harmful interference in
a residential installation. This equipment generates, uses and can radiate radio frequency energy and, if not
installed and used in accordance with the instruction, may cause harmful interference to radio
communications. However, there is no guarantee that interference will not occur in a particular installation. If
this equipment does cause harmful interference to radio or television reception, which can be determined by
turning the equipment o and on, the user is encouraged to try to correct the interference by one or more of
the following measure
• Reorient of relocate the receiving antenna
• Increase the separation between the equipment and receiver
• Connect the equipment into an outlet on a circuit dierent from that to which the receiver is connected
• Consult the dealer or an experienced radio/TV technician for help
Changes or modications not expressly approved by the party responsible for compliance could void the
user’s authority to operate the equipment.
Canada ICES-003
This Class B digital apparatus complies with Canadian ICES-003.
One-year limited warranty
For complete warranty, visit www.dynexproducts.com.
Contact Dynex:
For customer service call 1-800-305-2204
www.dynexproducts.com
© 2012 BBY Solutions, Inc. All Rights Reserved.
DYNEX is a trademark of BBY Solutions, Inc. Registered in some countries. All other products and brand names are trademarks of their
respective owners.
C
M
Y
CM
MY
CY
CMY
K
DX-USBMIC13_12-0672_QSG_V1.eps 1 6/25/2012 4:24:12 PMDX-USBMIC13_12-0672_QSG_V1.eps 1 6/25/2012 4:24:12 PM