


42
5-1. USB mode
If you power-on the D888 with it already connected to your com-
puter via a USB cable, it will enter USB mode immediately after
displaying the opening screen.
Windows users (Windows Me/2000 or later)
In order to use the D888 with Windows 98, you must install a
device driver. For details on obtaining and installing the device
driver, refer to the Korg website (http://www.korg.com).
The computer screen will differ depending on your system. The
screens shown here are for Windows XP.
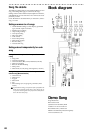
1) Use a USB cable to connect the D888 to your computer.
Connect the USB cable from your computer to the
D888’s USB connector. Make sure that the connector is
oriented correctly, and press it all the way in.
Before you make this connection, turn on your computer and
start up the operating system.
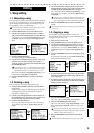
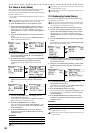
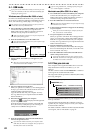
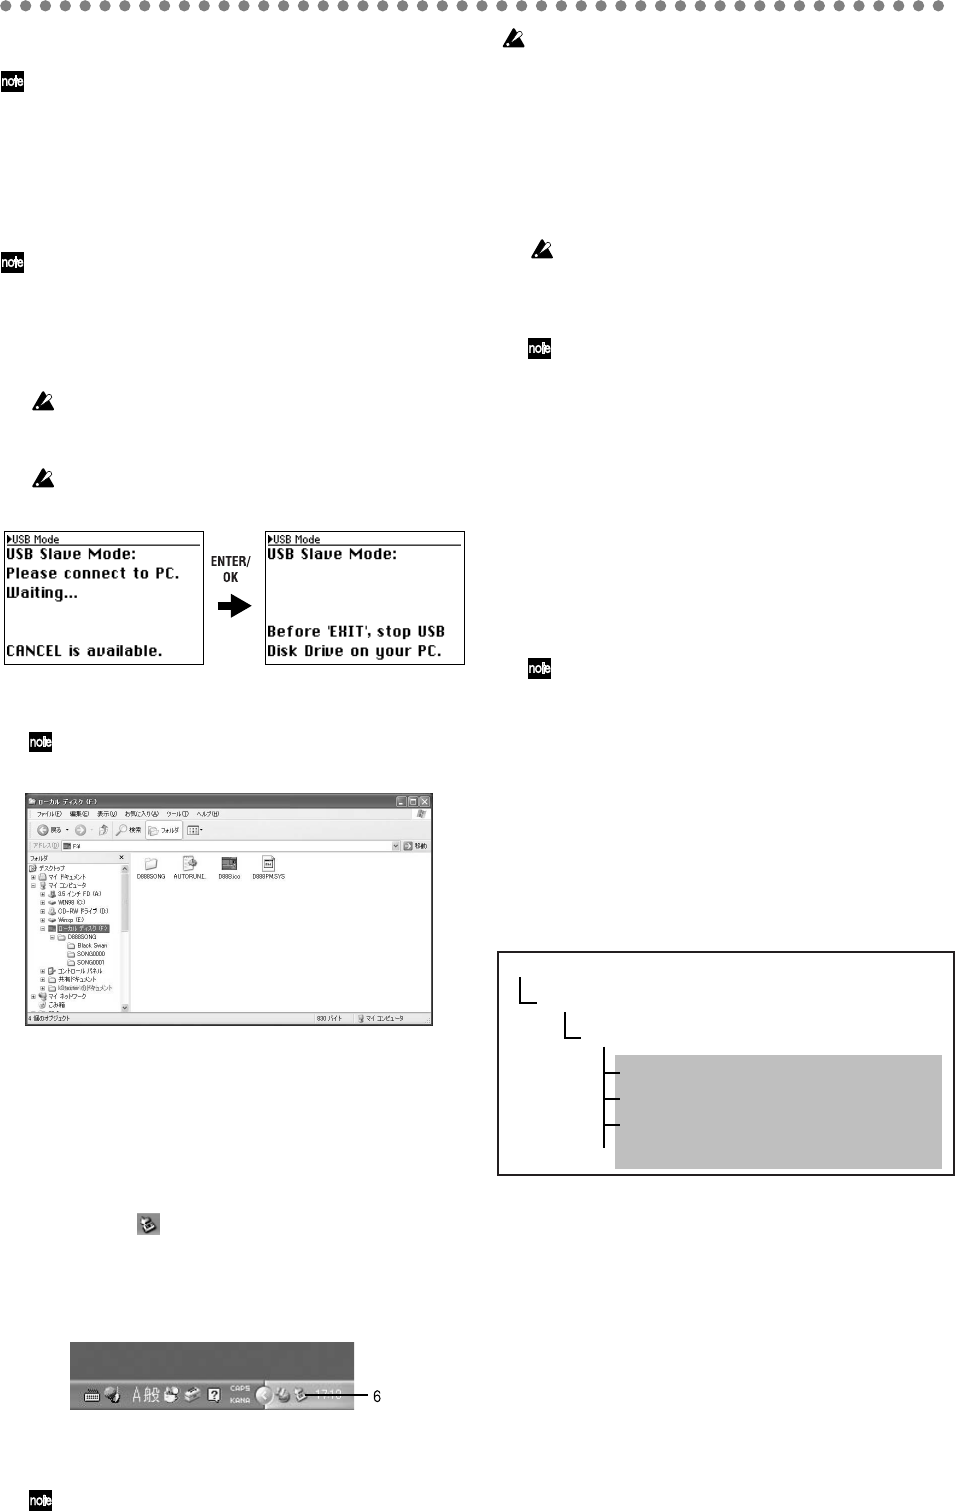
2) Press the USB button to access the USB screen.
Don’t disconnect the USB cable or turn your computer on/off
while this screen is shown.
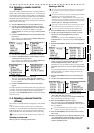
3) A drive named “Local disk (*:)” will appear on your
computer.
When you connect the D888 to your computer for the first
time, a device driver will be installed.
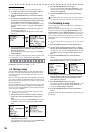
4) Use your computer to save the data.
When you open the “Local disk (*:)” drive that appeared
in step 3), you will see the contents of the PC drive area
within the D888’s internal hard drive.
Copy the desired data onto your computer. You may
also copy data from your computer back to the D888’s
internal hard drive.
5) Disconnect the D888 from your computer.
Left-click the ( ) icon that is displayed in the right side
of your computer’s taskbar.
From the menu that appears, left-click “Stop USB disk
drive (drive name)”. Verify that you see a message of
“Safely remove USB Mass Storage Device”.
6) Press the USB button or disconnect the USB cable to
return to the previous screen.
If you leave the D888 connected to your computer via the
USB cable, the USB screen will appear when you power-on
the D888, and it will be in USB mode.
If you are using Windows Me, “USB high capacity storage de-
vice” will be displayed as “USB disk”.
Macintosh users (Mac OS9.0.4 or later)
1) Use a USB cable to connect the D888 to your computer.
Connect the USB cable from your computer to the
D888’s USB connector. Make sure that the connector is
oriented correctly, and press it all the way in.
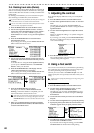
2) Press the USB button to access the USB screen.
Don’t disconnect the USB cable or turn your computer on/off
while this screen is shown.
3) A drive named “Unnamed” will appear on the desktop
of your computer.
When you connect the D888 to your computer for the first
time, a device driver will be installed.
4) Use your computer to save the data.
When you open the “Unnamed” drive that appeared in
step 3), you will see the contents of the D888’s internal
hard drive. Copy the desired data onto your computer.
You may also copy data from your computer back to the
D888’s internal hard drive.
5) Drag the added drive into the trash.
When you want to disconnect the D888, either drag the
drive from the desktop into the trash, or select the “File”
menu command “Put Away”.
6) Press the USB button or disconnect the USB cable to
return to the previous screen.
If you leave the D888 connected to your computer via the
USB cable, the USB screen will appear when you power-on
the D888, and it will be in USB mode.
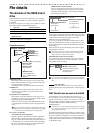
5-2. Files you can use
Your computer will recognize the D888’s drive as an exter-
nally attached drive named “Local disk (*:)” (or “Un-
named”).
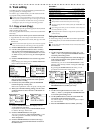
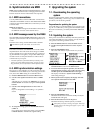
This disk contains a folder named D888SONG. A folder for
each song will be created within this folder.
The song folder contains performance data files (WAV files)
and a song setting file.
You can copy these folders and files to your computer to back
them up as needed.
WAV files that meet the
D888
’s file conditions can also be
copied from your computer, and you can use your computer
to rename folders and files.
For details on the file conditions and hierarchy that the
D888
can recognize, refer to “File details” on page 47.
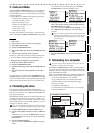
D888SONG (folder)
SONG0001 (folder) ... created for a new song
Local disk / Unnamed (drive)
SONG0001.SNG (song setting file)
TRK01VT1.WAV (WAV file for track 1)
TRK02VT1.WAV (WAV file for track 2)
Files created when you record