Operating Instructions
Mode d’emploi
Gun Microphone
Microphone directionnel
ECM-CG1
4-151-680-01 (1)
166 mm 42 g
90
-
* HDR-FX1000
1
90
-
©2009 Sony Corporation Printed in Japan
2
-a
3
1
( ) 8
ECM-CG1
0.5 mW
ø3.5 L 300 mm
ø21 166 mm
42 g
5 g
46 g
1 1 1
JIS C-5502-01991
200 Hz 17 kHz
-44 dB/Pa 4 dB
30 dBspl
100 dBspl
70 dB
0 50
-20 60
English
is gun microphone (referred to below as “microphone”) is for use with a Sony
video camera recorder with microphone input jack and plug-in power operation
(referred to below as “camera”).
WARNING
To reduce re or shock hazard, do not expose the unit to rain or moisture.
For the Customers in Europe
Disposal of Old Electrical & Electronic Equipment (Applicable in
the European Union and other European countries with
separate collection systems)
is symbol on the product or on its packaging indicates that this
product shall not be treated as household waste. Instead it shall
be handed over to the applicable collection point for the recycling
of electrical and electronic equipment. By ensuring this product
is disposed of correctly, you will help prevent potential negative
consequences for the environment and human health, which could
otherwise be caused by inappropriate waste handling of this product.
e recycling of materials will help to conserve natural resources.
For more detailed information about recycling of this product, please
contact your local Civic Oce, your household waste disposal service
or the shop where you purchased the product.
< Notice for the customers in the countries applying EU Directives >
e manufacturer of this product is Sony Corporation, 1-7-1 Konan Minato-ku
Tokyo, 108-0075 Japan. e Authorized Representative for EMC and product safety
is Sony Deutschland GmbH, Hedelnger Strasse 61, 70327 Stuttgart, Germany.
For any service or guarantee matters please refer to the addresses given in separate
service or guarantee documents.
Features
Sharp directivity microphone with minimum sensitivity to ambient noise
e microphone’s sharp directivity enhances narrow range and middle distance
recording when connected to your camera (see illustration
).
Compact and lightweight
e microphone’s 166 mm (6 5/8 in.) length and 42 g (1.5 oz.) weight enable easy
use and carrying.
Plug-in power operation
e power is supplied from the microphone input jack of your camera.
Notes on Use
e microphone is a delicate device. Do not drop it or subject it to excessive
shock.
Avoid extended use or storage in high humidity or at high temperature.
Do not let the microphone get wet with rain or seawater when using outside.
Wipe any dirt from the microphone with a dry cloth.
If acoustic feedback occurs during use (a howling sound is heard from the
speakers), point the microphone away from the speakers or increase the distance
between the microphone and the speakers.
Vibration or other noise may be recorded depending on your camera. If the noise
is too loud, it can be reduced by the following steps.
Make sure the shoe adaptor is attached at 90 degrees to your camera (see
illustration
-
).
Turn on the microphone wind noise reduction function from the menu of your
camera, if it has such a function (Refer to the Operating Instructions of the
camera).
Be careful not to tip over or drop your camera by catching the microphone
connecting cord on a surrounding object when attaching the microphone.
Names and Functions of Parts
* e camera illustrated here is the HDR-FX1000.
Microphone
Wind screen
For attaching to the microphone
to reduce wind or breathing noise.
Shoe adaptor
For attaching the microphone to your camera.
Microphone holder
For inserting the microphone.
Lock knob
For xing or adjusting the shoe adaptor.
Connecting cord
For connecting the output jack of the microphone to the microphone input jack
of your camera.
Attaching/Detaching the microphone
Attaching the microphone
1 Attach the shoe adaptor to the camera shoe.
Adjust the shoe adaptor to 90 degrees to your camera (see illustration
-
)
and insert the shoe adaptor to the back. Rotate the lock knob rmly to x the
shoe adaptor.
Also rotate the other lock knob rmly to x the microphone holder.
2 Attach the microphone to the microphone holder.
To obtain correct directivity, insert the microphone rmly with the vertical line
of the microphone label (see illustration
-
a
) in the center and facing upward.
3 Insert the connecting cord rmly to the microphone input jack of
your camera.
Detach the microphone by the reverse procedure of attaching it.
Notes
Do not rotate or attach the lock knob with excessive force. Doing so may damage
the lock knob.
Do not li your camera by the microphone or shoe adaptor.
Be careful not to catch your ngers in the microphone or shoe adaptor when
attaching them to your camera.
Specications
Type Electret condenser microphone
Power supply Plug-in power operation
Power consumption 0.5 mW
Output jack ø 3.5 gold coating L type stereo mini plug
cable length Approx. 300 mm (11 7/8 in.)
Dimensions ø 21 × 166 mm (27/32 × 6 5/8 in.)
Mass Microphone Approx. 42 g (1.5 oz.)
Wind screen Approx. 5 g (0.2 oz.)
Shoe adaptor Approx. 46 g (1.7 oz.)
Included items Gun microphone (1), Shoe adaptor (1),
Wind screen (1), Set of printed documentation
Frequency response 200 Hz ~ 17 kHz
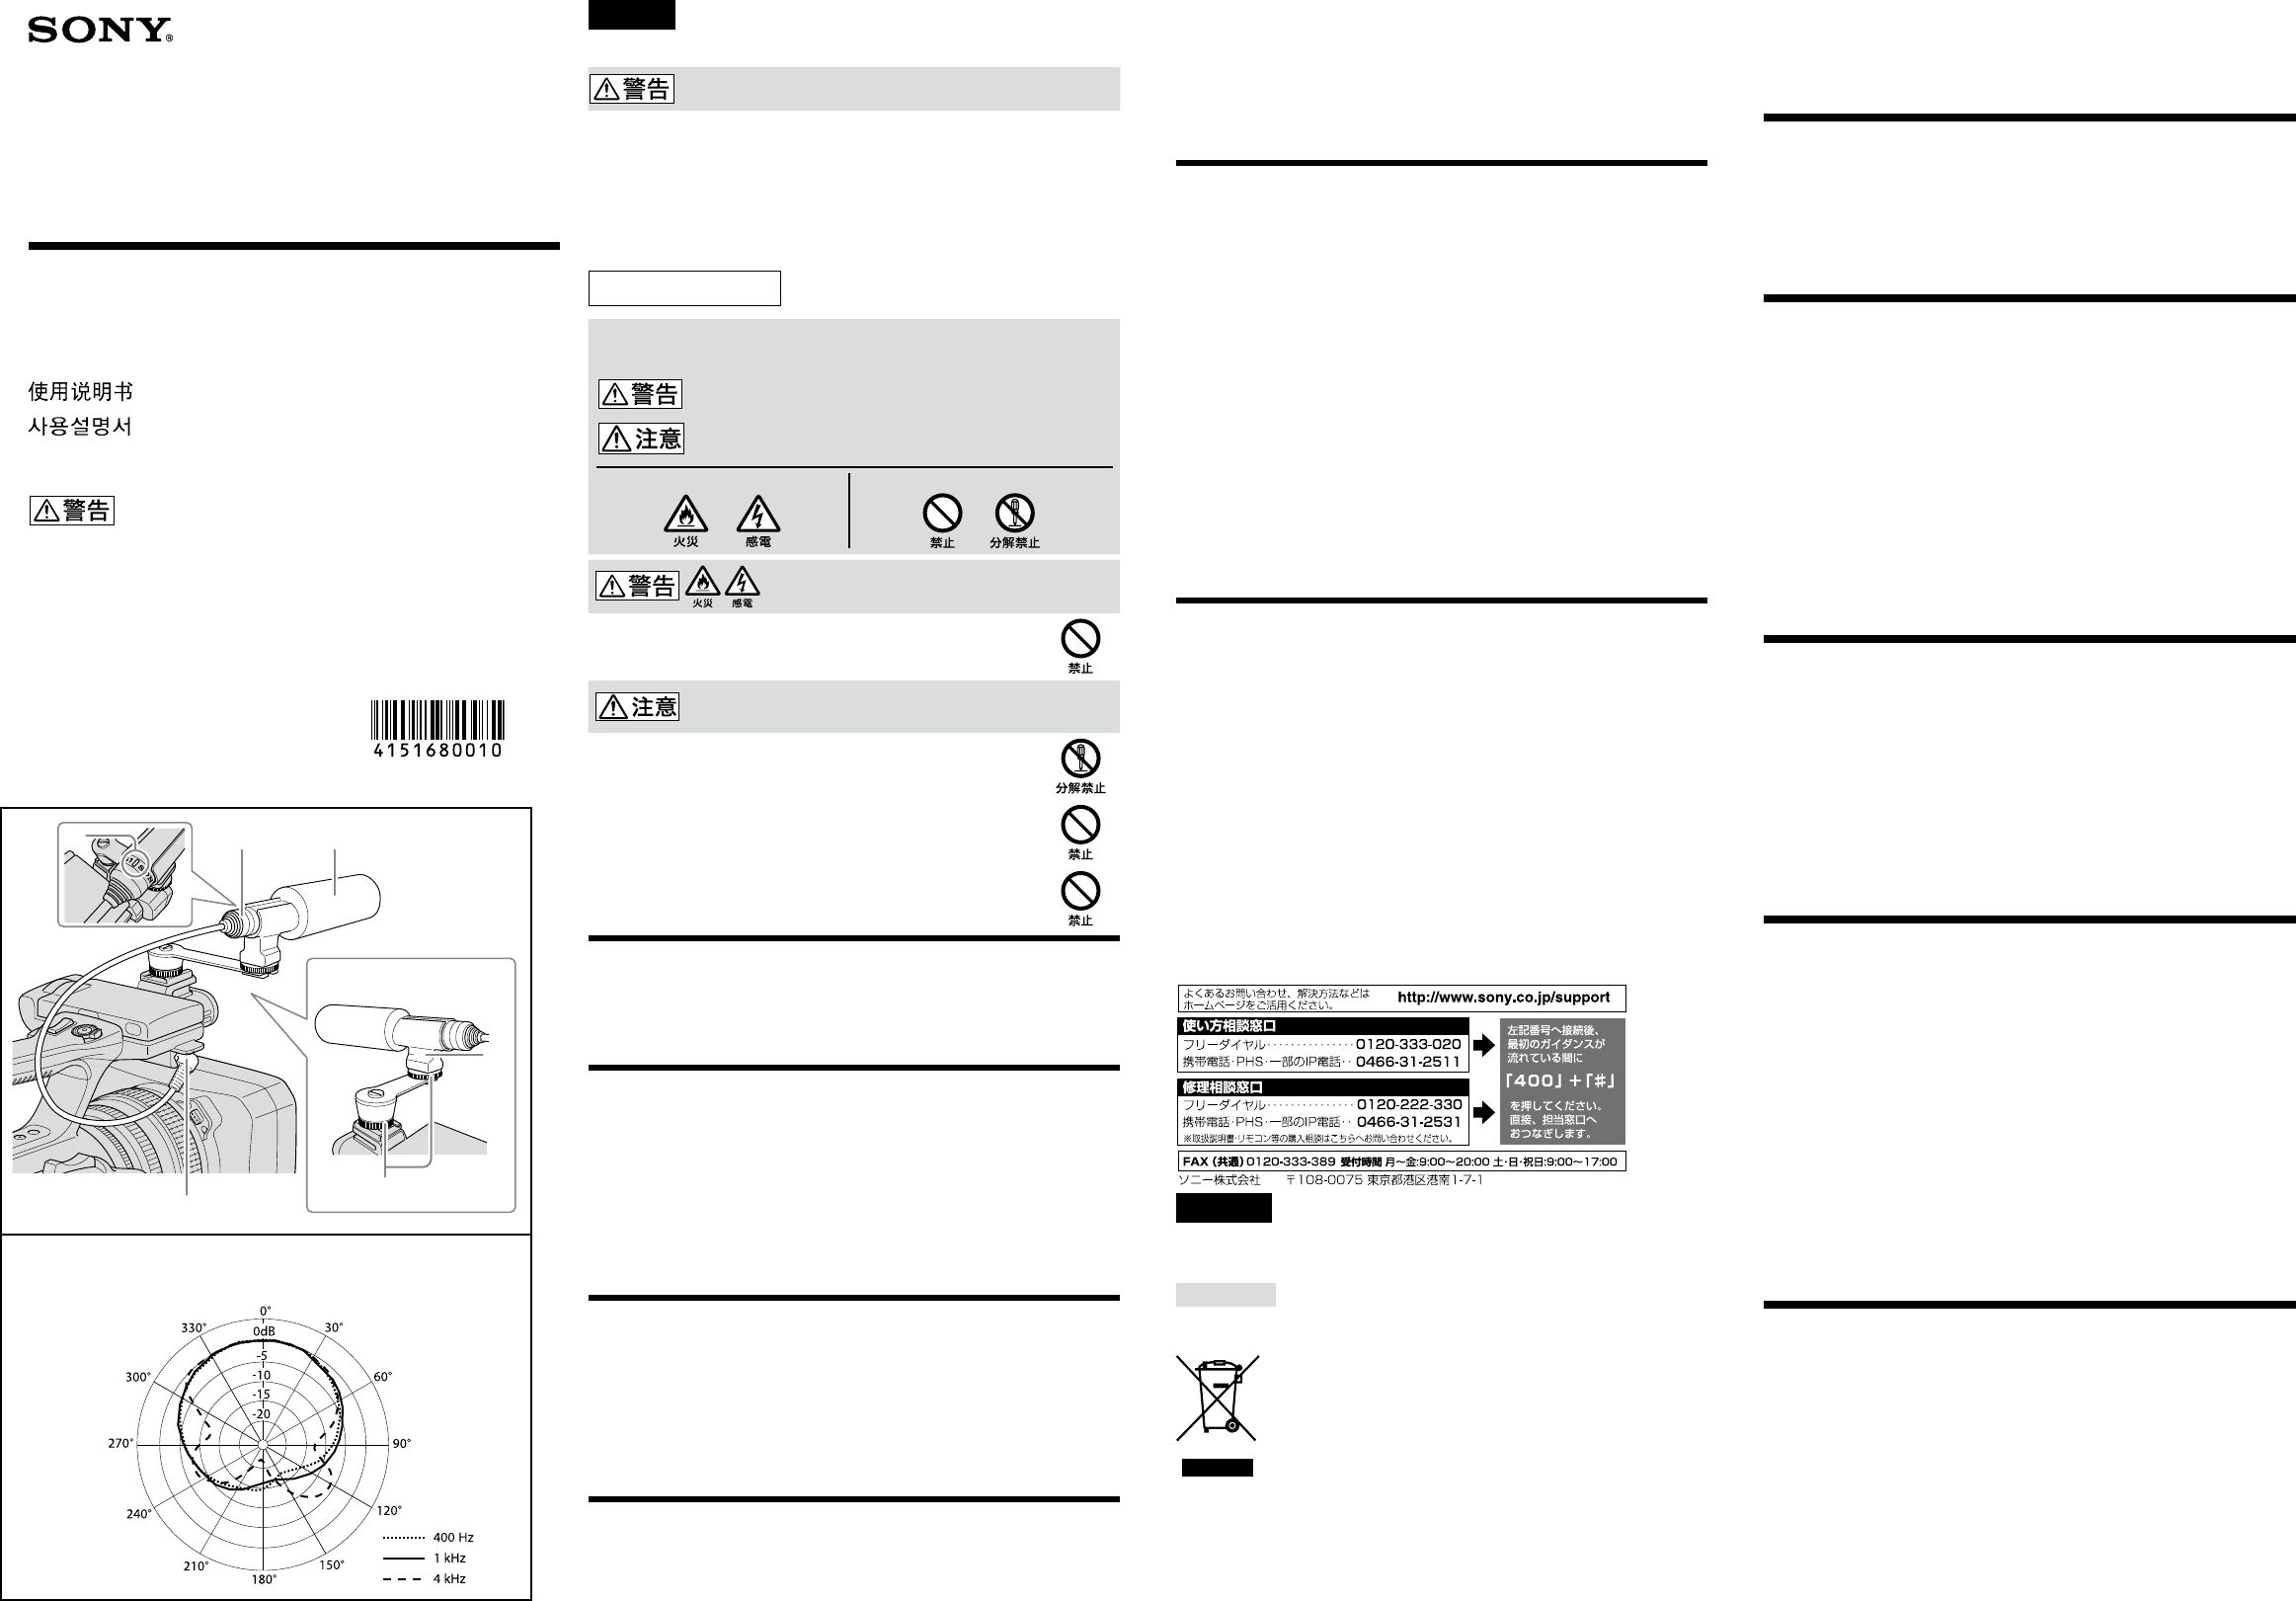
Directivity Sharp directivity
Directivity
Directivité
(Continued on the reverse side.)


