


106 MIDI
01V96i—Reference Manual
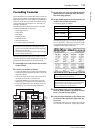
Parameters that feature a setting range of more than 128
steps (such as Fader and Delay Time parameters) require
two or more Control Change messages to specify the val-
ues.
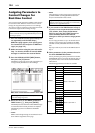
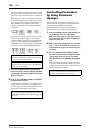
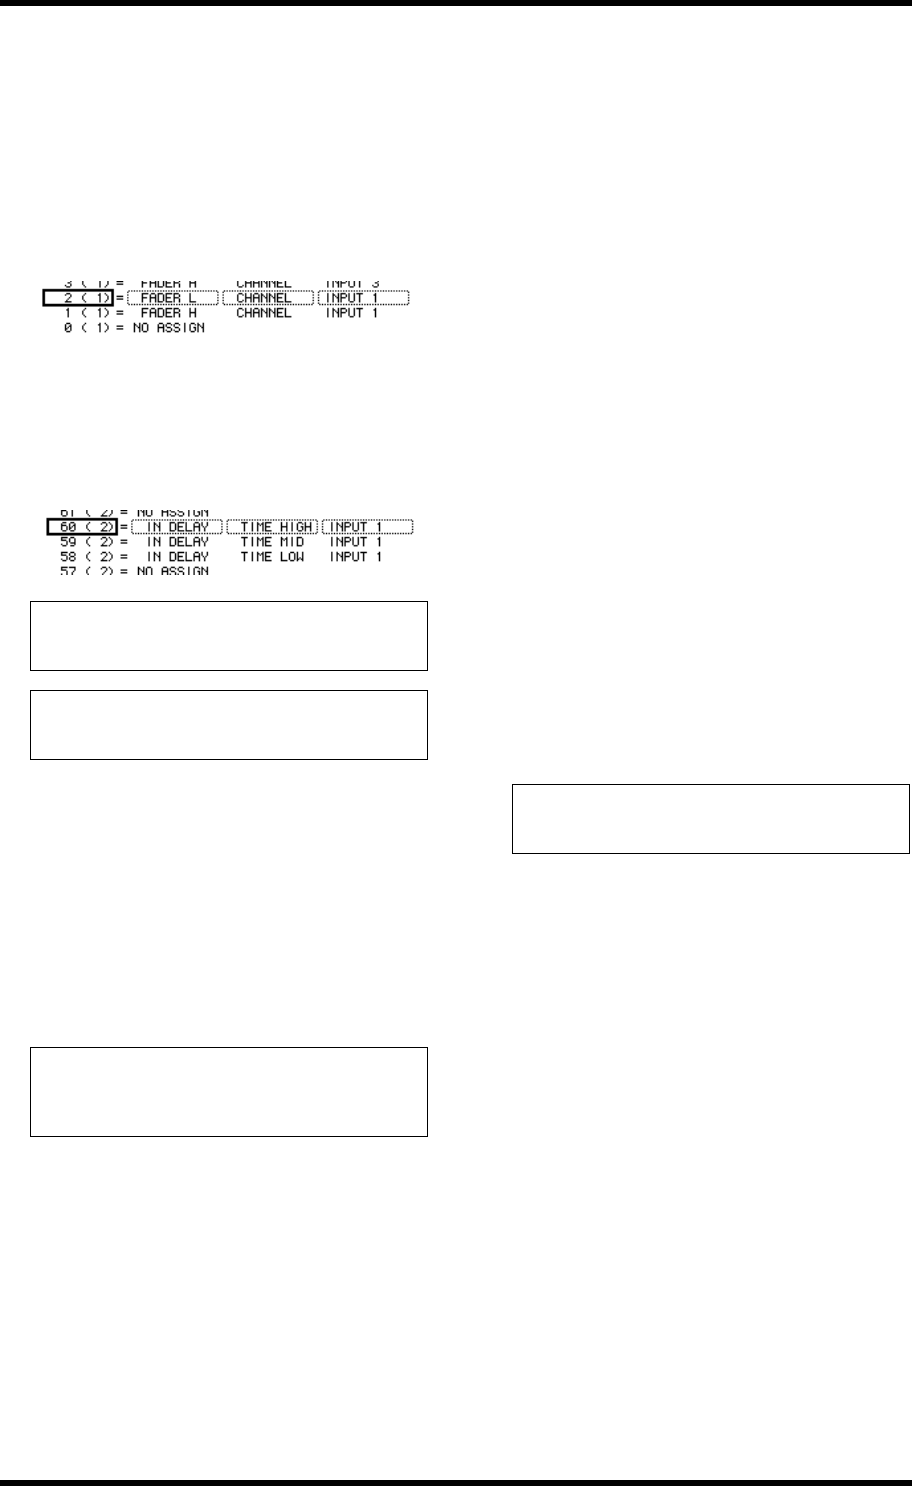
For example, if you wish to control Fader parameters on
certain channels using Control Changes, you must assign
the same channel to two Control Change numbers, and
select “FADER H” and “FADER L” for the Control
Changes in the parameter boxes in the first PARAME-
TER column.
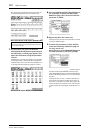
If you wish to control Delay Time parameters on certain
channels using Control Changes, you must assign the
same channel Delay parameter to three Control Change
numbers, and select “TIME LOW,” “TIME MID,” and
“TIME HIGH” for the Control Changes in the parameter
boxes in the second (middle) PARAMETER column.
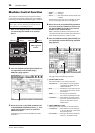
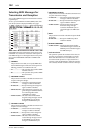
7. Press the DISPLAY ACCESS [MIDI] button,
then press the [F1] button to display the MIDI
| Setup page, then specify MIDI Transmit and
Receive Channels.
8. Turn on the CONTROL CHANGE Tx ON/OFF
and Rx ON/OFF buttons.
01V96i parameters will now be set accordingly when the
01V96i receives corresponding Control Changes. Also,
when you adjust parameters on the 01V96i, the 01V96i
will transmit corresponding Control Changes.
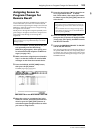
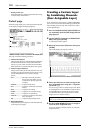
Controlling Parameters
by Using Parameter
Changes
You can control 01V96i parameters in real time by using
Parameter Change messages that are System Exclusive mes-
sages, instead of using MIDI Control Changes.
See “MIDI Data Format” at the end of this Manual for
detailed information on available Parameter Changes.
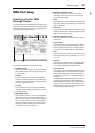
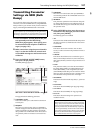
1. Press the DISPLAY ACCESS [DIO/SETUP] but-
ton repeatedly until the DIO/Setup |
MIDI/Host page appears, then specify ports
for transmission and reception of MIDI mes-
sages (see page 101).
2. Make connections using the ports selected in
Step 1 so that the 01V96i can transmit and
receive MIDI messages to and from the exter-
nal device.
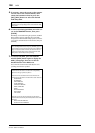
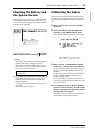
3. Press the DISPLAY ACCESS [MIDI] button,
then press the [F1] button to display the MIDI
| Setup page, then turn off the Tx and Rx
ON/OFF buttons in the PARAMETER CHANGE
row.
The 01V96i will now set certain parameter values when it
receives corresponding Parameter Changes. Also, when
you adjust certain parameters on the 01V96i, it transmits
corresponding Parameter Changes.
Note: Parameters that feature a setting range in excess of 128
steps require an appropriate combination of range parame-
ters for successful MIDI Control Change.
Tip: You can initialize the Parameter to Control Change
assignment table by moving the cursor to the INITIALIZE
button, then pressing [ENTER].
Note: Before controlling parameters using Control Changes,
make sure that both Tx and Rx ON/OFF buttons in the
PARAMETER CHANGE row on the MIDI | Setup page are
turned off.
Note: Before controlling parameters using Parameter
Changes, make sure that both Tx and Rx ON/OFF buttons
in the CONTROL CHANGE row are turned off.