


Setting the Input Channels from the Control Surface 25
01V96i—Reference Manual
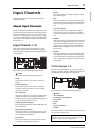
Input Channels
Setting the Input
Channels from the
Control Surface
You can use the faders, [SEL] buttons, and various buttons
and controls in the SELECTED CHANNEL section on the
top panel to directly control most parameters for Input Chan-
nels.
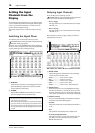
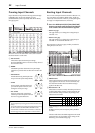
Setting Input Channel Levels
and Panning the Channels
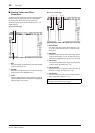
■ Input Channels 1–32
1. Press the LAYER [1–16] or [17–32] button to
select a layer.
2. Press the [SEL] button of the channel for
which you want to adjust the input level
and/or pan settings.
3. Use the faders to set the Input Channel levels.
4. Rotate the SELECTED CHANNEL [PAN] con-
trol to adjust the pan settings.
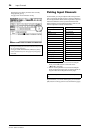
When you rotate the [PAN] control, the Pan/Route | Pan
page is displayed automatically.
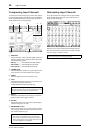
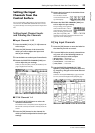
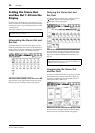
■ ST IN Channels 1–4
1. Use the ST IN [ST IN] button to select the
desired ST IN Channels.
The indicators next to the [ST IN] button display the ST
IN Channels currently selected for control by the ST IN
section.
2. Press the [SEL] button for the channel for
which you want to adjust the level and/or pan
settings.
3. Rotate the level control of the desired chan-
nel to set the level.
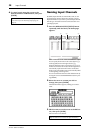
You can always view the
current channel level at the
top of the display.
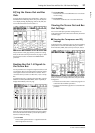
4. Rotate the SELECTED CHANNEL [PAN] con-
trol to adjust the pan setting.
The pan setting can be applied to
either ST IN channel L or R. To
switch between channels L and R
for the pan setting, press the same
[SEL] button repeatedly. (The
channel currently being controlled is indicated in the
upper-left corner of the display.)
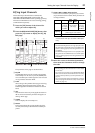
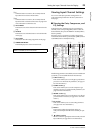
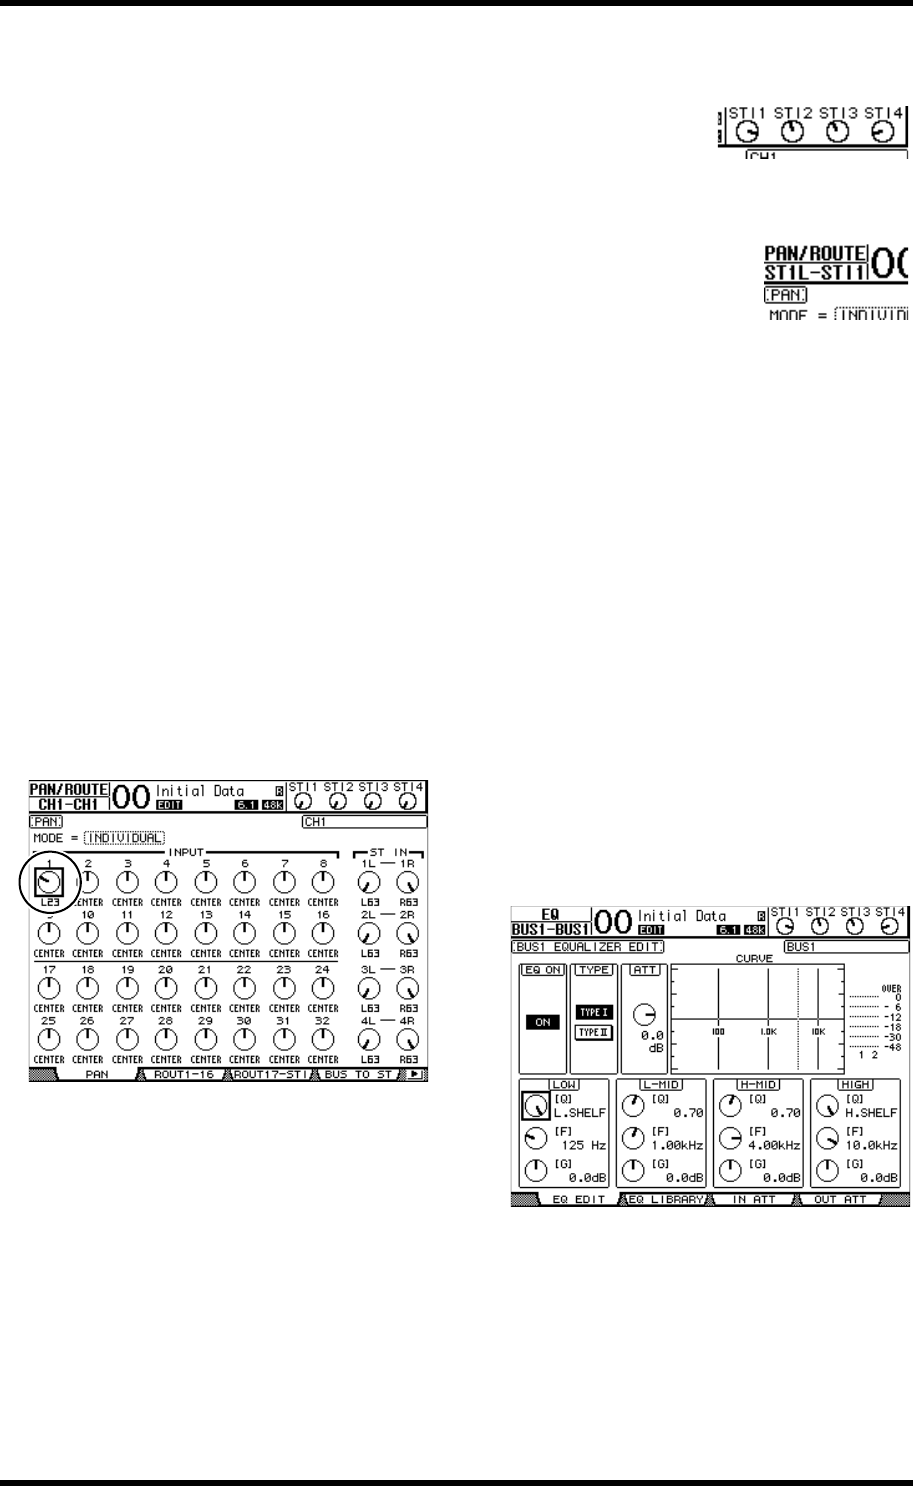
EQ’ing Input Channels
1. Press the [SEL] button or move the fader for
the channel you wish to control.
2. To control EQ for the currently-selected chan-
nel, press one of the following buttons to
select the band you wish to adjust:
• [HIGH] button...... HIGH band
• [H-MID] button ... HIGH-MID band
• [L-MID] button ....LOW-MID band
• [LOW] button....... LOW band
3. Use the SELECTED CHANNEL [Q], [FRE-
QUENCY], and [GAIN] controls to adjust the
Q, frequency, and gain of the band selected
in Step 2.
When the Auto EQUALIZER Display (page 109) check
box is on, the 01V96i displays the EQ/EQ Edit page.