


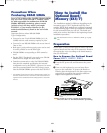
How to Install the
Optional Board/
Memory (EX5R)
Preparation
On the EX5R, remove the main unit top cover for all
optional board/memory installations.
For information on how to handle the EX5/7, go to page
279.
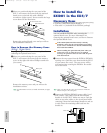
How to Remove the EX5R Top Cover
1Turn the EX power off, and disconnect the power
cord.
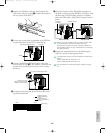
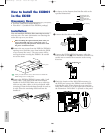
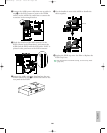
2Turn over the main unit and remove the six screws
on the left and right sides that secure the EX5R top
cover.
Do not remove the other screws.
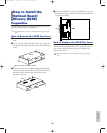
3Return the unit to its original upright position and
remove the four screws on the top surface located at
the front of the unit and also the seven screws
located on the rear.
Top
Front
Rear
Bottom
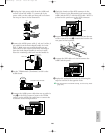
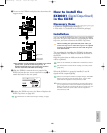
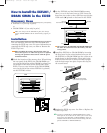
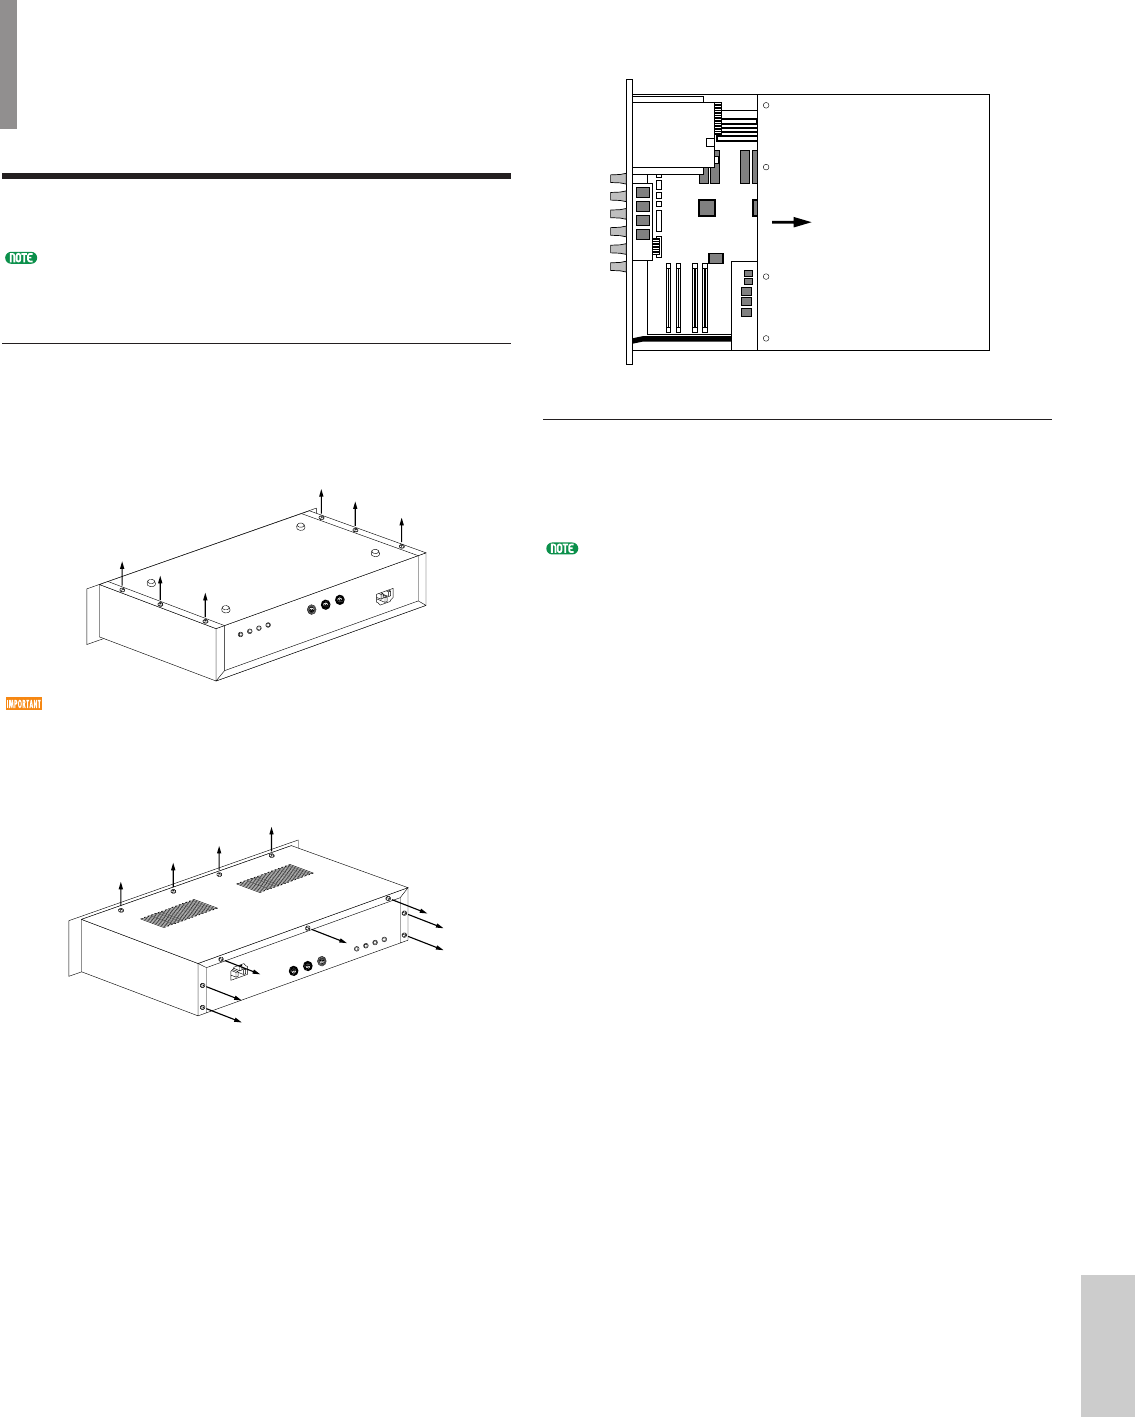
4Remove the EX5R top cover by sliding the cover in a
backwards direction and you will see the installation
connectors/sockets.
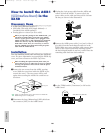
How to Replace the EX5R Top Cover
Replace the top cover by following the steps for
removal in the opposite order (First replace the seven
rear screws, next the four top screws, and then the
bottom six screws).
For information on how to handle the EX5/7, see page
279.
Front Rear
285
Appendix
Option/E/qx 5/21/98 11:58 AM Page 285