


101
MIDI FUNCTIONS
Loading Bulk Data
Once you’ve saved PortaTone data as described above, you can easily
reload the data back to the PortaTone.
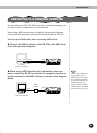
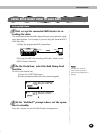
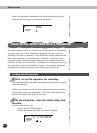
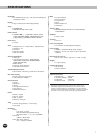
1 Set up the connected MIDI device for sending
the appropriate data.
The actual procedure may differ depending on your particular equip-
ment and software. For example, if you are using the Yamaha MDF3
MIDI Data Filer:
1) Make the appropriate MIDI connections.
2) Insert the appropriate floppy disk (containing the desired
data) into the MIDI Data Filer.
2 Make sure that the PortaTone is set to the Style
mode.
Make sure that the PortaTone is NOT set to the Song mode, and that
it is not in the middle of an operation, such as song recording or
playback, accompaniment playback, EZ Chord recording, Bulk Dump
Send, etc.
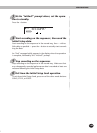
3 Start sending the data from the connected MIDI
device.
Send the data from the connected device. (Refer to the owner’s
manual of the device for details.)
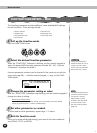
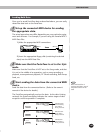
The PortaTone automatically receives the data. As the data is being
received, the PortaTone display indicates the various stages of data
reception until the operation is complete:
MIDI OUTMIDI IN
MDF3
PSR-270
When the PortaTone is
receiving bulk data, none of
the panel controls can be
used.
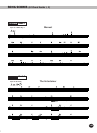
Rcv:Sng
STYLE
FUNCTION
Indicates User
Song data is
being received.
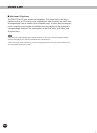
Rcv:Chd
STYLE
FUNCTION
Indicates EZ
Chord data is
being received.
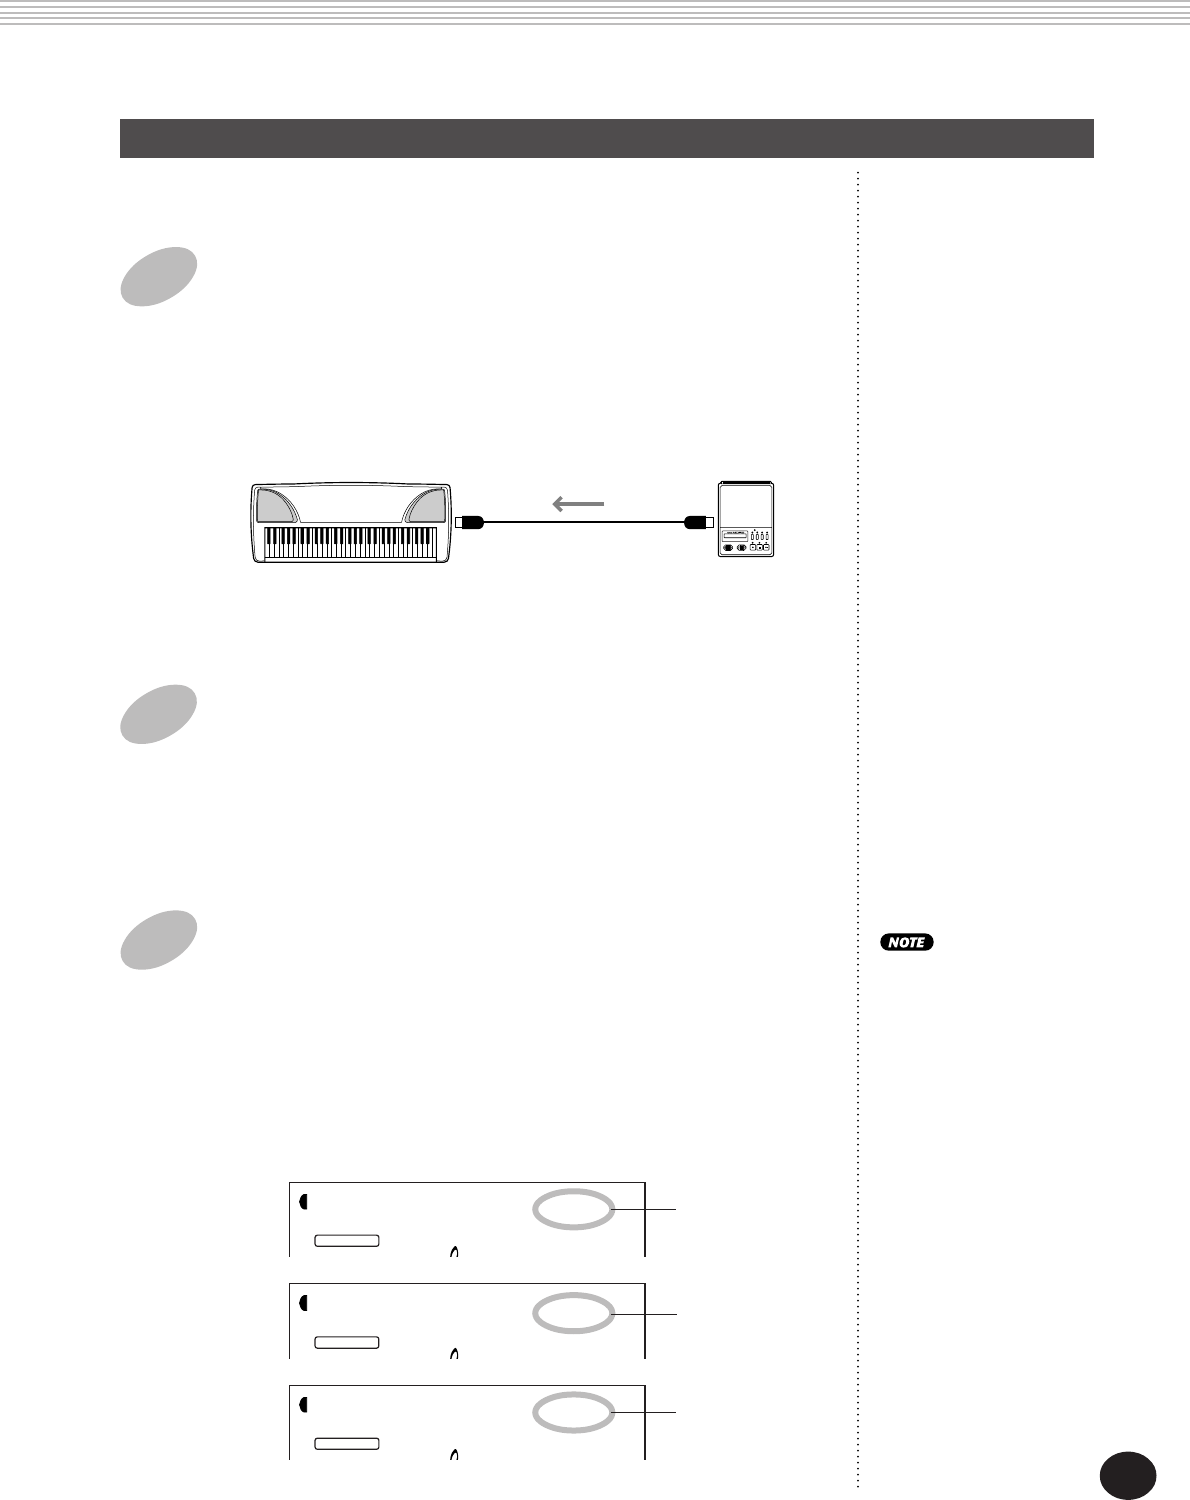
Rcv:OTS
STYLE
FUNCTION
Indicates One
Touch Setting
User data is
being received.
99