


80
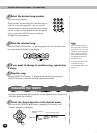
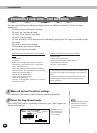
In brief, the basic operation for recording is:
1) Make all desired PortaTone settings.
2) Select the Realtime Record mode.
3) Select a User song for recording.
4) Select a track number.
5) Start recording.
6) Stop recording.
7) Listen to your new recording.
8) Record to other tracks as desired.
9) Exit from the Record mode.
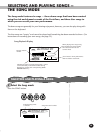
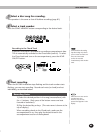
RECORDING A USER SONG — REALTIME RECORDING
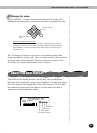
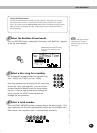
1 Make all desired PortaTone settings.
Before you actually start recording, you’ll need to make various settings for
the song — such as selecting a style, setting the Tempo, and selecting a
voice. (See pages 47, 76, and 27.)
Selecting a style lets you use the sophisticated auto accompaniment fea-
tures as part of your song. In this way, you can simply play the chords, and
the PortaTone automatically creates the appropriate bass and chord back-
ing. (For more information on auto accompaniment, see page 52.)
If desired, also make other settings. Refer to the list above for settings that
can be recorded to a song.
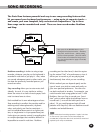
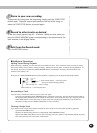
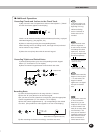
SONG RECORDING
Data that can be recorded to the normal (melody)
tracks:
• Note on/off
• Velocity
• Main voice settings (Voice Number*, Volume*,
Octave, Pan*, Reverb Send Level, Chorus Send
Level, DSP Send Level)
• Dual voice settings (Dual on/off, Voice Number*,
Volume*, Octave, Pan*, Reverb Send Level, Chorus
Send Level, DSP Send Level)
• Reverb on/off, Reverb Type*
• Chorus on/off, Chorus Type*
• DSP on/off, DSP Type*
• Harmony on/off, Harmony Type
• Sustain on/off
• Tempo*, Time Signature* (if there is no such data
in the Chord track)
Data that can be recorded to the Chord track:
• Style number*
• Chord changes and timing
• Changing sections (Intro, Main A/B, etc.)
• Accompaniment Volume*
• Tempo, Time Signature*
* These settings can only be recorded once at the beginning
of a song; other settings can be changed in the middle of a
song.
78