


141
Appendix
How to Install the
Optional Plug-in Board
1 Turn the keyboard power off, and disconnect the AC
power adaptor. Also, if the keyboard is connected with
other external device(s), disconnect the device(s).
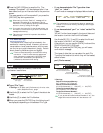
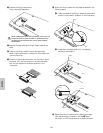
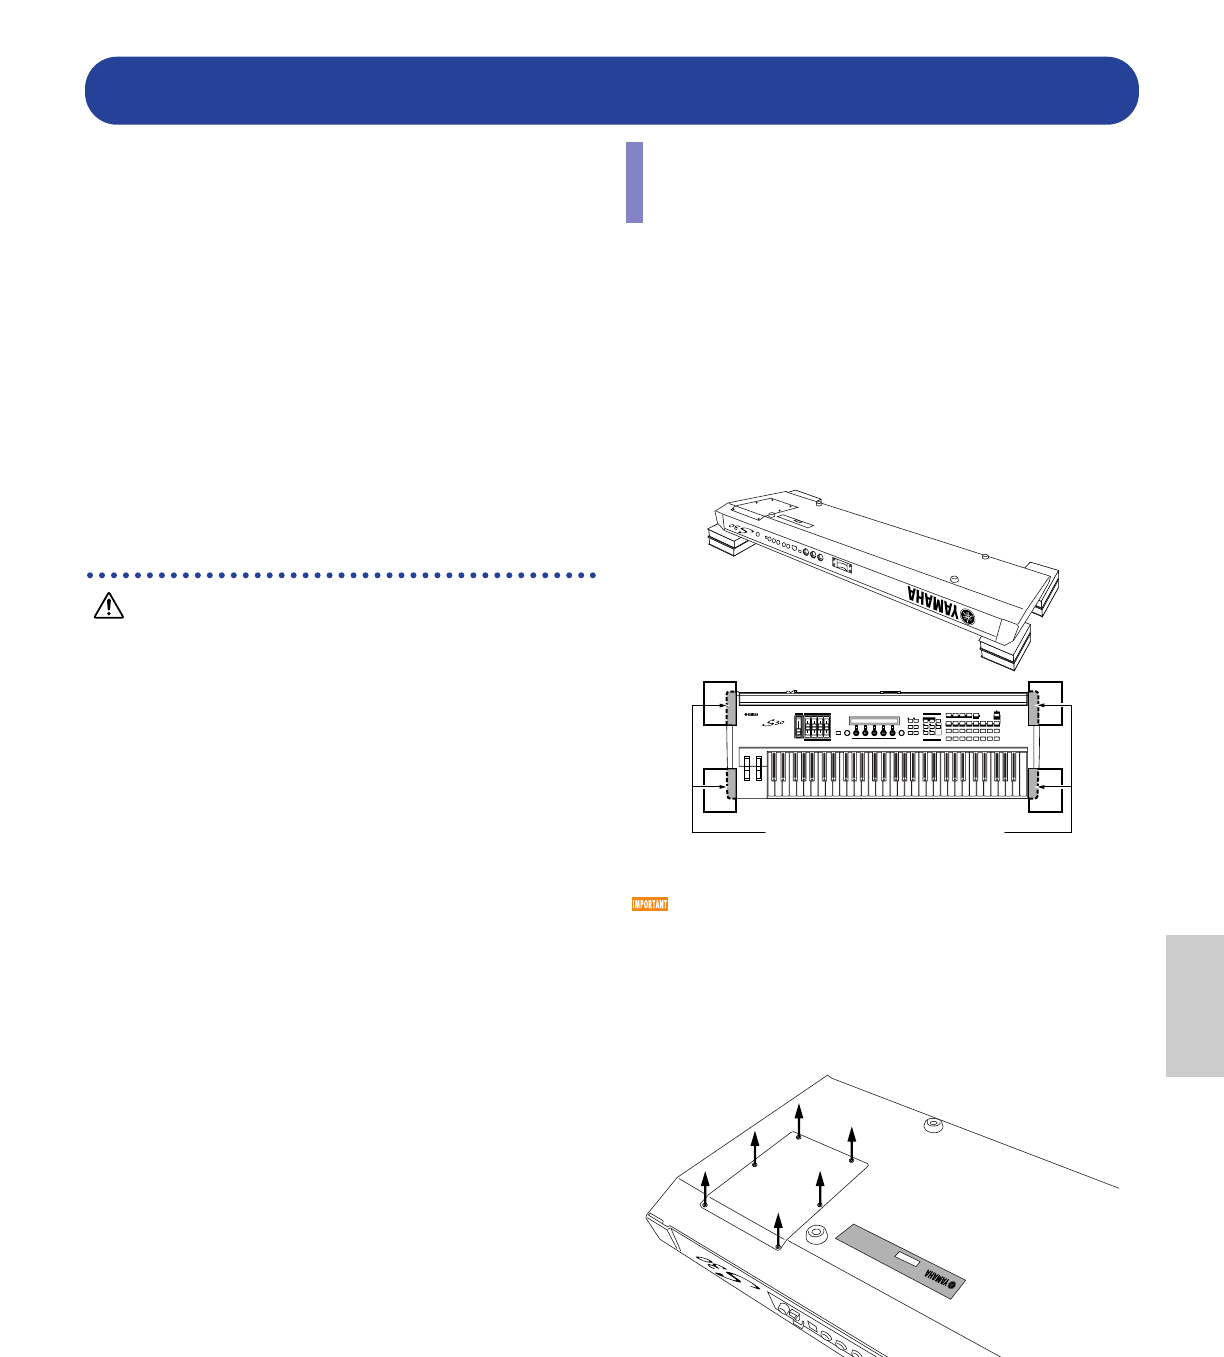
2 Turn over the keyboard so you can have direct access to
the underside. To protect the Knobs and Wheels, place
the keyboard so the four corners are supported by
something that provides sufficient support like magazines
or cushions.
Be careful not to drop or bump the keyboard and make sure
that it is well balanced before proceeding.
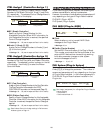
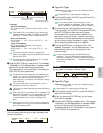
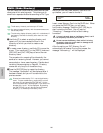
3 Move to a position facing the rear panel of the keyboard,
and remove the screws from the Plug-in board cover at
the bottom left with a coin or phillips screwdriver (six
flat-head screws only). Do not remove the other screws.
n Keep the removed (6) screws in a safe place. They will be used
when attaching the Plug-in board cover to the keyboard again.
MUSIC SYNTHESIZER
Modular Synthesis Plug-in System
Place the supports at all four corners,
without touching the Knobs and the
Wheels.
View of the keyboard
from the bottom.
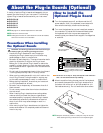
A variety of optional Plug-in boards sold separately let you
expand the voice library of your instrument. The following
types of Plug-in boards can be used with your instrument.
● PLG150-AN
● PLG150-PF
● PLG100-XG
● PLG150-VL
● PLG150-DX
n See page 27 for detailed explanations for each board.
n PLG100-VH cannot be used.
n Although the PLG100-VL and PLG100-DX can also be installed,
some of the functions are not available.
Precautions When Installing
the Optional Boards
Remember the following precautions and install the Plug-in
boards properly by following the steps as written.
• Handle the Plug-in boards with care. Dropping or
subjecting the Plug-in board to any kind of shock may
cause damage or result in a malfunction.
• Be careful of static electricity. There are times when static
electricity affects the IC chips on the Plug-in board.
Before you lift the optional Plug-in board, to reduce the
possibility of static electricity, touch the metal parts other
than the painted area or a ground wire on the devices that
are grounded.
• Do not touch the exposed metal parts in the circuit board.
Touching these parts may result in a faulty contact.
• When moving a cable, be careful not to let it catch on the
circuit Plug-in board. Forcing the cable in anyway may
cut the cable, cause damage, or result in a malfunction.
• Before starting installation, be sure that you have a coin
or a Phillips screwdriver at hand.
• Be careful not to misplace any of the screws since all of
them are used.
• Do not use any screws other than what are installed on
the instrument.
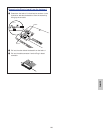
• When inserting Plug-in boards and connecting cables,
make sure that you check that they are inserted and
connected properly. Improperly inserted Plug-in boards
and cables may cause faulty contacts and an electrical
short circuit which may cause damage or result in a
malfunction.
• After mounting the Plug-in board be sure to tighten the
screws as directed so it is completely stable and does not
move in any way.
About the Plug-in Boards (Optional)