


4 Installation and Connection
15
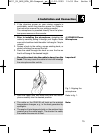
4.3 CHM 99 Flown
Microphone
Important!
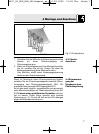
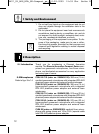
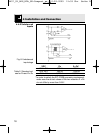
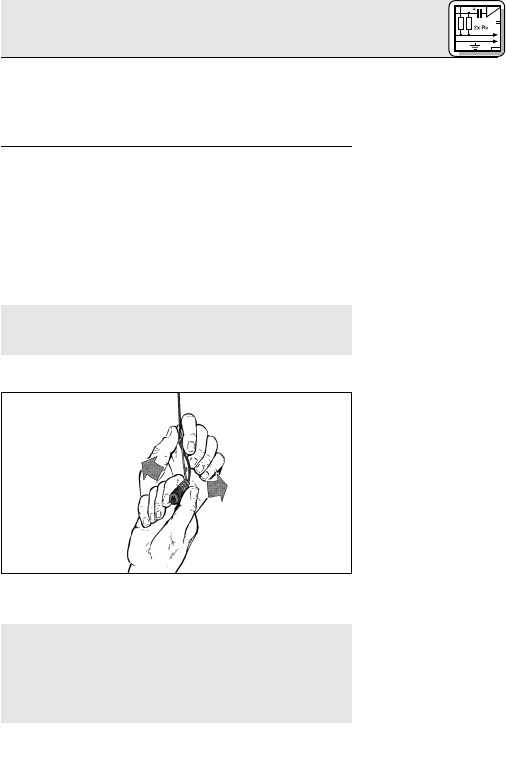
Fig. 1: Aligning the
microphone.
Refer to fig. 1.
Note:
3. If the phantom power on your mixing console is
switchable, switch the phantom power on. (Refer to
the instruction manual for your mixing console.)
The microphone is powered directly from the phan-
tom power source on the console.
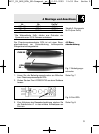
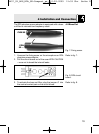
1. Prior to installing the microphone, straighten the
cable by carefully pulling it through your fingers. Make
sure not to buckle or twist the cable. Let hang for 1 day to
untwist.
2. Fasten a hook to the ceiling, use an existing hook, or
stretch a fishing line across the hall.
3. Pass the cable through the hook or over the line so
that it will hang at the desired height.
Do not tie a knot into the cable to hang it on the
hook. This may cause the cable to twist and misalign
the microphone after a while.
5. Hold the cable with one hand and turn the micro-
phone carefully into the desired position.
• The cable on the CHM 99 will twist as the ambient
temperature changes, e.g., in the heat generated by
spotlights.
• The angle of twist depends both on the ambient tem-
perature and the cable length. The shorter the cable,
the smaller the amount of twist.
4457_09_AKG_BDA_GN-Compact_ps 10.09.2009 11:53 Uhr Seite 15