©American DJ Supply® - www.americandj.com - DJ Scan 250HP™ User Manual Page 10©American DJ Supply® - www.americandj.com - DJ Scan 250HP™ User Manual Page 9
DJ Scan 250HP™ Lamp Replacement
Lamp Replacement: Caution! Never open the unit when in use.
Always disconnect the main power before attempting to replace the
lamp.
1. Be sure to follow the proper procedures when handling halogen
bulbs.
2. Lamp replacement has been made simple by incorporating the use
of a removable lamp tray and thumb screws.
3. Loosen the thumb screw on rear cover.
4. Remove the tray.
5. Remove and replace the bulb.
6. Reassemble.
Remember to always replace with the exact same type lamp and
fuse, unless otherwise specified by an authorized American DJ
service technician.
The DJ Scan 250HP™ may be controlled by a wide range of control-
lers; ie. Show Designer™, DMX Operator
,™ Scene Setter™ or by the
DJ MINI/C basic controlle
r.
MINI/C features:
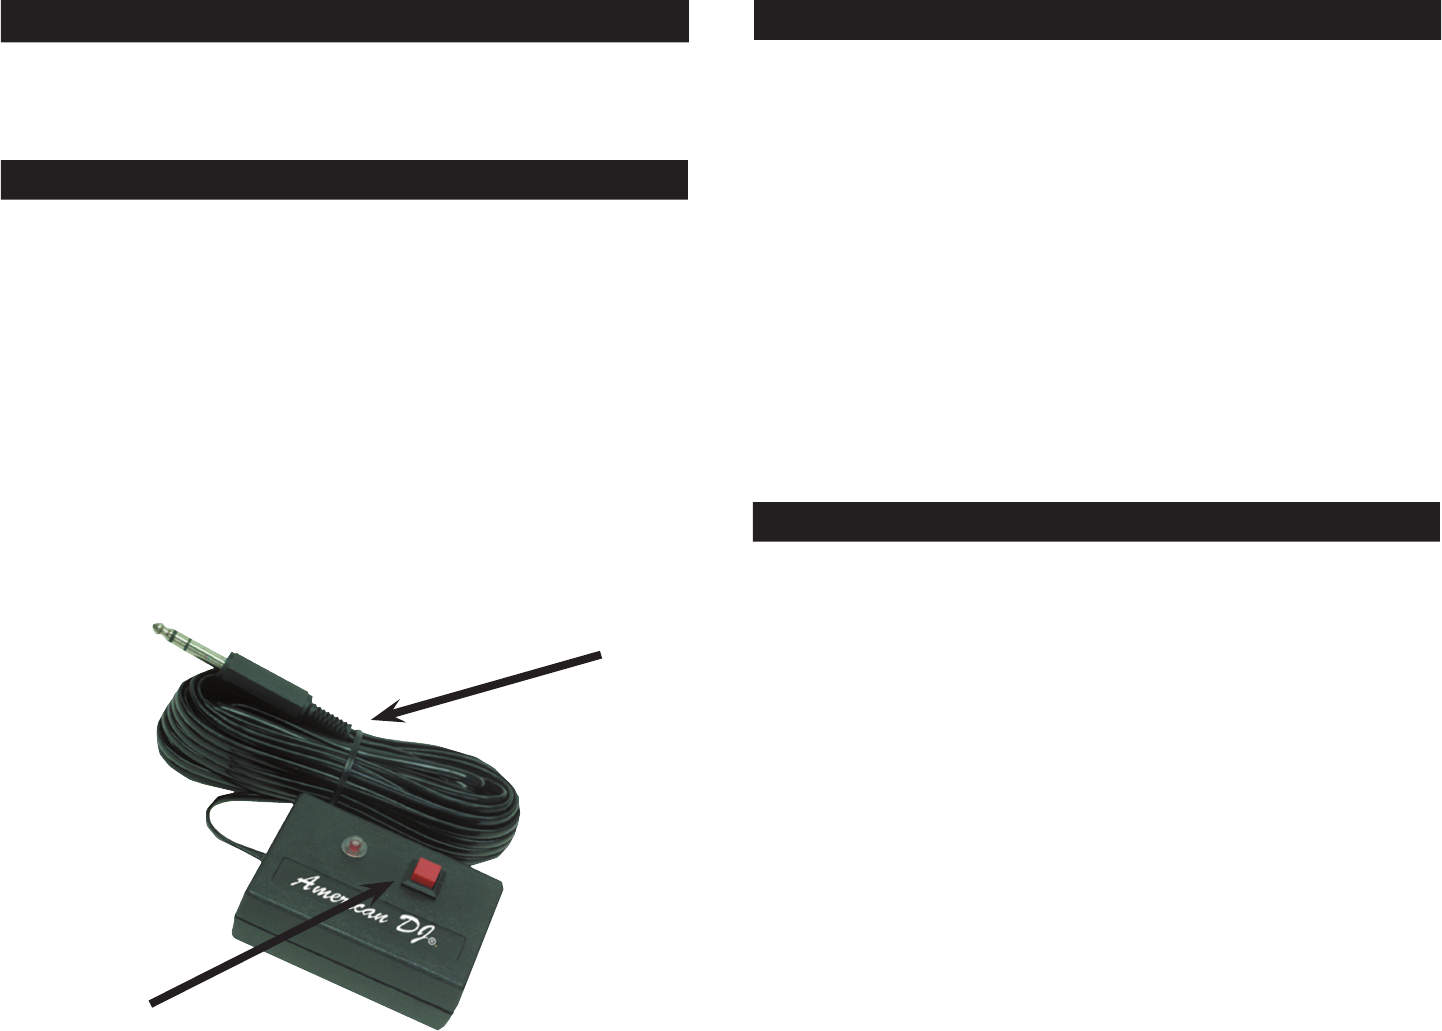
DJ Scan 250HP™ Optional Remote
The MINI/C controller may be purchased separately allowing you to
control the main unit, and any others connected to it, while it is in
stand alone mode. You can set the unit to blackout. If you have more
than one unit, make sure the remote control is plugged into the first
unit in the daisy chain. The remote control will not have any effect if
the unit is in DMX mode. When the unit is in blackout mode, the light
will come on next to the blackout button.
30 ft. cable
Stand by (Black out)
DJ Scan 250HP™ Operating Instructions
connections to any standard DMX controller. Set dipswitch #1 to
the on position - Follow the set-up specifications that come with
the controller.
DJ Scan 250HP™ Focusing
1. To focus a DJ Scan 250HP,™ it is best to first turn down the music
sensitivity knob to its minimum position.
2. Loosen the thumb screw on the front of the unit that hold the lens
in place.
3. Adjust the focus by manually moving the lens up and down.
4. Tighten the thumb screw after you achieve your desired focus.


