


©American DJ Supply® - www.americandj.com - Rover™ Instruction Manual Page 6©American DJ Supply® - www.americandj.com - Rover™ Instruction Manual Page 5
Trouble Shooting:
Listed below are a few common problems that you may encounter,
with solutions.
No light output from the unit;
1. Be sure you have connected your unit into a standard 110V wall
outlet.
2. Be sure the external fuse has not blown. The fuse is located on
the rear panel.
3. Remove the lamp cover and be sure the lamp is seated in its socket
properly. Occasionally lamps become loose during shipping be
sure the lamp is push in to its socket all the way.
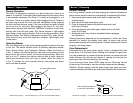
Unit does not respond to sound;
1. Be sure the unit's mode switch is in the "I" position, this is the only
mode that allows the unit to operate in sound active mode.
2. Low frequencies (bass) should cause the unit to react to sound.
Tapping on the microphone, quiet or high pitched sounds may not
activate the unit.
Rover™ Trouble Shooting Rover™ Cleaning
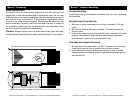
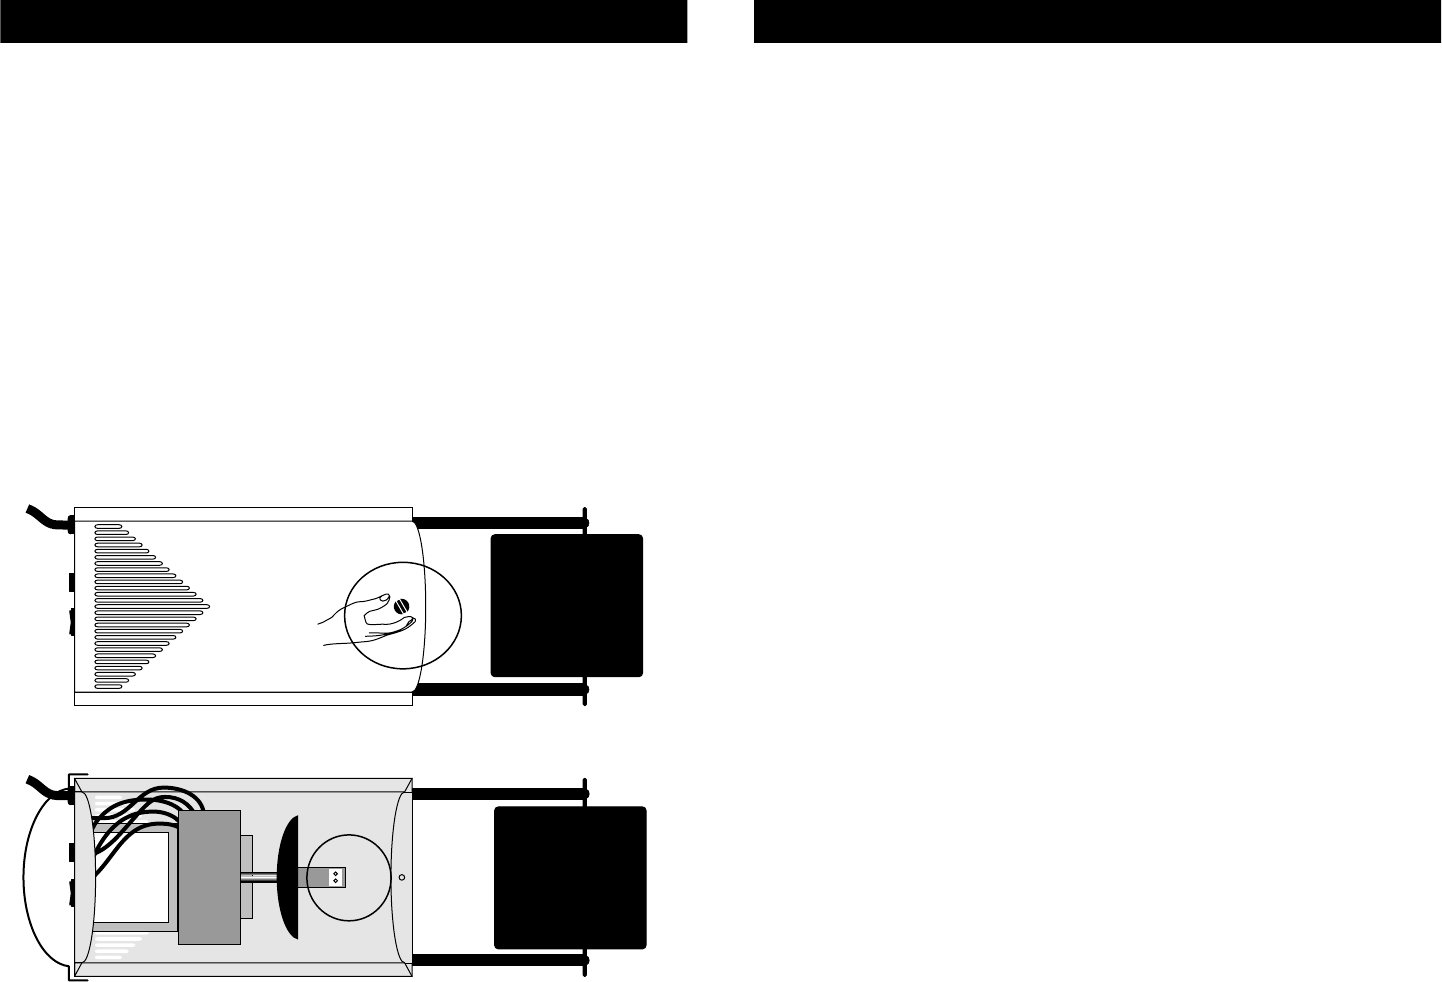
Lamp Replacement:
Disconnect from the main power supply. Be sure the unit has had
ample time to cool before attempting to replace the lamp. On the front
of the unit there is a single thumb screw. Remove the thumb screw and
pull back the front case housing. The housing is hinged which allows
it to pull back without being removed. Remove the old lamp from the
socket assembly. Carefully install the new lamp, be sure to follow all
the installation guide lines that are included with your new lamp. Close
the front cover and replace the thumb screw.
Caution: Always replace with the exact same type lamp and fuse,
unless otherwise specified by an authorized American DJ® technician.
Remove the thumb screw on the rear of the unit as illustrated below.
Remove the lamp from the socket and insert a new one as illustrated above.