


Page 2 of 8
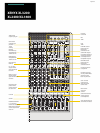
Plenty of channels, all in living color
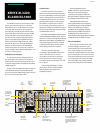
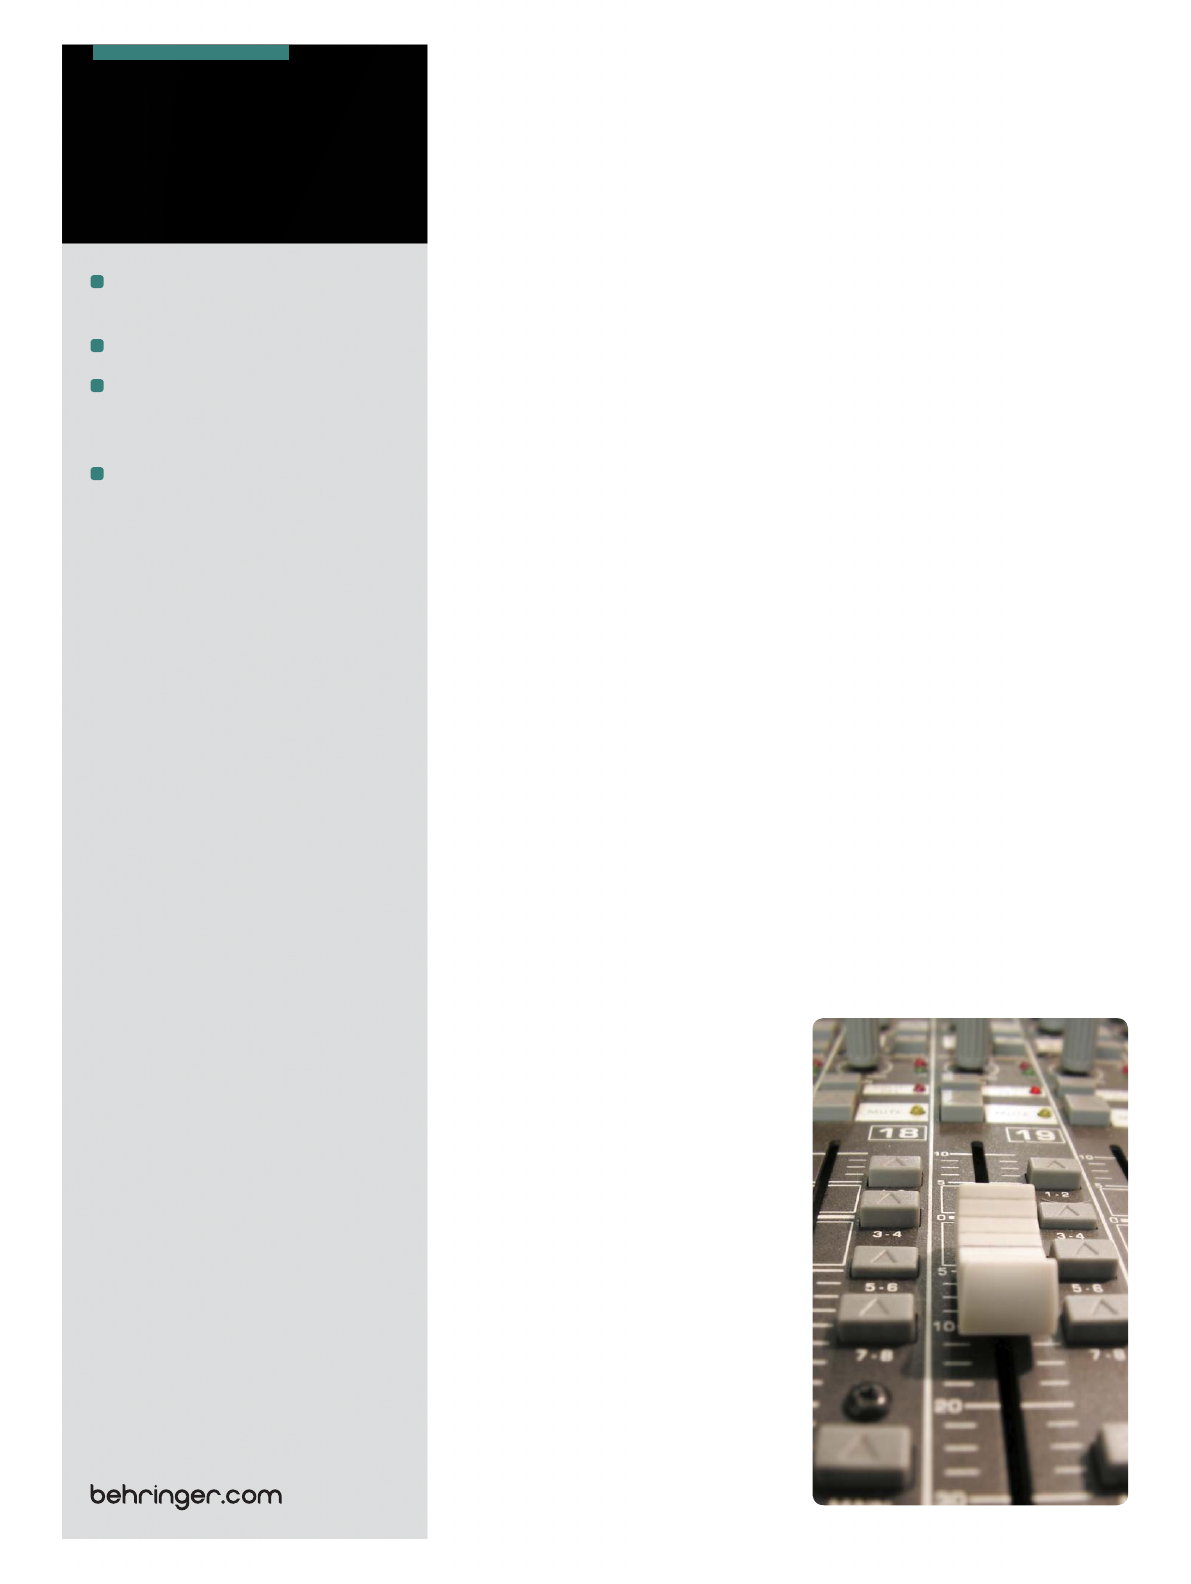
All dials on the XL series are assigned
to colors that not only allow you to easily
locate each function, but to also quickly
identify corresponding faders.
At the top of each mono channel strip,
you’ll nd a TRIM dial (white) for adjusting
input gain and an 80 Hz switch that can
eliminate unwanted infrasonics such as
mic-handling noise.
Each mono channel has a 4-band EQ
(High, High Mid, Low Mid, Low). High Mid
and Low Mid dials (blue) are each paired
with a FREQ control (lighter blue) that
allows you to select the frequency boosted
or cut. Directly below the EQ, there’s an
EQ switch allowing you to switch between
processed and unprocessed signals.
What the heck is “British EQ”?
British EQ is a smashing thing to have
on your side when you start reaching for
those channel equalization knobs at a live
concert or in the studio.
The EQ’s on British consoles from the
60’s and 70’s are what many engineers
believe does their sound the best justice.
When it comes to tweaking your sound,
they’re kind, gentle and above all, musical.
It’s like drinking a ne scotch instead of
fortied wine—or maybe receiving a warm
hug instead of a kick to the crotch.
British EQ’s distinct conguration
of wider curves/lower Q and harmonic
phase characteristics allows you to add
or subtract EQ more generously than you
can with conventional EQ circuit designs.
When you add low midrange, you get
a rmer sound instead of a nasty bonk.
When you back high frequencies o a
bit, treble backs o just a hair instead of
turning mued.
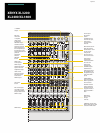
Back to the Strip
Controls for the channel’s FX (orange),
MON (blue) and AUX (red) sends are
directly below the EQ section. Use these
to assign a channel to an outboard
FX processor or monitor and auxiliary
channels. Further down the channel
strip, the PAN control (black) determines
the signal’s position in the stereo mix.
The channel fader (black) adjusts the level
of the channel signal as part of the main
mix. Press the 1-2 or 3-4 switches to assign
the channel to a bus.
Stereo channels are congured
in the same way, but with a
xed-frequency 4-band EQ (blue).
They are equipped with ¼" stereo
inputs, as well as XLR mono inputs,
providing 4 additional Mic channels.
Rockin’ Bureaucracy
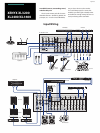
Once all mics and instruments are
connected, it’s time to take a look at
the MAIN, subgroup, MONITOR and
FX sections.
All four subgroups’ controls are
positioned in the lower right corner of
the mixer. They feature individual faders
with CLIP LEDs, SOLO switches and
PAN controls to adjust the signal’s position
in the stereo image.
The FX section is positioned on the
middle right section of the console.
Both FX 1 and FX 2 signals have orange
faders; SOLO and MUTE switches; 1-2
and 3-4 switches that assign the signal to
subgroups; MAIN switches to route the
signals to the main outputs; MON dials
(blue) that determine the level of FX heard
in Monitor sends 1 & 2; and SEND dials
(orange) for adjusting the volume of all
FX send signals.
Both monitor sends also have their own
dedicated faders (blue), as well as MUTE
and SOLO switches.
Continued on next page
14-LED ladders for Main and
Monitor level metering
Separate pre/post Main B output
Long-wearing 60 mm logarithmic-
taper faders and sealed rotary
controls
Internal autorange power
supply for maximum exibility
(100 – 240 V~), noise-free audio,
superior transient response plus
low power consumption for
energy saving
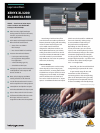
XENYX XL3200
XL2400/XL1600