


connect the mic preamp output directly to your recorder
or A/D converter, bypassing the mixing board and any
unnecessary components.
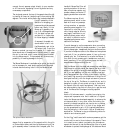
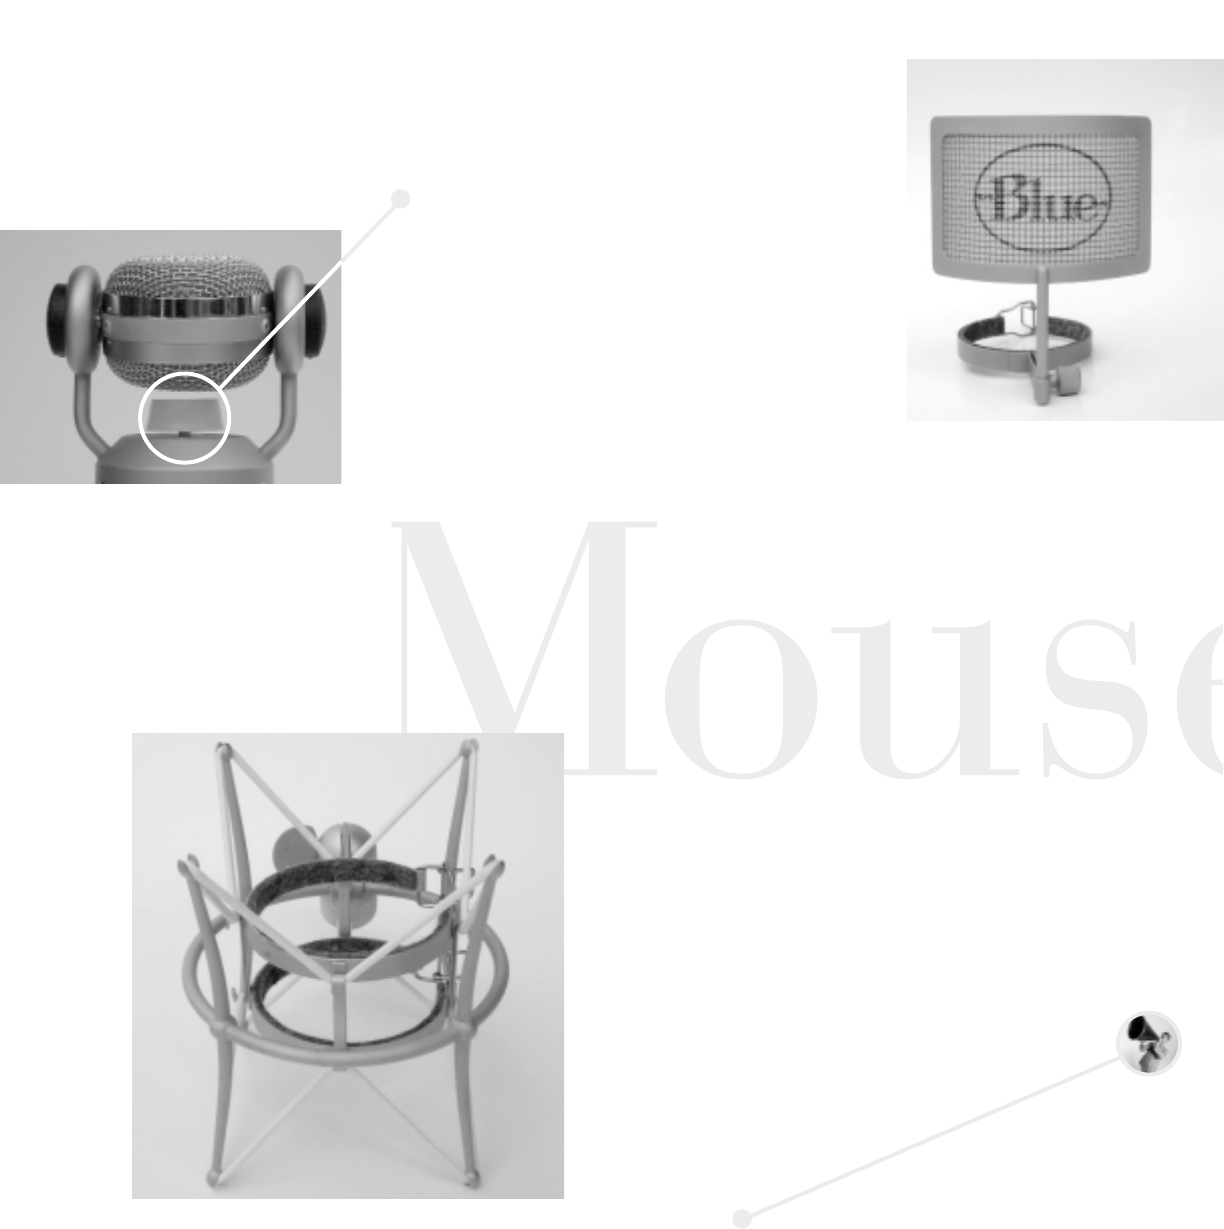
The single set screw at the top of the capsule should be left
in place at all times, as it stops the grille from rotating 360
degrees. The circular white plastic cap located underneath
the grill assembly of the
Mouse is for shipping pur-
poses and should be removed
before use. Gently lift the
Mouse grill assembly and
turn it at a 90 degree angle.
Lift the plastic piece out
and store it in a safe place
for future shipping if needed.
A recessed, threaded mic
stand socket is built into
the Mouse body, next to the
XLR output jack. To put the
Mouse on a stand, you may find it easiest to 1) loosen the
boom stand arm or threaded end of the mic stand, 2) grasp
the mic in one hand, and 3) screw the mic stand threads
into the Mouse mount. This procedure will eliminate any
possibility of handling damage to the mic.
The Mouse Shockmount is available as an option, but should
not be necessary for most studio applications. Complete
internal shock mounting is built into the Mouse at two
stages; first by suspension of the capsule within the grille
on three rubber stems, and then by shockmounting of the
grille assembly where it contacts the U-shaped yoke. The
The optional Mouse shockmount
handbuilt Mouse Pop Filter will
provide protection to the valu-
able microphone capsule and
provide a means to minimize “P”
popping sounds from voice work.
The Mouse requires 48 volt
phantom power, which is stan-
dard with most mic preamps,
mixing consoles, or separate
phantom power supplies. It is
important to note that some
units, though rated at 48 volts,
may supply insufficient or un-
stable phantom power, which
can result in distortion and/or
degraded performance when
used with the Mouse.
To avoid damage to audio components when connecting
phantom power, follow this simple procedure: 1) turn down
the mic preamp gain, headphones, and your studio monitors,
2) connect microphone cable to the Mouse and microphone
input jack, 3) turn on phantom power, 4) turn up the mic
preamp gain, etc. To disconnect or re-route the Mouse, 1)
turn down the mic preamp gain, headphones, and your
studio monitors, 2) turn off phantom power and wait 10
seconds before disconnecting the mic.
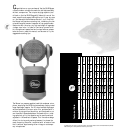
Once the Mouse is on the stand and powered up, make sure
that the active, on-axis side of the capsule (the shiny hemi-
sphere of the grille) is facing the desired source. For exam-
ple, if you are speaking into the mic, the Blue logo and
shiny hemisphere will be in front of your mouth, and the
solid metal ring around the circumference of the grille will
be aligned vertically, with the single set screw in place on
the top of the grille. The Mouse is a cardioid mic, and is
designed to reject off-axis sound arriving at the back of
the capsule (the dull metal hemisphere). And now, here
are some recording tips that will allow you to get the most
out of the Mouse and its elegant rotating capsule!
Vocals
Here’s a little-known secret —vocalists love singing into
unique and impressive mics. And in addition to its good
looks, the Mouse was developed especially to enhance the
airiness and detail in any voice, while diminishing the
proximity-induced lows which can cloud a mix or produce
compression artifacts. Put it in front of any singer and
you are guaranteed to get a 110% inspired performance
that sits perfectly in the mix with little or no additional
equalization. The Mouse is also an outstanding choice for
narration and voiceover work.
For that “big” vocal sound with maximum presence, get the
vocalist within one to three inches of the capsule. There
is no need to worry about overloading the microphone
capsule, but be sure to use the Mouse pop filter or a mesh
windscreen to protect the diaphragm at this distance. Mount
Mouse Pop Filter