English
Music Presets
E-27
• To change the rhythm, use the
5
through
bm
(rhythm
group) buttons to select the rhythm group and then
use the
ct
(w, q) buttons to select a rhythm
number.
• To change the tone, use the
cm
through
cr
(tone
group) buttons to select the tone group and then use
the
ct
(w, q) buttons to select a tone number.
4.
To exit a Music Preset, while holding down
the
cs
(FUNCTION) button, press
ck
(MUSIC
PRESET) button.
A Music Preset editor is provided to allow you to
create your own original Music Presets (user presets).
Up to 50 user presets can be stored in Music Preset
Group 4.
1.
Select the Music Preset you want to edit in
order to create your user preset.
2.
Change the tone number, rhythm number,
and other settings of the Music Preset as you
want.
• The settings you configure here will be saved as a
user Music Preset. See step 2 under “Selecting a
Music Preset” (page E-26) for the settings you can
configure and save for a user Music Preset.
3.
Press the
cs
(FUNCTION) and
ck
(RHYTHM
EDITOR) buttons at the same time.
This displays a screen for selecting the type of editing
operation you want to perform.
4.
Edit the Music Preset parameters.
5.
After editing everything you want, press the
dm
(EXIT) button.
• This will display a message asking if you want to
save the user preset.
6.
Press the
ct
(YES) button.
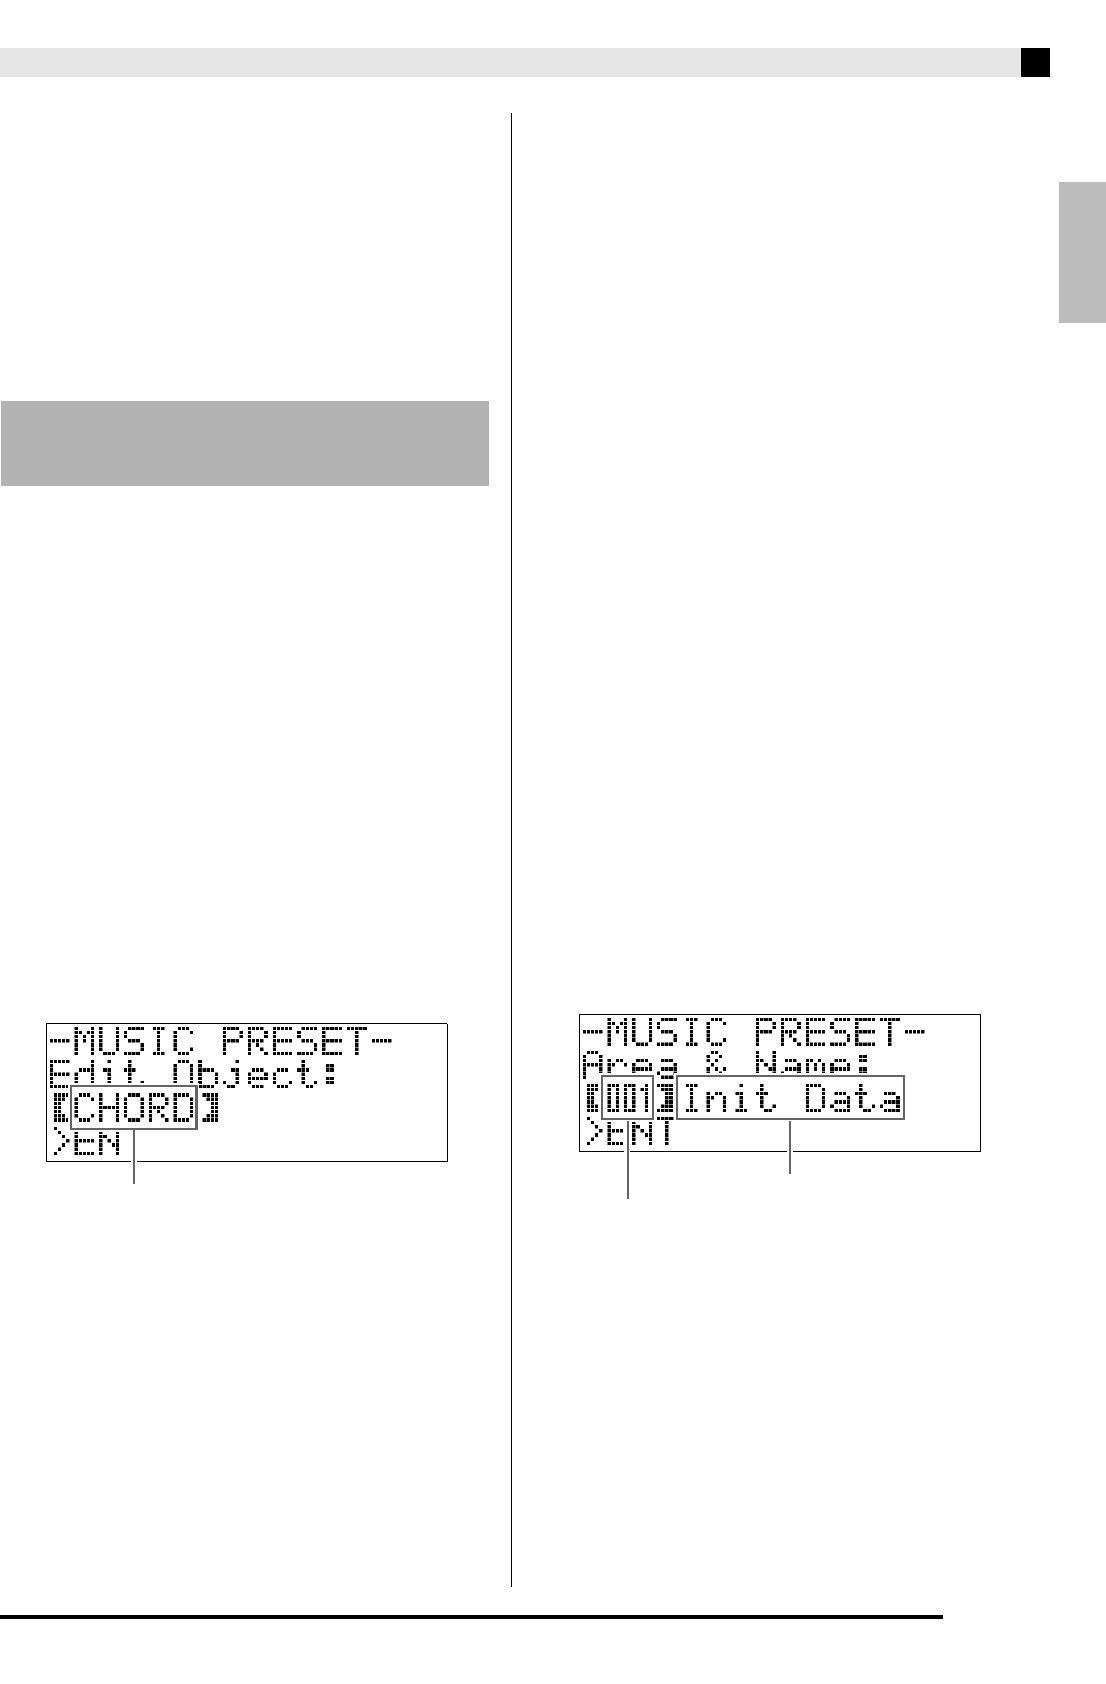
This displays a screen for selecting the Music Preset
number and name for storing the edited data.
• If you do not want to save the edited data, press the
ct
(NO) button in place of the
ct
(YES) button.
Creating an Original User
Preset
Editing operation type
4-1.To edit the chord progression
Press the
ct
(w) button to display “CHORD”
and then press the
dp
(ENTER) button to
advance to the chord progression editing
screen.
Next, perform the editing operation described
under “To edit the chord progression” (page
E-28). After you finish the editing operation,
press the
dm
(EXIT) button to return to the
screen for selecting the type of editing
operation, above.
4-2.To edit Auto Accompaniment parameters
Press the
ct
(q) button to display
“Parameter” and then press the
dp
(ENTER)
button to advance to the Auto
Accompaniment parameter editing screen.
Next, perform the editing operation described
under “To edit Auto Accompaniment
parameters” (page E-30). After you finish the
editing operation, press the
dm
(EXIT) button
to return to the screen for selecting the type of
editing operation, above.
Music Preset name
Music Preset number for data storage


