Using the Mixer
E-41
• For details about how initial default settings are configured
when you perform the following procedure, see “Parameter
List” (page E-127).
1.
While the mixer screen is displayed, hold down
the R-13 (FUNCTION) button as you press the
C-13 (MENU) button.
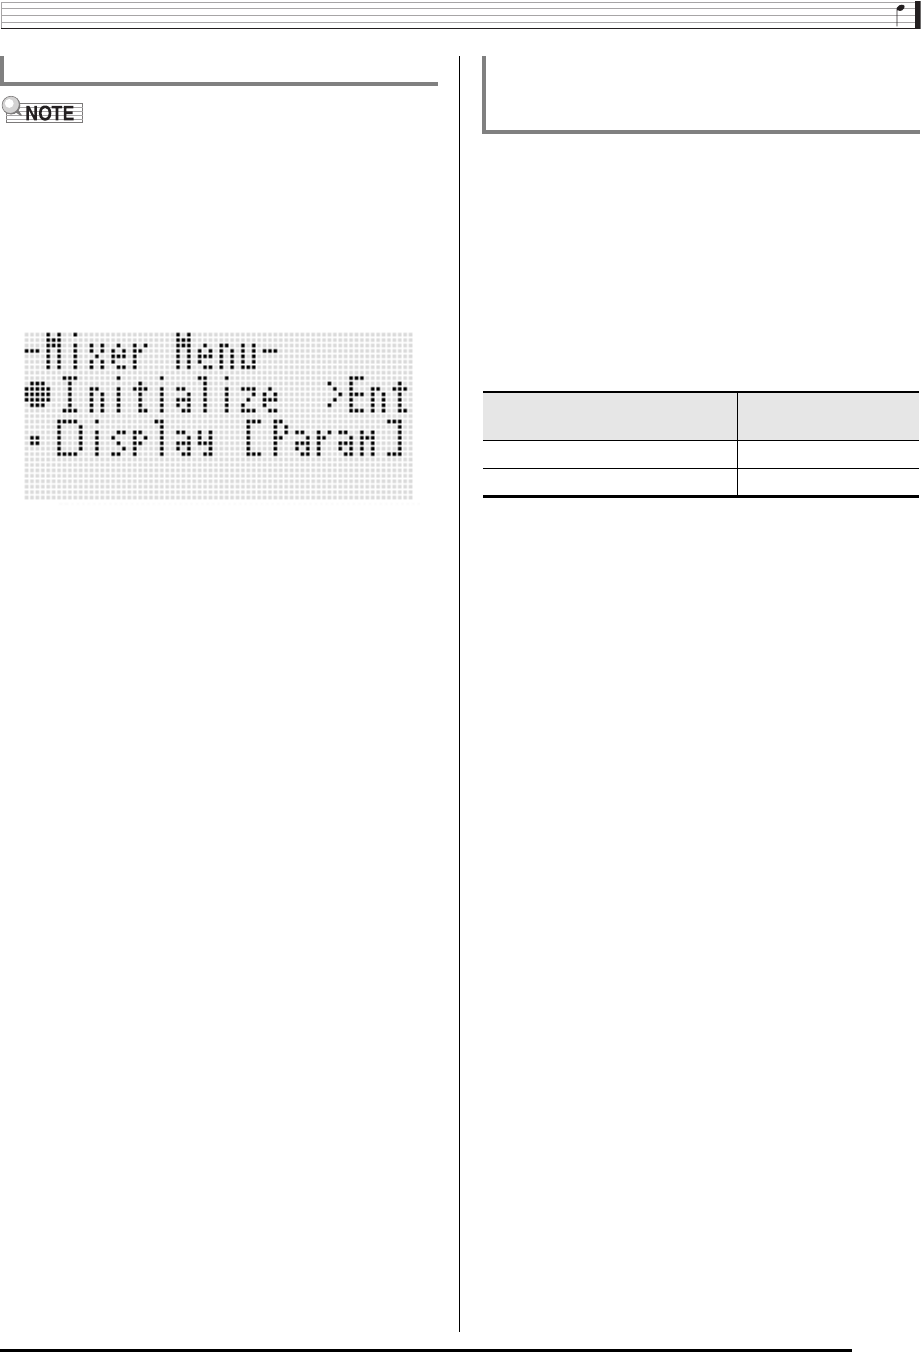
• This displays the mixer menu screen with the 0 next to
“Initialize”.
2.
Press the R-16 (ENTER) button.
3.
In response to the “Sure?” message that
appears, press the R-14 (YES) button to
initialize all mixer parameters or the R-14 (NO)
button to cancel.
1.
While the mixer screen is displayed, hold down
the R-13 (FUNCTION) button as you press the
C-13 (MENU) button.
• This displays the mixer menu.
2.
Use the R-17 (y) button to move the 0 to
“Display” and then press the R-16 (ENTER)
button.
3.
Use the dial or R-14 (–, +) buttons to change the
setting.
4.
After the setting is the way you want, press the
R-15 (EXIT) button to exit the menu.
To initialize all mixer parameters To change the information displayed by the
level meter while configuring part parameter
settings
To select display of this
information:
Select this setting:
Part parameter setting values Param
Volume level Meter


