Wireless-Microphones 3
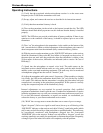
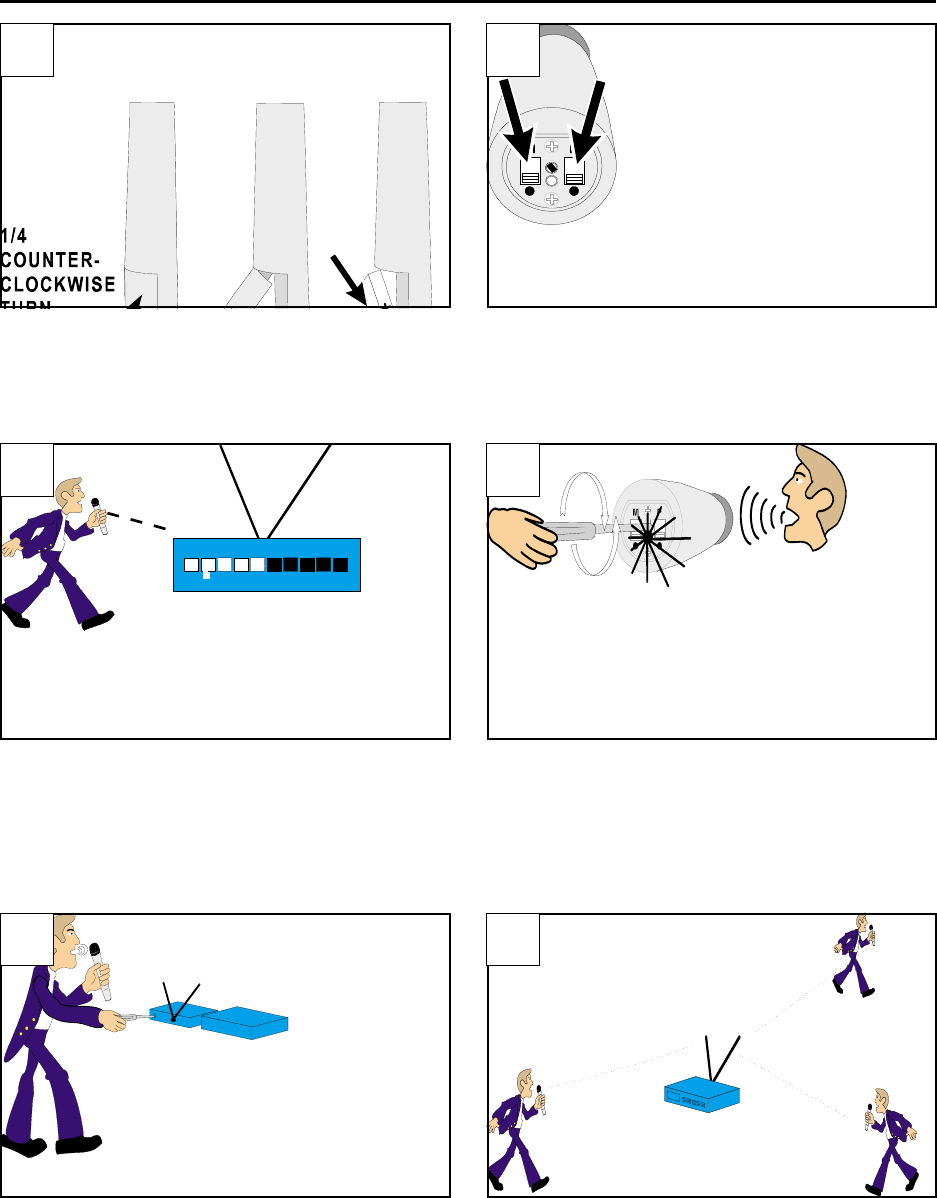
“Walk” the coverage area to check for
problems. If there is a problem, check mic
batteries (fresh?); ensure antennas aren't
touching each other or any metal objects. Path
between transmitter and receiver must be clear
for proper operation.
6
Unlatch cover and insert a 9-volt battery.
Slide 9-volt battery into compartment with the plus
“+” terminal as shown above. Slide cover back
on.
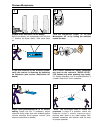
1
Turn the transmitter Power “P” on and
Microphone “M” on by sliding the switches
toward the dots.
2
With a small screwdriver, adjust transmitter
mic level so the receiver's “AUDIO LEVEL”
LED flashes only when speaking very loudly.
If it flashes frequently, turn it counterclockwise. If
it doesn't flash at all, turn it clockwise.
4
In the area covered by the wireless system,
verify the receiver is receiving by observing
its indicators (see receiver instructions for
details).
3
Adjust mixer/preamp/amplifier to its normal
setting. Speak into mic. If necessary, adjust
receiver's audio output level until wireless system
volume matches wired system volume (see
receiver instructions for details).
5


