


3
Internal Setup and Connections
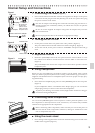
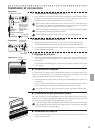
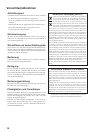
1. Connecting the Power
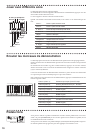
(Figure 1)
• Start with the SP-170 turned OFF. Connect the supplied AC adapter to the power
cord. Insert the DC plug end into the [DC12V] jack on the rear panel. Next, plug
the power cord into an AC outlet.
Pass the AC adapter cord through the cord hook so that the plug will not be re-
moved from the jack accidentally. When you unhook the cord, do not pull the
cord with force.
Be sure to use the supplied AC adapter. Using other AC adapters may cause the
unit to malfunction.
Be sure to plug the unit into an AC outlet of an appropriate voltage.
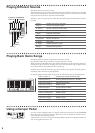
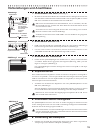
2. Turning the SP-170 ON
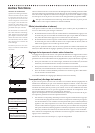
• Set the power switch on the rear panel to the “ON” position. (Figure 2)
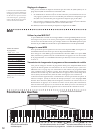
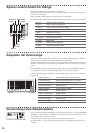
The power LED located to the le of the music stand will light up. (Figure 3)
• To turn the unit o, set the power switch to “STANDBY.” The power LED will go
dark.
3. Adjust the volume
• Rotate the [VOLUME] knob on the rear panel clockwise toward “MAX” to raise
the volume level. Rotate it counter-clockwise toward “MIN” to lower the level.
(Figure 2)
The [VOLUME] knob controls the output level of the built-in speakers and the
headphones jacks.
■ Usingheadphones
When you plug in headphones, the built-in speakers will be muted. This is useful
when you want to play the keyboard in the evening without bothering your family or
neighbors. The SP-170 features two headphone jacks so that two people can enjoy play-
ing and listening.
• Insert the stereo headphone plug into one of the [PHONES] jacks on the rear panel.
(Figure 2)
If your headphones feature a standard-to-mini adapter plug, be sure to hold the
adapter plug when you connect or disconnect the headphones.
To protect your hearing, do not listen to loud, high-volume sounds for a long pe-
riod of time through headphones.
■ Connectingaudiocomponents
You can use the [PHONES] jacks as line-out jacks to connect powered speakers or au-
dio components to the keyboard. For such connections, use commercially-available
cables that are appropriate for the components.
Before connecting audio components, make sure that you turn o the power to
the unit and the audio components. Otherwise, damage or malfunction to the
unit or components may occur.
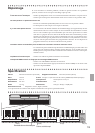
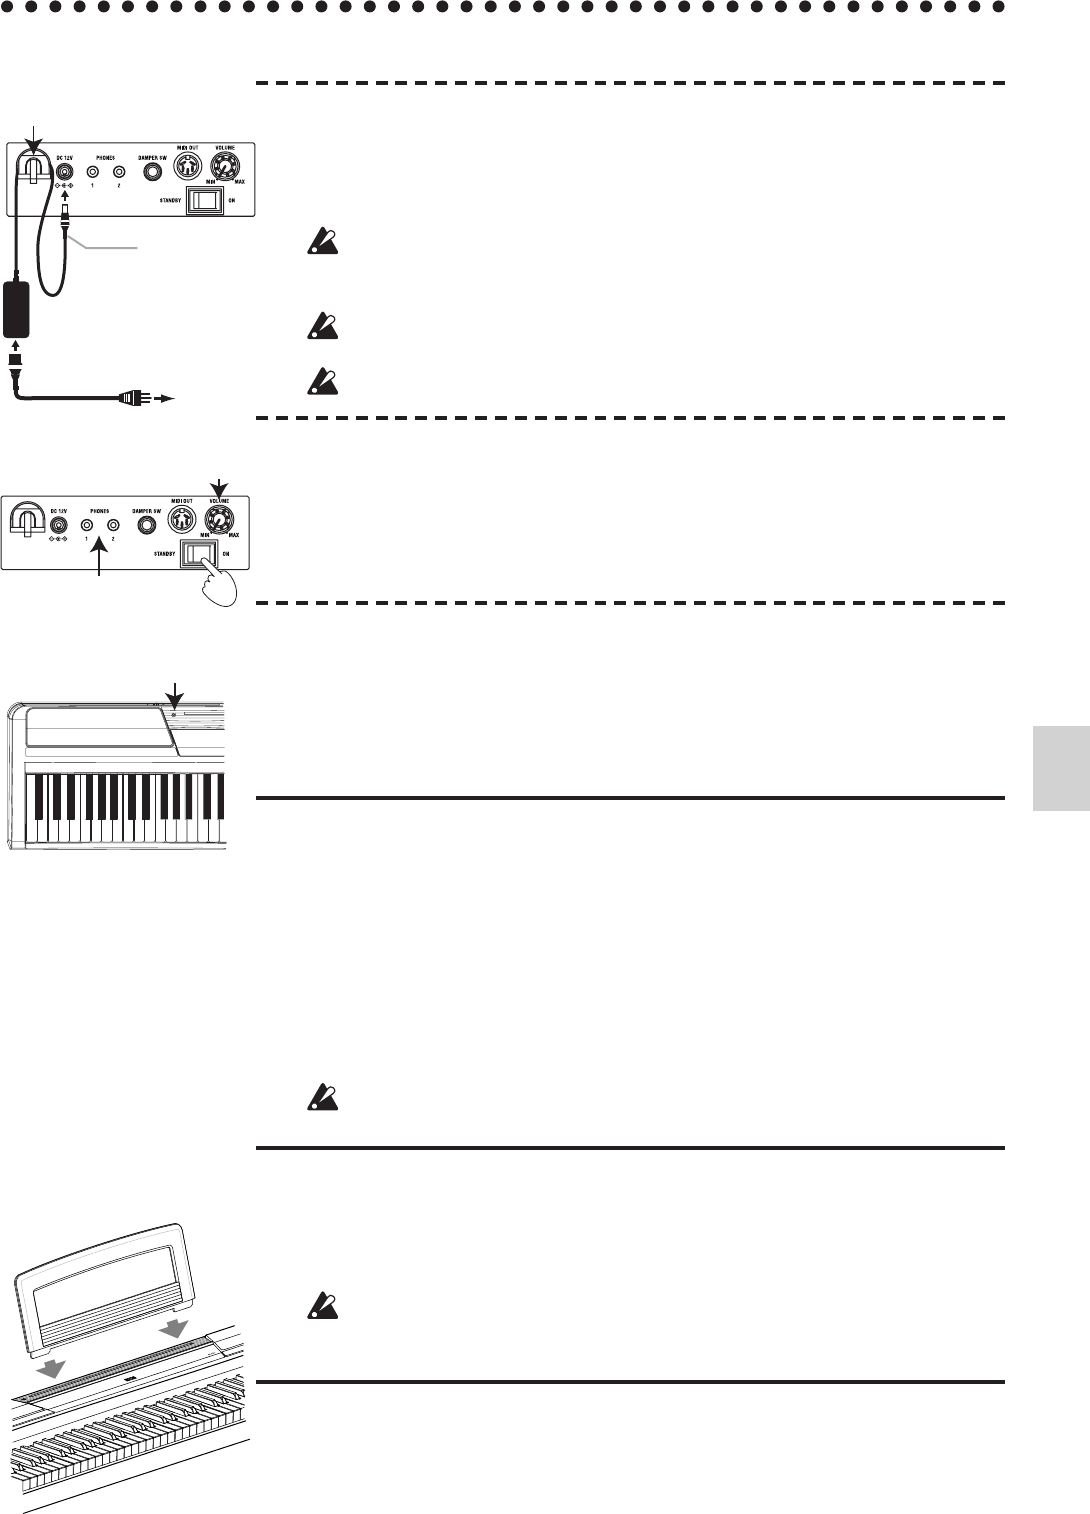
■ Usingthemusicstand
• Insert the legs of the supplied music stand into the dedicated groove located in the
middle of the top panel. (Figure 4)
To AC
outlet
Figure 1
AC adapter
DC plug
Power cord for AC adapter
Cord hook
Be careful not
to bend this
part too much
when you hook
the power cord.
Volume knob
Power switch
Headphone jacks
Figure 2
Figure 3
Power LED
Figure 4