


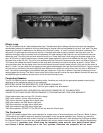
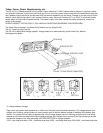
Effects Loop
The OD-100 effects loop is a tube buffered series loop. The effect send jack is always active and acts as a low impedance
tube buffered preamp out capable of driving a wide variety of devices from low level pedals to line level “rack” gear. The level
appearing at this jack is dependent on the setting of the Channel’s Level 1 or Level 2 controls, whichever is selected. The
loop return, it’s gain stage and level control are only in the signal path when a plug is inserted in the loop return jack. An
additional tube gain stage is provided here to compensate for lower settings of the Channel Level controls when low level
effects are used. The return jack and level control also act as a “Power Amp Input” when using just the power stage of the
amp. At this point it is worth mentioning an internal power stage “presence” control which effects the high end “voicing” of
the power amp of the OD-100. This is not to be confused with the Channel 2 Presence control which only effects Channel 2.
This internal trim effects the overall Presence of the amp (both channels) and is set at the factory at about 1 o’clock. When
using the effects loop, the rear panel return level control acts as the amp’s overall master volume. Unity gain for this control is
about 1 o’clock. You can check this by plugging a short patch cable between the Loop Send and Return jack. Plug and unplug
the end going to the Return jack while noting the level difference and adjust the Level control until you hear no difference in
level. You can take advantage of this additional tube gain stage even if you use no effects in the loop by keeping the short
cable plugged into the loop. The Return Level control on the rear panel will now be the overall Master volume of the amp and
the additional gain provided by the loop return circuit will make the amp louder.
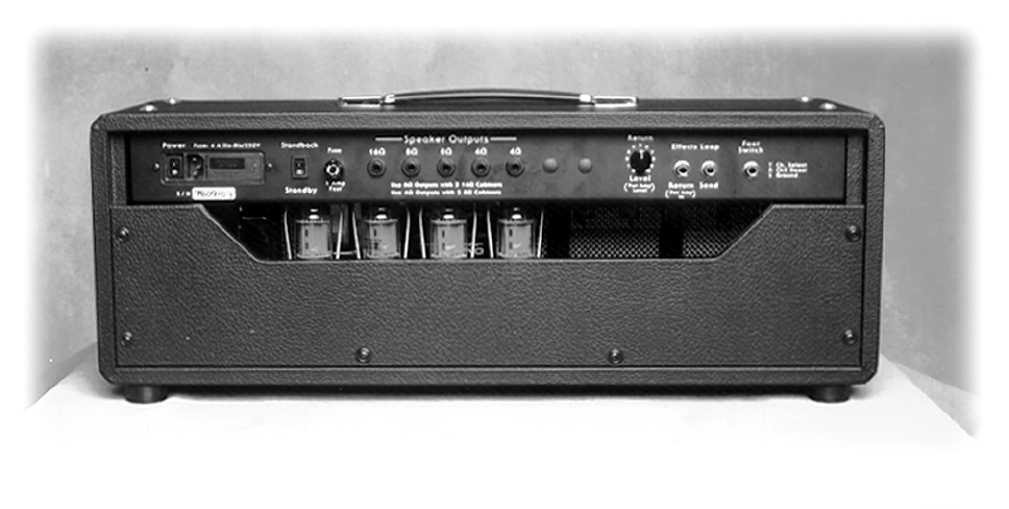
Connecting Speakers
The OD-100 does not use an impedance selector switch, therefore you must pick the appropriate speaker output jack(s)
depending on the impedance (ohms) of your cabinet(s).
IMPORTANT! KNOW THE IMPEDANCE OF YOUR SPEAKER CABINETS!!!
If you don’t know, ask someone who does. The life of your amplifier may be at stake!!!
WARNING!!! ALWAYS HAVE A SPEAKER OR LOAD DEVICE CONNECTED TO THIS AMPLIFIER!!!
FAILURE TO DO SO MAY CAUSE SERIOUS DAMAGE TO YOUR AMP AND MAY VOID YOUR WARRANTY!
Follow these simple rules and your OD-100 will be happy:
ONE 16ohm cabinet, use the 16ohm output jack.
TWO 16ohm cabinets, use both 8ohm output jacks.
ONE 8ohm cabinet, use ONE 8ohm output jack.
TWO 8ohm cabinets, use both 4ohm output jacks.
ONE 4ohm cabinets, use ONE 4ohm output jack.
TWO 4ohm cabinets...FORGET IT! The OD-100 will not work with a 2ohm load.
The Footswitch
The OD-100 comes equipped with a dual footswitch for remote control of channel selection and Channel 2 Boost. A stereo
(TRS) cable of any length is required to connect the footswitch to the rear panel footswitch input. Virtually any switching
system control functions will work as well. Shorting Tip to Sleeve selects Channel 2, while shorting Ring to Sleeve activates
the Channel 2 Boost. You can also use a single footswitch with a mono cable to channel switch if you want the Boost always
on in Channel 2. Important note: When using the footswitch, make sure the front panel Channel Select
and Channel 2 Boost switches are in the “out” position. Otherwise, the footswitch will not work!