Three simple steps to obtaining
a flat response
Adjusting the compensated result to create the
desired response: manual adjustment
Depending on the character of the room or the
location in which the analysis is performed, the
compensation result may not necessarily be ideal in
some cases. Alternatively, a flat response may not
produce a perceptually desirable sound. In such cases,
you can manually adjust the compensation result in a
range of 70—130% to create the sound you need. The
results of your adjustments are saved even when the
power is turned off, and can be recalled at any time.
Instantly create “scooped” or “warm” sounds:
using this function as a preset EQ
By adjusting the response curve manually, you
can obtain not only a flat playback environment
but also a “scooped” response that boosts the low
and high ranges (BUMPY 1—4) or a rich and deep
response curve that boosts the mid range (WARMY
1—4). A total of twelve curve settings you create
can be saved, meaning that you can use the Room
Acoustic Auto Control as a 12-preset equalizer.
As the target response curves for compensation, you can
choose from three types: FLAT, BUMPY, or WARMY. You can
also create variations of these and save them.
When the sensor inside the Mix controller detects the test signal,
the L-channel and then the R-channel will be automatically
analyzed, and the result will appear in the screen.
[ROOM ACOUSTIC AUTO CONTROL] button
Using curves other than FLAT
to take advantage of the Room
Acoustic Auto Control
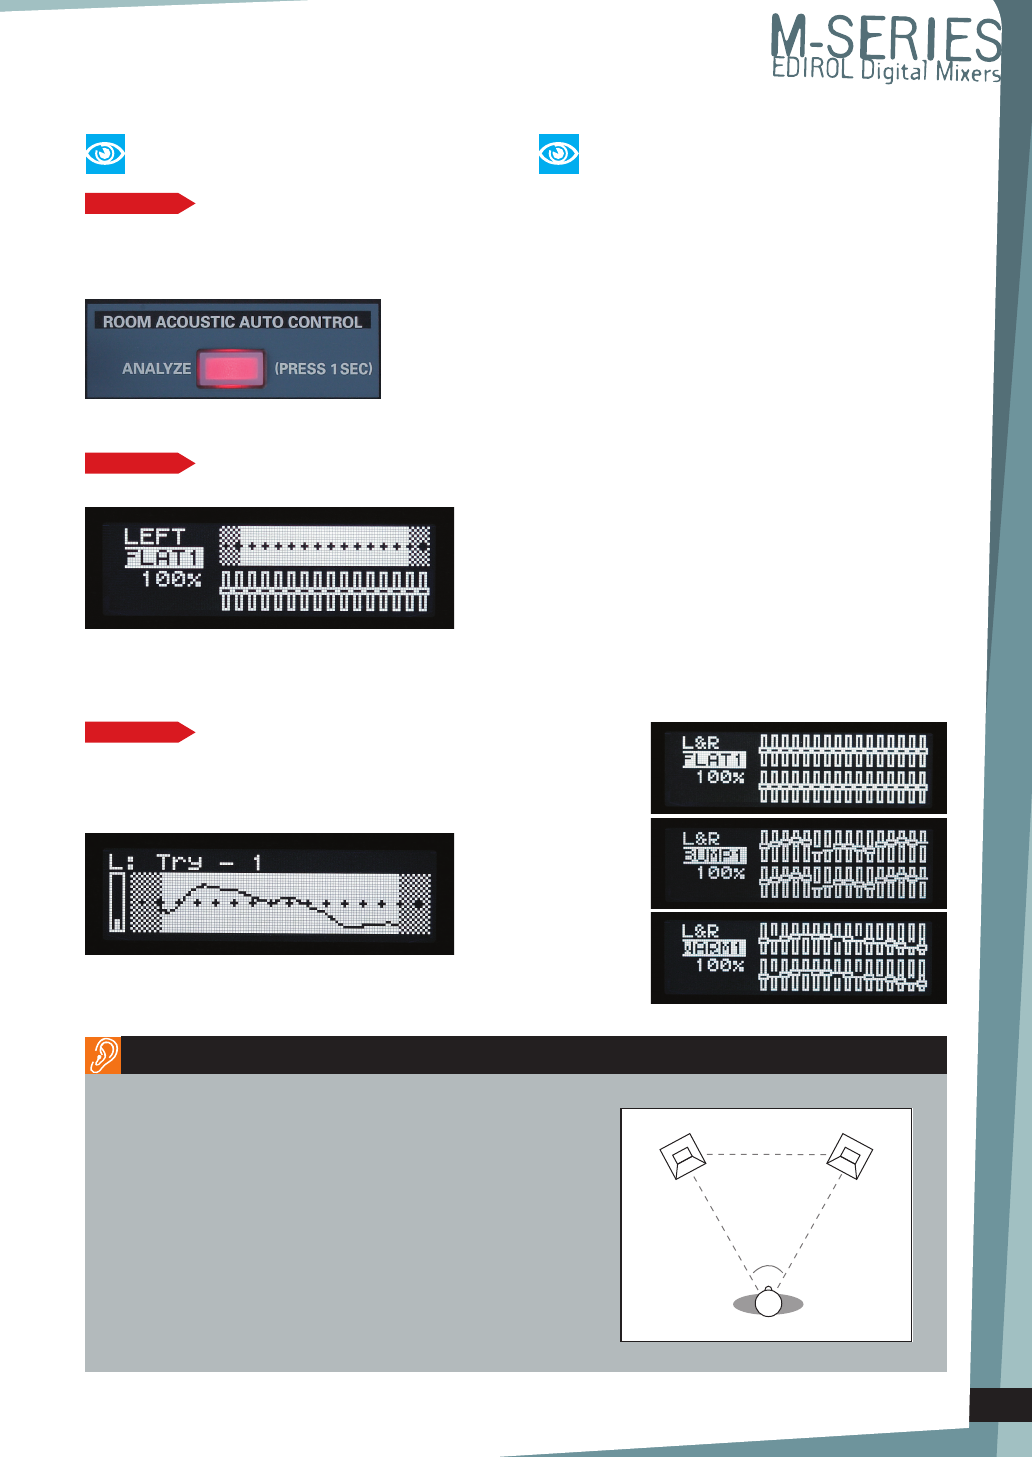
Place the left and right monitor speakers at the height of your ears,
and position your listening point so that you are at the third corner of
an equilateral triangle whose other two corners are the two speakers.
This is the basic setup. However in actuality, the shape of your room
and the material of the walls and floor will affect the sound you hear,
so you may need to make fine adjustments to the height or angle of
the speakers. If the left and right speakers are not very far apart, it will
be easier to make distinctions in the high-frequency and low-frequency
ranges. If you move the speakers farther apart, the left/right positioning
of sounds will be clearer.
When using Room Acoustic Auto Control, you will get the best results
if the sensor is placed at the listening point.
STEP1
Set your monitor speakers to the desired playback
volume, and then press the [ROOM ACOUSTIC AUTO
CONTROL] button.
STEP2
Select the [FLAT1] response curve.
STEP3
Hold down the [ROOM ACOUSTIC AUTO CONTROL] button
for one second or longer to start the detection process.
* You can also use the internal mic as the room acoustic sensor.
Tips for creating a better monitoring environment in your home studio
7


