Various Settings (Function Mode)
13
DeutschEnglish Français Italiano Español Português Nederlands
Function Settings
Display Function Setting Value Explanation
F01
Transpose
-6 – 0 – 5 (semitone
steps)
(default:
0)
Changing the Key of the Keyboard (Transpose)
You can use the Transpose function to transpose the
keyboard in semitone steps.
For example, if a song is in the key of E major, and
you want to play it with the ngering of C major, set
Transpose to a value of “4”.
F02
Master Tuning
15.3 – 40.0 – 66.2
(415.3 Hz–440.0 Hz–
466.2 Hz)
(default:
40.0)
Matching the Pitch with Other Instruments
(Master Tuning)
When playing ensemble with other instruments and in other such instances, you can match the
standard pitch to another instrument.
The standard pitch generally refers to the pitch of the note that’s played when you nger the
middle A key. For a cleaner ensemble sound while performing with one or more other instruments,
ensure that each instrument’s standard pitch is in tune with that of the other instruments.
In the display, the last two digits of the whole number and the digit to the
right of the decimal point are indicated. “440.0 Hz” is indicated in the gure
above.
MEMO
You can save this setting so that it will still be available the next time the power is turned on. To
save the setting, proceed as described in “Saving the Settings (Memory Backup)” (p. 12).
F03
Visual Control Mode
Controlling Video Equipment (Visual Control
Mode/Channel)
Visual Control is a function that lets you control images along with your performance. If you’ve set
Visual Control mode to 1 (MIDI Visual Control) or 2 (V-LINK), playing the keyboard of this unit will
control the images produced by the Visual Control device connected to this unit using a MIDI cable.
* By holding down the [Key Touch] button and pressing the Piano [Ensemble] button, you can
switch this setting between “OFF” and “1”.
OFF (default)
Visual Control is o.
1 (
MIDI Visual Control
)
MIDI Visual Control mode is selected.
2 (V-LINK)
V-LINK mode is selected.
F04
Visual Control Channel
1 – 16 (default: 10)
Species the MIDI channel used to transmit MIDI messages to the Visual Control device.
If you play C E G g It will sound E G B
40. 0
What is MIDI Visual Control?
MIDI Visual Control is an internationally-used recommended practice that was added to the MIDI specication so that visual expression could be
linked with musical performance. Video equipment that is compatible with MIDI Visual Control can be connected to electronic musical instruments
via MIDI in order to control video equipment in tandem with a performance.
What is V-LINK?
V-LINK is Roland’s proprietary specication that allows visual expression to be linked with musical performance. Video equipment that is
compatible with V-LINK can be connected to electronic musical instruments via their MIDI ports, making it easy to enjoy a variety of visual
eects that are linked with the performance.
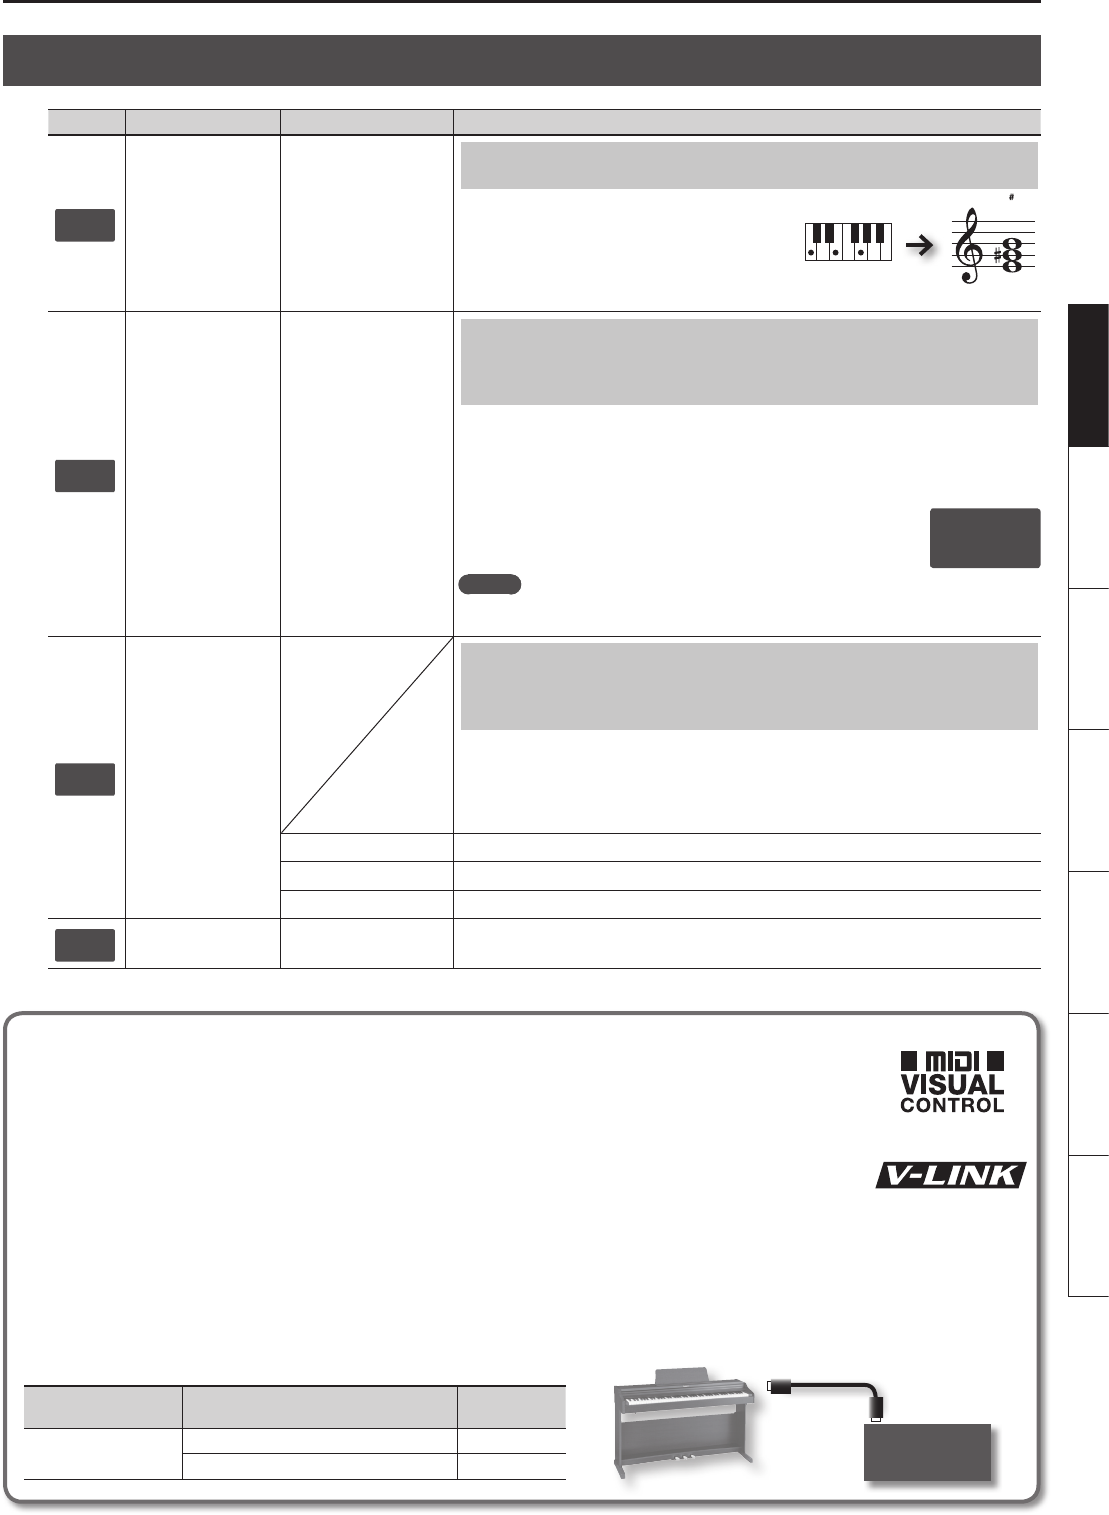
Connection Examples
Connect a MIDI cable from this unit’s MIDI Out connector (p. 5) to the MIDI In connector of your Visual Control compatible device.
* You’ll need a MIDI cable (sold separately) in order to connect this unit to a device that supports Visual Control.
Visual Control Function Chart
Playing the lowest 12 keys of this unit (A0–G#1) will transmit the following MIDI messages.
Visual Control function Transmitted MIDI message
This unit’s
operation
Switch images
CC 0 (Bank Select): 0–4 Play black keys
Program Change: 1–7 Play white keys
Visual Control
compatible video
equipment
MIDI In connector
MIDI Out connector


