9
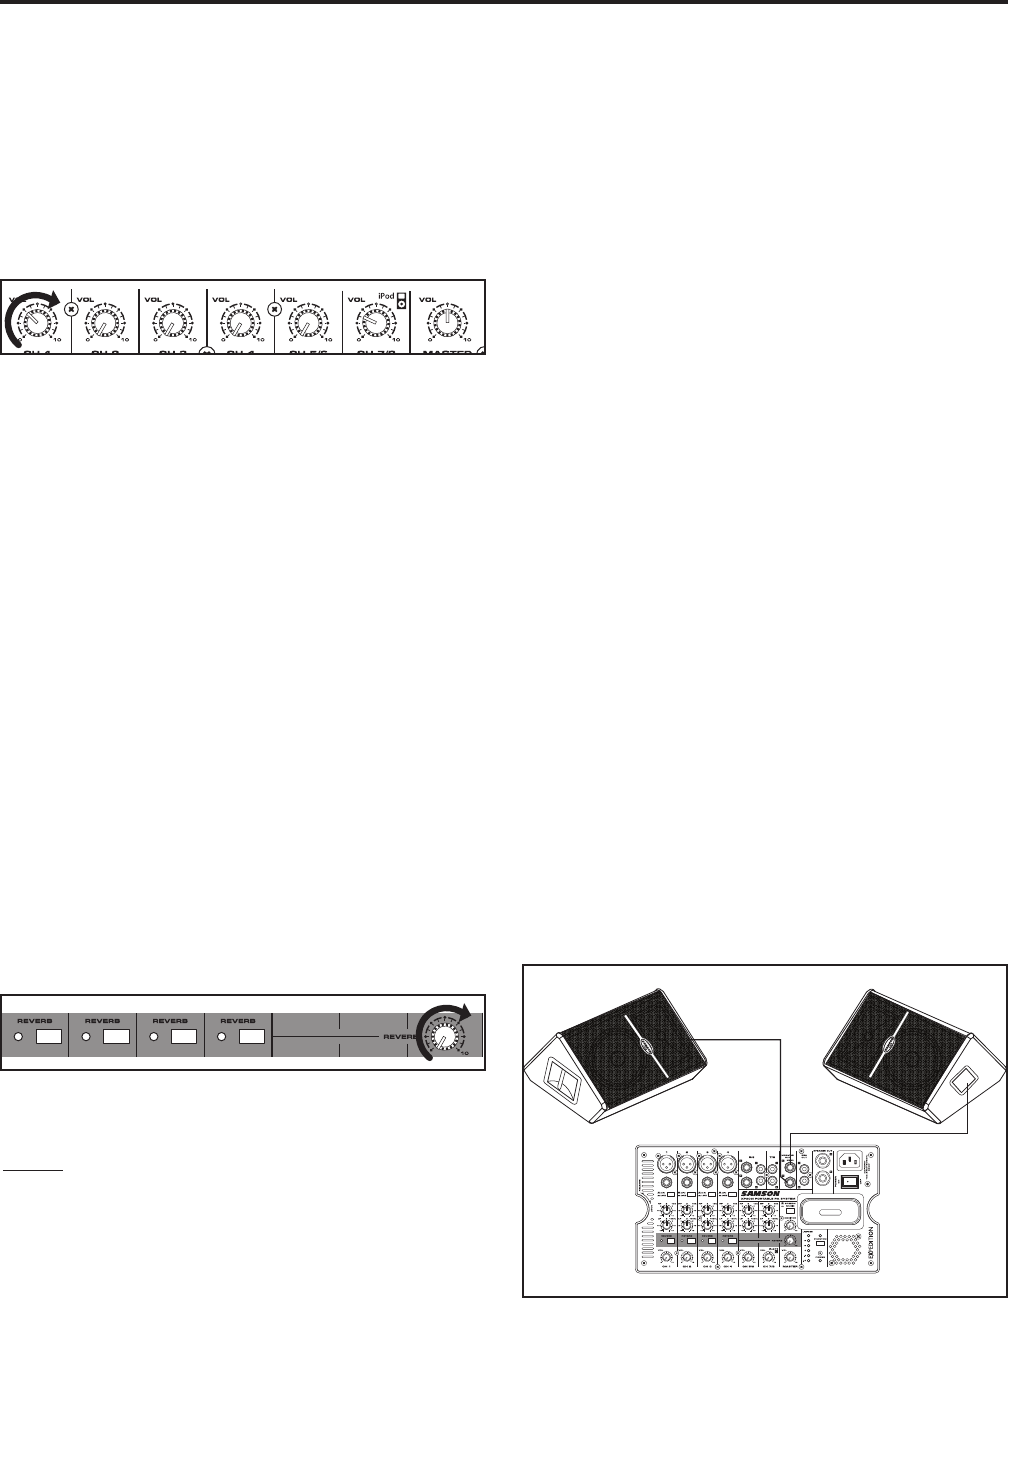
4. Set the MASTER level control to about halfway
up.
5. While speaking into the mic (or playing the
instrument), adjust the channel GAIN control
so that the “PEAK” LED of the channel lights
occasionally, then back it down slightly.
6. Slowly adjust the channel VOLUME control until
the desired level is reached.
7. If you wish to adjust the tone of each channel,
adjust the LF and HF equalizer controls as
desired. If you add a lot of EQ, you may have to
re-adjust the channel VOLUME.
8. Use the MASTER level control and SPEECH /
MUSIC switch to adjust the overall volume and
tone.
Using The Reverb Effect
The XP308i features a built-in, high quality, Reverb
effect that you can add to channels 1 through 4.
You can use the REVERB to create a studio effect by
simply following the steps below.
1. Connect a mic or instrument to the desired
channel, and adjust the volume and equalizer to
your liking.
2. Now press the REVERB switch down on the
channel you want to add the reverb effect to.
4. Once you have selected the channels for effects
by using the channel REVERB switch, raise the
REVERB main level control to apply the amount
of reverb effect.
NOTE: If the effect sound is distorted, lower the
REVERB main level.
Using Monitor Speakers.
In many live sounds applications, it’s necessary
to have a monitor system to help the performers
hear their performance. A monitor system includes
a dedicated signal from the main mixer feeding
amps and monitor speakers, or powered monitor
speakers, facing the performers on stage.
Monitor speakers are typically angled enclosures
and can be miniature stand mounted monitors used
in small situations, or for medium to large PA set-ups
floor monitors are used.
The XP308i’s mixer provides a MONITOR OUT on
two ¼-inch phone jacks for connecting additional
speakers.
Follow these steps to connect your monitor
speakers.
Be sure to select the correct type of monitor
speakers. The MONITOR OUT is a line level, un-
powered output so you must use a powered
monitor (like the Samson LIVE 612M) or a passive
monitor with a power amp.
Place the monitor in position.
Connect a standard, shielded instrument type cable
with ¼-inch phone plugs from the MONITOR OUT
Left and Right jacks to the input of each monitor as
shown in the diagram below.
Operating the XP308i
Powered Monitor
Powered Monitor
