


70
PAN / TILT / ZOOM OVERVIEW
The PTZ controls within the IPR allow for powerful control over the cameras. This can be extremely beneficial by increasing the
usefulness of the recorded video. Using the PTZ controls you can create custom preset configurations that can continuously sweep
across large areas.
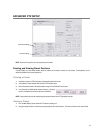
SETTING UP A PTZ CAMERA
Setting up a PTZ Camera is simple. The IPR comes preassembled with an internal PTZ adapter. The cabling may be run up to 2,000 ft
using 22 Gauge Twisted Pair.
It is important to understand how the PTZ connects to the IPR. The IPR outputs an RS-232 signal and converts in to an RS-422/485
signal which is then sent to the PTZ camera.
Attaching the PTZ Adapter
Refer to the Connections section of this manual for information on connecting the PTZ camera to the IPR
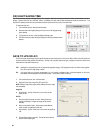
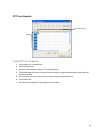
Enable the PTZ Settings
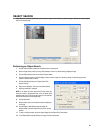
1. Inside the IPR PTZ Setup, select the PTZ camera using the Camera Channel list.
2. Enable the PTZ functions of the camera by placing a check in the Enable Pan/Tilt check box.
3. Select the appropriate Protocol and set the PTZ Driver Address and Serial Port Settings (See Advanced PTZ Setup in the
chapter).
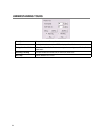
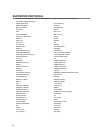
NOTE: The majority of major PTZ manufacture protocols are included in this software. Refer to the Supported PTZ Protocols list in
this manual.
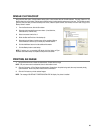
4. Click Apply and Exit Setup.
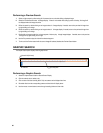
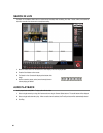
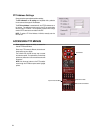
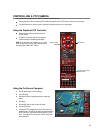
5. From the Main Display Screen select the PTZ button (See the chapter on IPR Basics) The PTZ Controller will open.
6. Select the PTZ camera to control by clicking on its video on the main display screen. The camera number will appear inside the
PTZ controls.
7. Using the PTZ controls, move the PTZ around.