


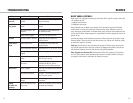
87
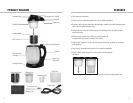
OPERATING INSTRUCTIONS
C. MAKING RICE PASTE:
1. Soak rice: Use the measuring cup and take a full cup of dry rice (4 oz. 115g). Rinse
thoroughly and leave to soak. Soak rice for 30 minutes.
2. Add water to the stainless steel chamber: Add water to the stainless steel pitcher
between the upper and lower water-level lines.
3. Load rice and assemble the machine: Drain the rice and load it into the special rice
paste screen. Attach the rice paste screen to the head unit by moving the blade in a
side-to-side motion to allow the screen to slide properly into place. Lock the rice paste
screen by turning it counter-clockwise (markings on the milk screen indicate the proper
lock and unlock directions).
•CAUTION: BE SURE THE SCREEN IS PROPERLY LOCKED IN PLACE! If the screen
becomes loose during operation, the spinning blade could damage the screen.
4. Assemble machine and make rice paste: Connect the head unit to the stainless
steel chamber. Make sure the upper plug slides into the upper plug receptacle on top of
the handle. Plug the provided power cord into the power plug receptacle found on the
main body, and connect the other end to a wall socket. Once plugged in, the soymilk
maker will beep and a red light will flash, indicating that the power is on. Choose the
paste setting by pressing the "PASTE" button on the head unit, and the red light will
turn solid, indicating that the cycle is starting. The cycle will take approximately 15
minutes. When finished, the indicator light will blink green, and the machine will beep.
5. Pour and enjoy: Unplug the base unit. Lift the head unit from the stainless steel
chamber. When removing the head unit, be careful not to touch the screen. It will be hot.
Make sure that all the paste drains from the screen before moving the head unit away
from the stainless steel chamber. Place the head unit with the screen still attached into
the utility cup to cool. Carefully pour paste from the stainless steel chamber.
•CAUTION: Rice paste will be hot. Allow paste to cool before serving.
D. GRINDING COFFEE AND OTHER DRY FOODS:
Follow these instructions to grind coffee, nuts, grains, or seeds.
1. Load Grinding Cup: Using the measuring cup and take a full cup of coffee beans,
nuts, grains, or seeds and load them into the Grinding Cup.
2. Attach the Grinding Cup to the head unit: Attach the grinding cup to the head unit
by moving the blade in a side-to-side motion to allow the grinding cup to slide properly
into place. Lock the grinding cup into place by turning it counter-clockwise.
E. CLEANING:
Be sure to clean Soyabella thoroughly after every use. Proper cleaning will ensure that
Soyabella produces great results for years to come.
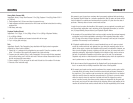
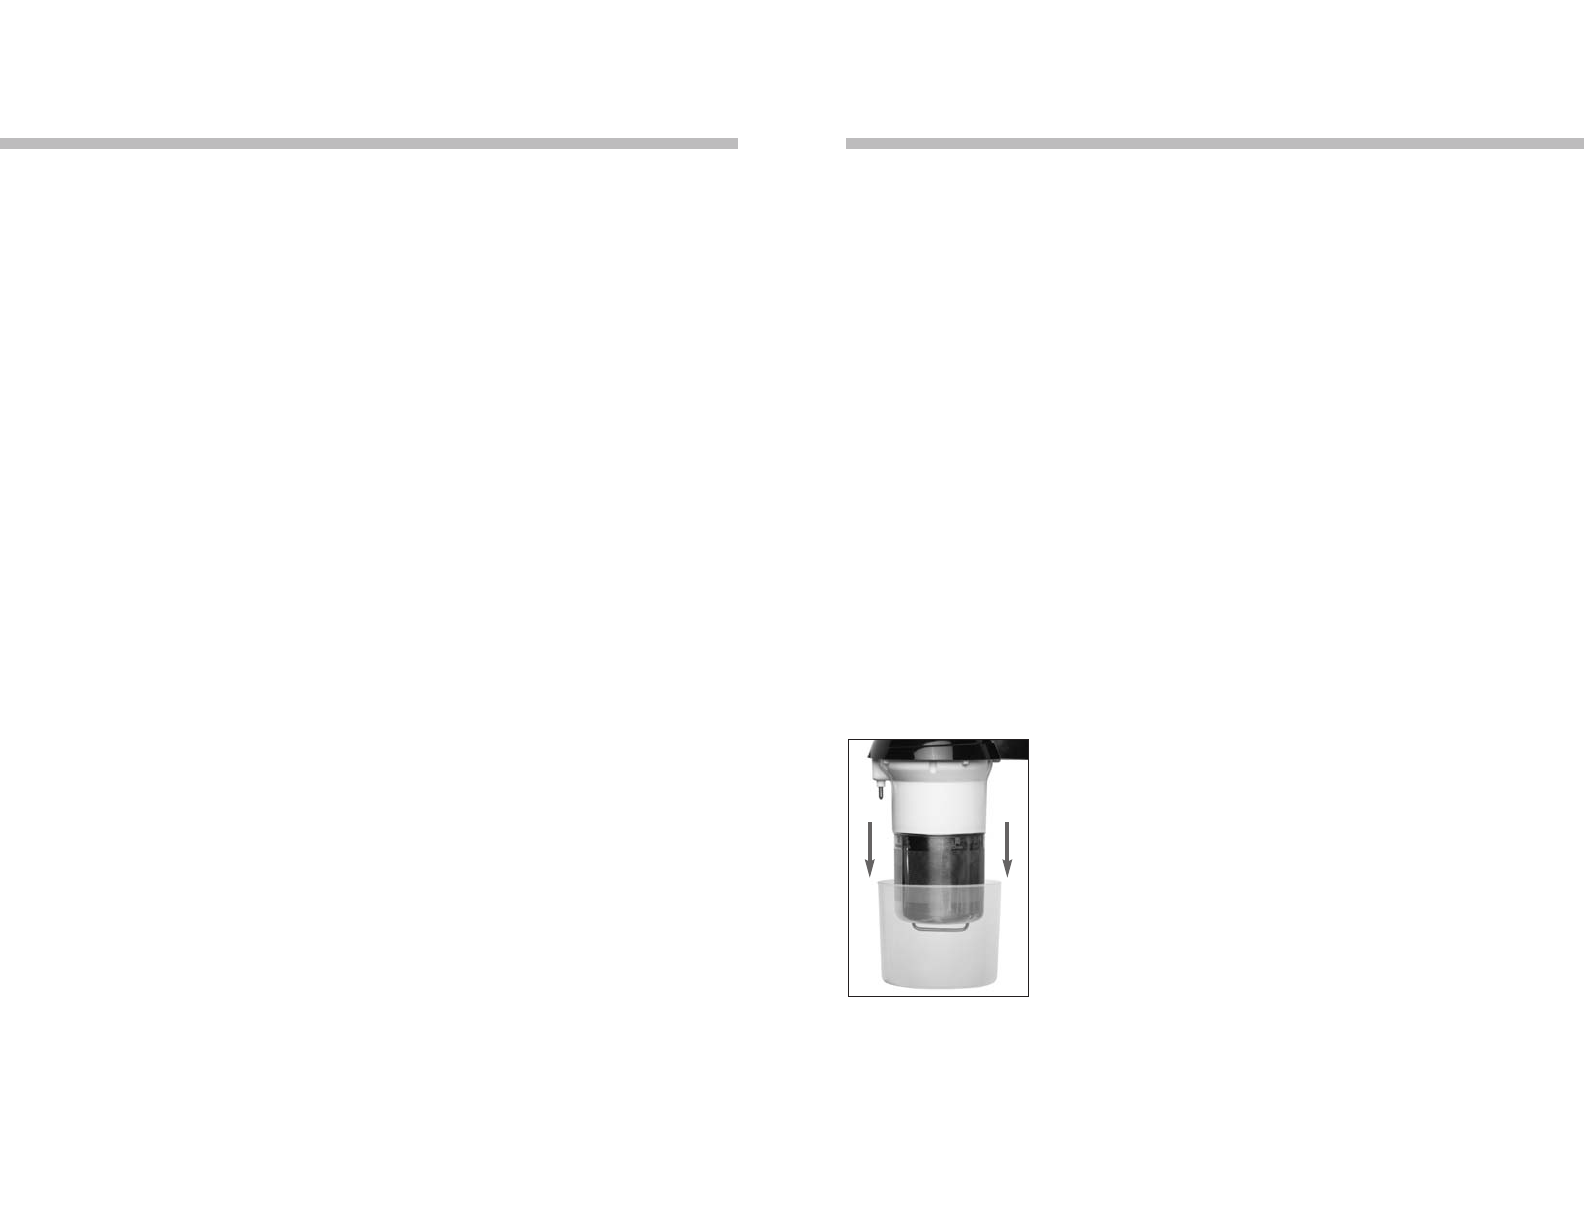
1. Unplug the unit.
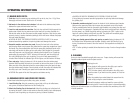
2. Place head unit with screen into the utility cup to cool for
about 30-45 minutes (See photo on left).
•TIP: For faster cleanup, add cold water to the utility cup to
soak the screen. If you want to eat the grounds, let it cool on
its own.)
3. After the contents have cooled, detach the screen from the
head unit by turning the screen clockwise.
4. Unload the soybean residue and wash the screen with hot,
soapy water and the provided cleaning brush. Ensure that the screen is cleaned thoroughly,
making sure all holes are open, as a blocked screen can affect the consistency of the milk
in future operations.
•CAUTION: BE SURE THE GRINDING CUP IS PROPERLY LOCKED IN PLACE!
If the grinding cup becomes loose during operation, the spinning blade could damage
the grinding cup!
3. Assemble machine and grind: Connect the head unit to the stainless steel chamber.
Make sure the upper plug slides into the upper plug receptacle on top of the handle.
Plug the provided power cord into the power plug receptacle, and connect the other end
to a wall socket. Once plugged in, Soyabella will beep and a red light will flash, indicating
that the power is on. Choose the grinder setting by pressing the "MILL" button on the
head unit, and the flashing red light will turn solid. The grinder will immediately begin
milling your ingredients for approximately 10 seconds.
4. Enjoy your freshly ground coffee, nuts, grains, or seeds: Unplug the base unit. Lift
the head unit from the stainless steel chamber. Carefully unlock the Grinding Cup by
turning it clockwise and remove it from the head unit. Your ingredients are ready to be
enjoyed.
•TIP: If further grinding is needed, follow directions from step 2 and run through another
cycle.