


63
CVP-201
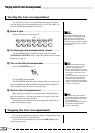
X Start the Auto Accompaniment.
Press [START/STOP] or use the Synchronized Start function (page
53) to start the Auto Accompaniment.
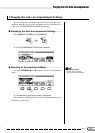
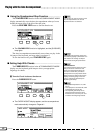
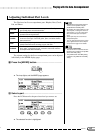
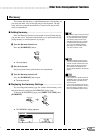
C Enter the chord root.
ROOT function
Settings: See sidebar on page 60.
Use the ROOT button to select a root.
➔ The ROOT function is highlighted, and the root changes.
If you hold the ROOT button down, the
INVERT setting may also change.
When the ROOT function is highlighted, you can also use the data
dial or the [–] and [+] buttons to select a root.
Playing with the Auto Accompaniment
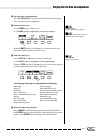
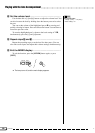
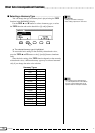
When the TYPE function is highlighted, you can also use the data dial
or the [–] and [+] buttons to select a chord type.
The following chord types can be specified in the display:
Major [Maj]
Minor [m]
Seventh [7]
Minor seventh [m7]
Minor seventh flatted fifth [m7 (b5)]
Sixth [6]
Minor sixth [m6]
Major seventh [M7]
Suspended fourth [sus4]
Augmented [aug]
Minor flatted fifth [m (b5)]
Seventh suspended fourth [7sus4]
Seventh augmented [7 (#5)]
Diminished seventh [dim7]
Flatted fifth [(b5)]
Seventh flatted fifth [7 (b5)]
Minor major seventh [mM7]
TYPE function
Settings: See list at left.
Use the TYPE ▼ and ▲ buttons to select a chord type.
➔ The TYPE function is highlighted, and the type changes.
V Enter the chord type.
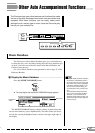
B Rotate the fingering as desired.
Press INVERT to shift the fingering down the keyboard. Each time
the INVERT button is pressed, the next viable fingering for the chord
appears. The INVERT function displays the inversion number.
61