


Song Lesson
EZ-200 Owner’s Manual 31
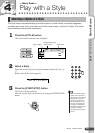
3 Start Lesson 1.
Press the [LISTEN & LEARN] button to start Lesson 1.
The melody of the part you selected in Step
2 will sound. Listen to it
carefully and learn it well.
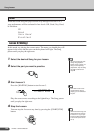
4 Stop the Lesson.
You can stop the Lesson at any time by pressing the [START/STOP]
button.
Lesson 2 (Timing)
In this lesson, try playing the notes with the correct timing. Simply
concentrate on playing each note in time with the rhythmic accompa-
niment.
The correct notes sound even if you play wrong notes as long as you
play in time with the rhythm.
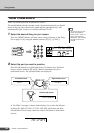
1 Select the desired Song for your lesson.
2 Select the part you want to prac-
tice.
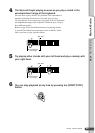
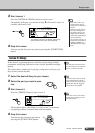
3 Start Lesson 2.
Press the [TIMING] button to start Lesson 2.
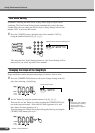
The keyboard lights when Light is on. In Lesson 2, concentrate
on playing each note in correct time with the rhythm.
4 Stop the Lesson.
You can stop the Lesson at any time by
pressing the [START/STOP] button.
•Even after Lesson 1 has
started and the Song is
playing, you can still select
the part.
• When the melody Voice of
the Song is changed, the
key position shown in the
display may be shifted (in
octave units), depending on
the Voice selected.
•You can select Lessons 1–3
by pressing the [LISTEN &
LEARN], [TIMING] and
[WAITING] buttons, respec-
tively.
NOTE
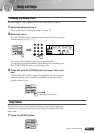
r1
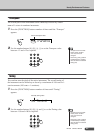
LISTEN
016
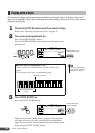
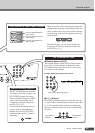
The notation is shown in the display, and the keys
light to indicate which notes you should play.
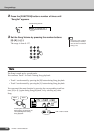
• The Split Point is fixed and it can-
not be changed. For the left-hand
lesson, it is fixed at 59 or B2.
NOTE
•You cannot select the part during
Song playback before Lesson 2
starts. If a Song is currently being
played back, stop the Song first,
then continue from Step
2.
NOTE
•Even after Lesson 2 has started
and the Song is playing, you can
still select the part.
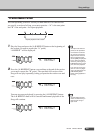
NOTE
r2
TIMING
016