


2
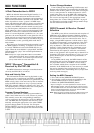
KEYBOARD STAND ASSEMBLY
Note: We do not recommend attempting to assemble the PDP-
300 alone. The job can be easily accomplished, however,
with only two people.
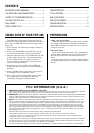
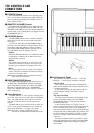
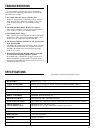
Open the box and remove all the parts.
On opening the box you should find the parts shown in
the illustration to the above. Check to make sure that all
the required parts are provided.
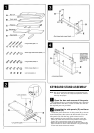
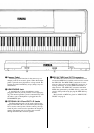
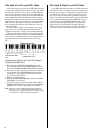
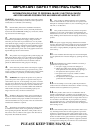
Assemble the side panels (D) and base
boards (E).
Install the joint connectors in side panels (D) as shown
in the illustration, then secure the base boards (E) to the
side panels (D) with the long gold-colored screws.
* When installing the joint connectors in the holes in the side
panels (D), make sure that the arrows printed on their upper
surface face in the direction shown in the illustration.
* Make sure that the left and right base boards are facing in the
proper direction as shown in the illustration. The grooved edge
of each base board should face inward.
z
x
1
2
3
4
• Long screws (gold) x 4
• Short large-head screws (black) x 4
• Long screws (black) x 4
• Short screws (black) x 4
• Joint connectors x 4
A
B
C
D
E
Main unit
Center panel
Pedal box
Side panels
Base boards
D
D
E
E
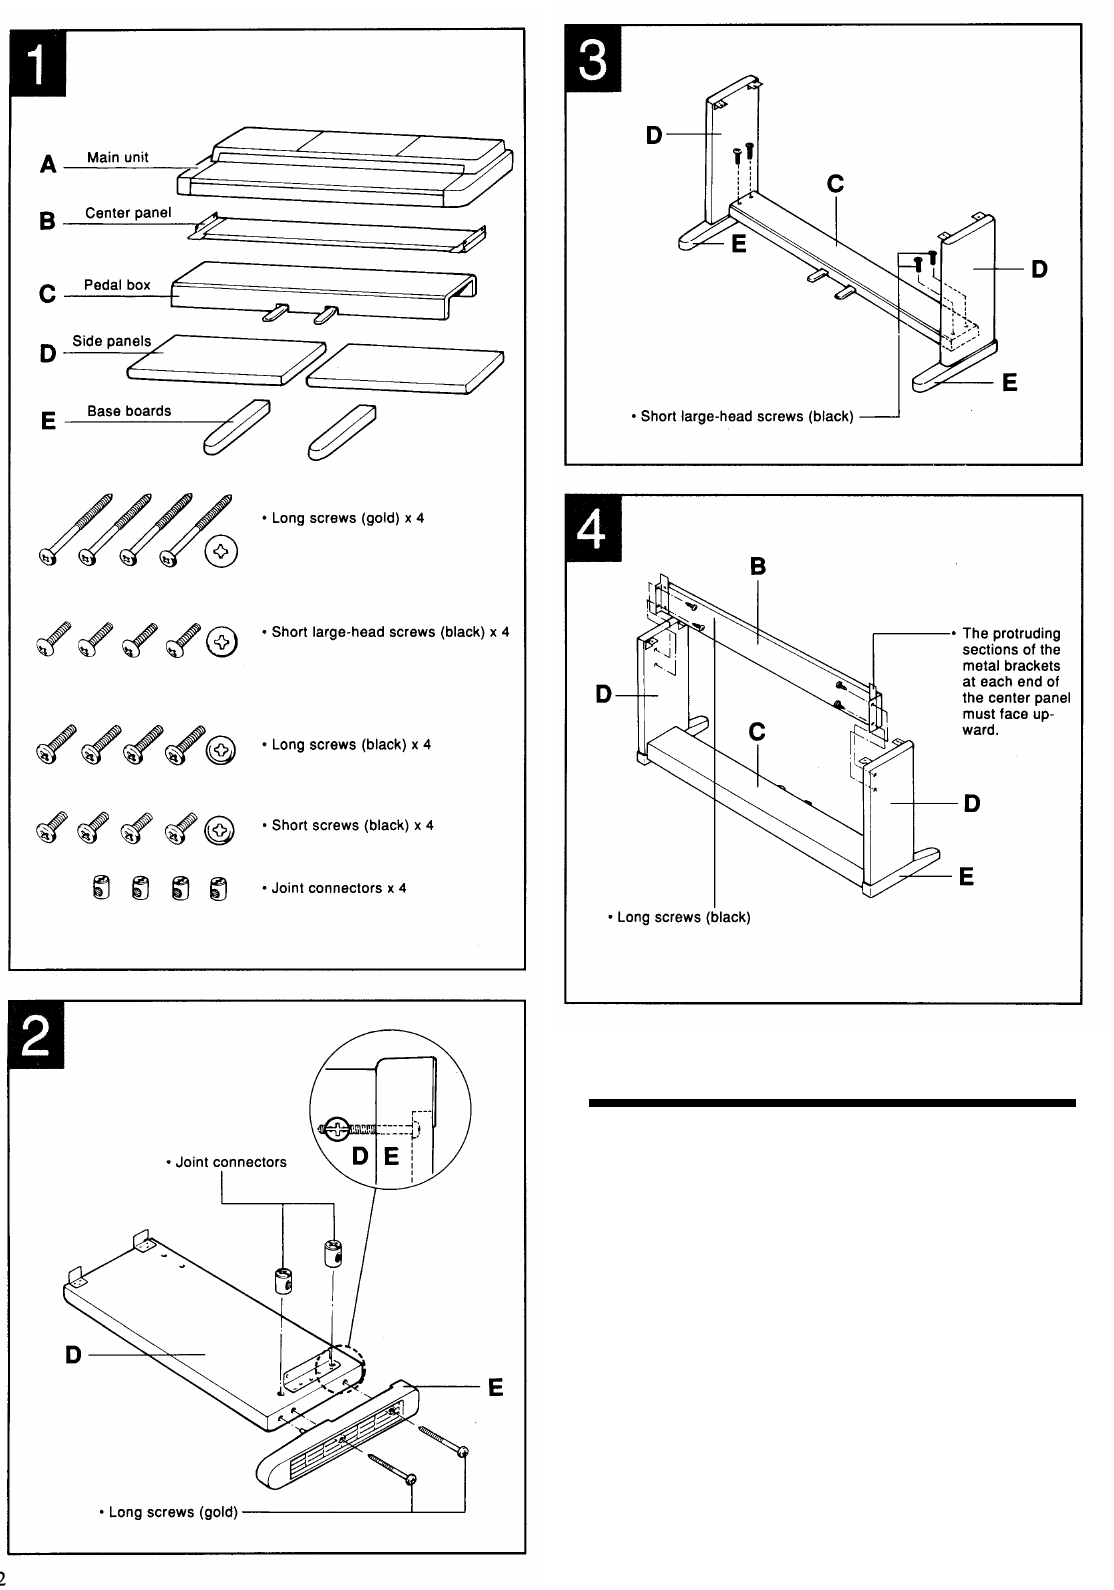
• Short large-head screws (black)
C
D
D
E
E
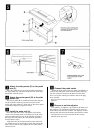
• Long screws (black)
• The protruding
sections of the
metal brackets
at each end of
the center panel
must face up-
ward.
C
B
D
D
E
• Long screws (gold)
• Joint connectors