Section 5. Software Installation and Settings
5-6
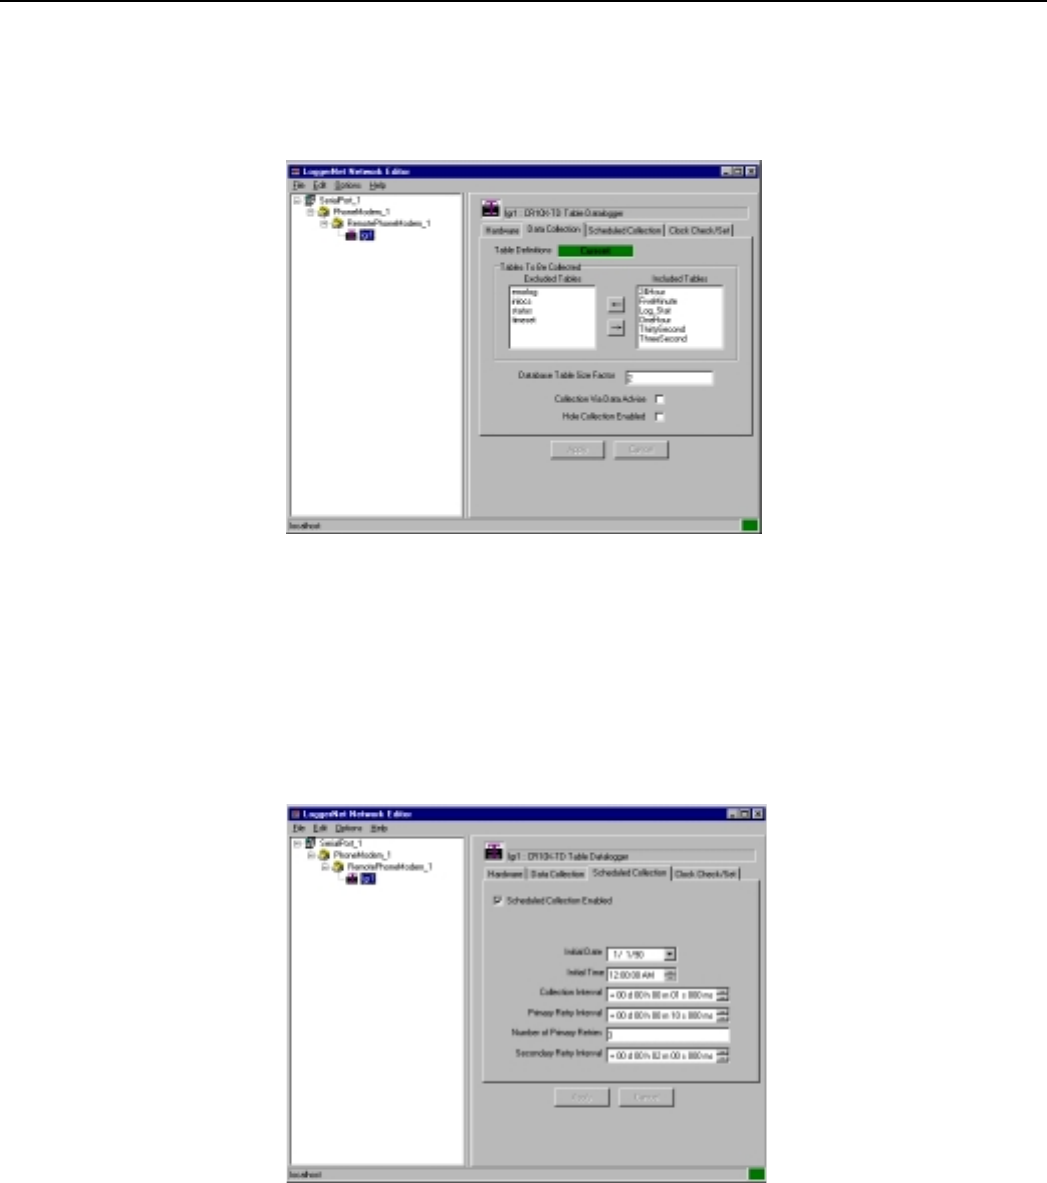
Now reopen Net Admin and go to the logger previously set up. Now
we will check to see if the Table Definitions have updated correctly by
going to the Data Collection tab. It could look like the following
picture.
Now select the Scheduled Collection tab again. Here you need to
enable the scheduled collection by selecting the Scheduled Collection
Enabled box. Note: if the LoggerNet server is open, it will probably
initiate connection to the station as soon as this is enabled. You can
close the server by right clicking on the blue icon in the lower right-
hand corner of your screen and selecting Close. It may give you a
warning, just press OK or Yes. Now close Net Admin and you’re ready
to reboot the system so everything will take effect. The LoggerNet
changes take effect almost immediately, but the extra settings in the
RDE always require a reboot before they will take effect.
When your system comes back up, LoggerNet should automatically
start (if you put it in the start up menu) and connect to the weather
station. It may hang up a few times, but after five minutes or so it
should connect and stay connected if the Keep Logger Online button
has been selected in the extra RDE settings. Data is now available for
message creation.
