62 Photo Printing Directly From A Digital Camera (MP370) Chapter 6
X Printing Directly From A Digital Camera
This section describes how to connect a digital camera to the machine and how to print
photographs.
IMPORTANT
• While using the machine, do not disconnect and connect the USB cable.
Follow this procedure:
1 Turn ON the machine, and load the paper in the multi-purpose tray.
NOTE
• For details on paper, see page 15.
• For details on how to load paper, see page 22.
2 Ensure that the digital camera is turned OFF.
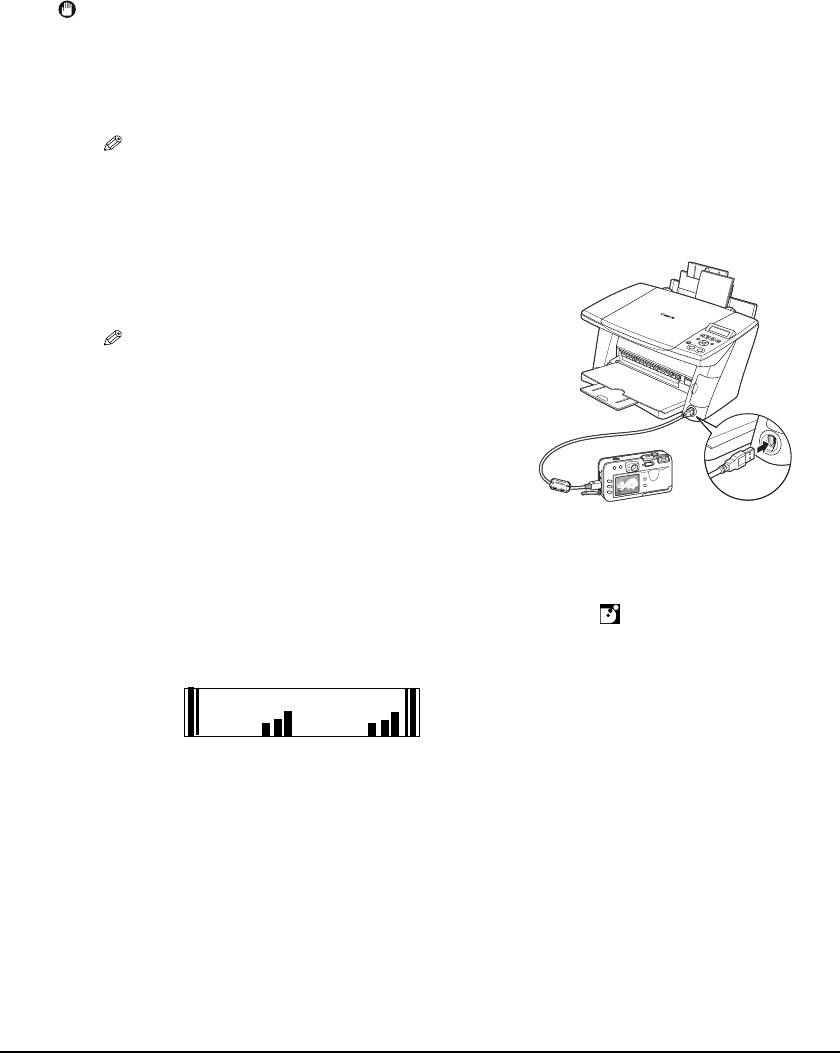
3 Connect the digital camera to the
machine with the USB cable that came
with the digital camera.
NOTE
• When connected, the digital camera will
automatically turn ON. If not, turn it ON manually.
4 Display the image you want to print in the replay mode.
• If the camera will not change to the replay mode, refer to your digital camera user’s manual for
instructions on changing the camera to the replay mode.
• When the digital camera is correctly connected, the icon will display on the
LCD of the digital camera and the LCD of the machine will display the following
message.
5 Press [SET] on the digital camera.
• The print setting menu is displayed on the LCD of the digital camera.
6 Select [Style] and specify the paper size, bordered or borderless printing,
and date printing ON or OFF.
7 Specify the number of copies, select [Print], and then press [SET] on the
digital camera.
• The machine starts printing.
Ex:
CAMERA DIRECT
COL BLK


