12
Filling the Water Heater
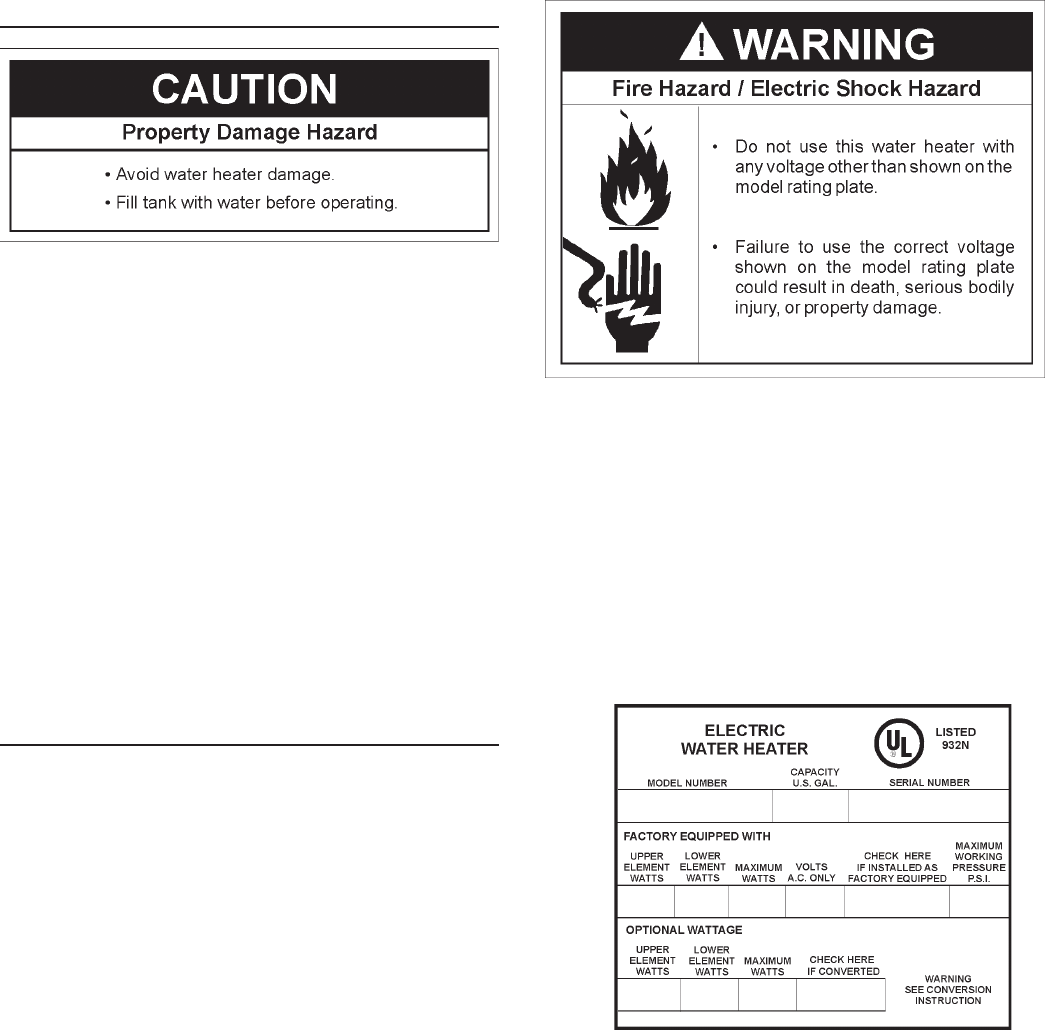
Never use this water heater unless it is completely full of water.
To prevent damage to the tank and heating element, the tank
must be filled with water. Water must flow from the hot water
faucet before turning “ON” power.
To fill the water heater with water:
1. Close the water heater drain valve by turning the handle to
the right (clockwise). The drain valve is located on the lower
front of the water heater.
2. Open the cold water supply valve to the water heater.
NOTE: The cold water supply valve must be left open when
the water heater is in use.
3. To insure complete filling of the tank, allow air to exit by
opening the nearest hot water faucet. Allow water to run
until a constant flow is obtained. This will let air out of the
water heater and the piping.
4. Check all new water piping for leaks. Repair as needed.
Converting the Lower Element
These instructions only cover the conversion of the convertible
element, read this entire manual before attempting to install or
operate the water heater. The water heater is factory set to
operate at 3800 watts. The lower element can be converted to
operate at 5500 watts. Refer to “Facts to Consider About the
Convertible Lower Element” section.
The Upper Element, (if double element model) is a conventional
3800 watt element which only operates at its rated wattage on
240 volts. (See rating plate on the water heater.
The lower Element of the water heater can be converted from
operation at 3800 watts to 5500 watts on a 240 volt system.
After reading these instructions and this manual, if you do not
understand any portion call Sears Service Center.
Before making the conversion to 5500 watts, check the (1) power
supply . . . must be 240 volts, (2) wiring . . . 10 gauge AWG @
Type TW, 60°C or equivalent, and (3) Circuit breakers or fusing
. . .capable of 30 amp loading. Also, the installation must
conform with this manual, local codes and electric utility rules.
Failure to comply can result in DEATH, SERIOUS BODILY
INJURY, OR PROPERTY DAMAGE.
NOTE: Whether or not the element conversion is made the
model rating plate must be marked. Using a hard point ink pen,
check the appropriate block within the model rating plate, which
is located adjacent to the lower access panel.
FIGURE 11.
