Installing an additional paper tray
11
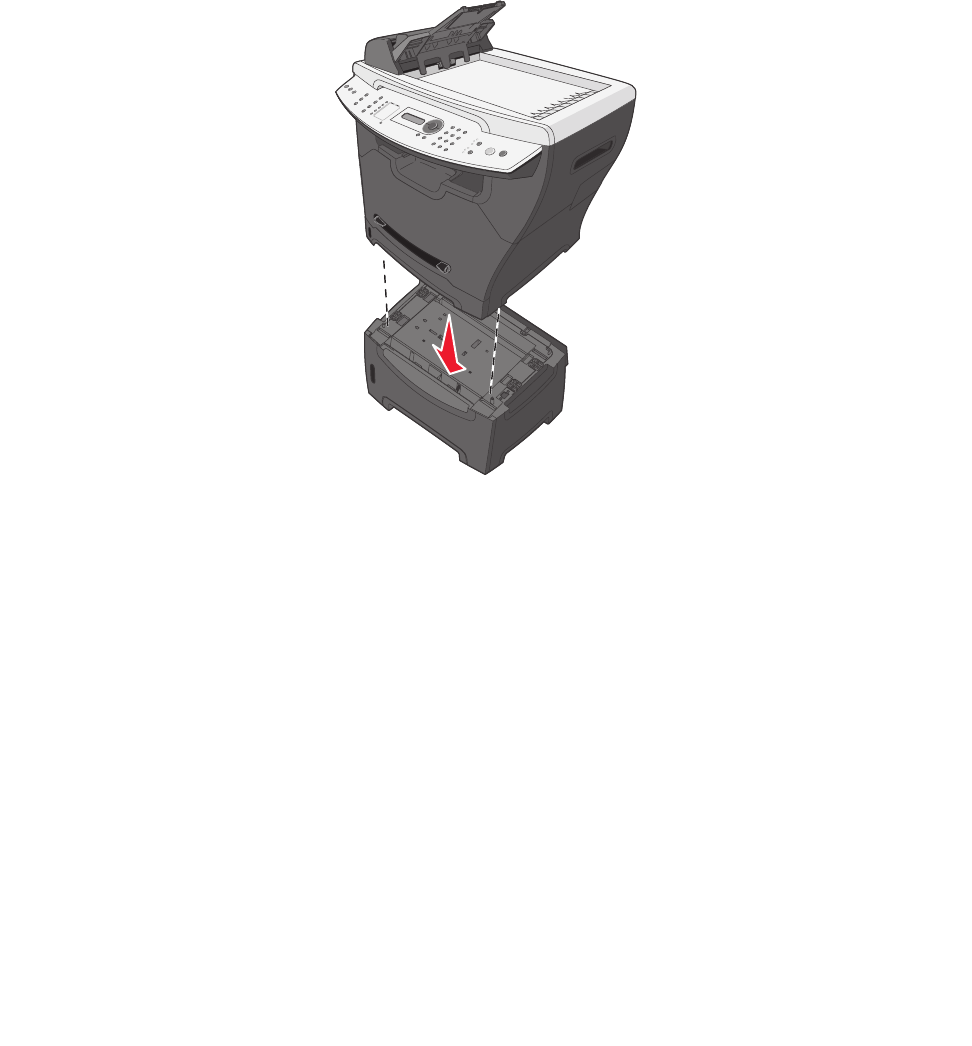
Installing an additional paper tray
Your MFP supports one optional paper tray that lets you load up to 550 sheets of paper.
CAUTION: If you are installing a 550-sheet paper tray after setting up the MFP, turn the MFP
off, and unplug the power cord from the wall outlet before continuing.
1 Unpack the 550-sheet paper tray, and remove any packing material.
2 Place the paper tray in the location you have chosen for your MFP.
3 Align the holes in the MFP with the positioning posts on the 550–sheet paper tray, and lower
the MFP into place.
4 Click Start Æ Settings Æ Printers or Printers and Faxes.
or
Click Start
Æ Control Panel Æ Printers and Other Hardware Æ Printers and Faxes.
5 Select the MFP icon.
6 Click File Æ Properties.
7 Click the Device Settings tab.
8 Select Tray2 from the Installable Options list.
9 Select 550-Sheet Tray from the drop-down menu.
10 Click Apply.
11 Click OK.


