User Manual English
- 3 -
Installation
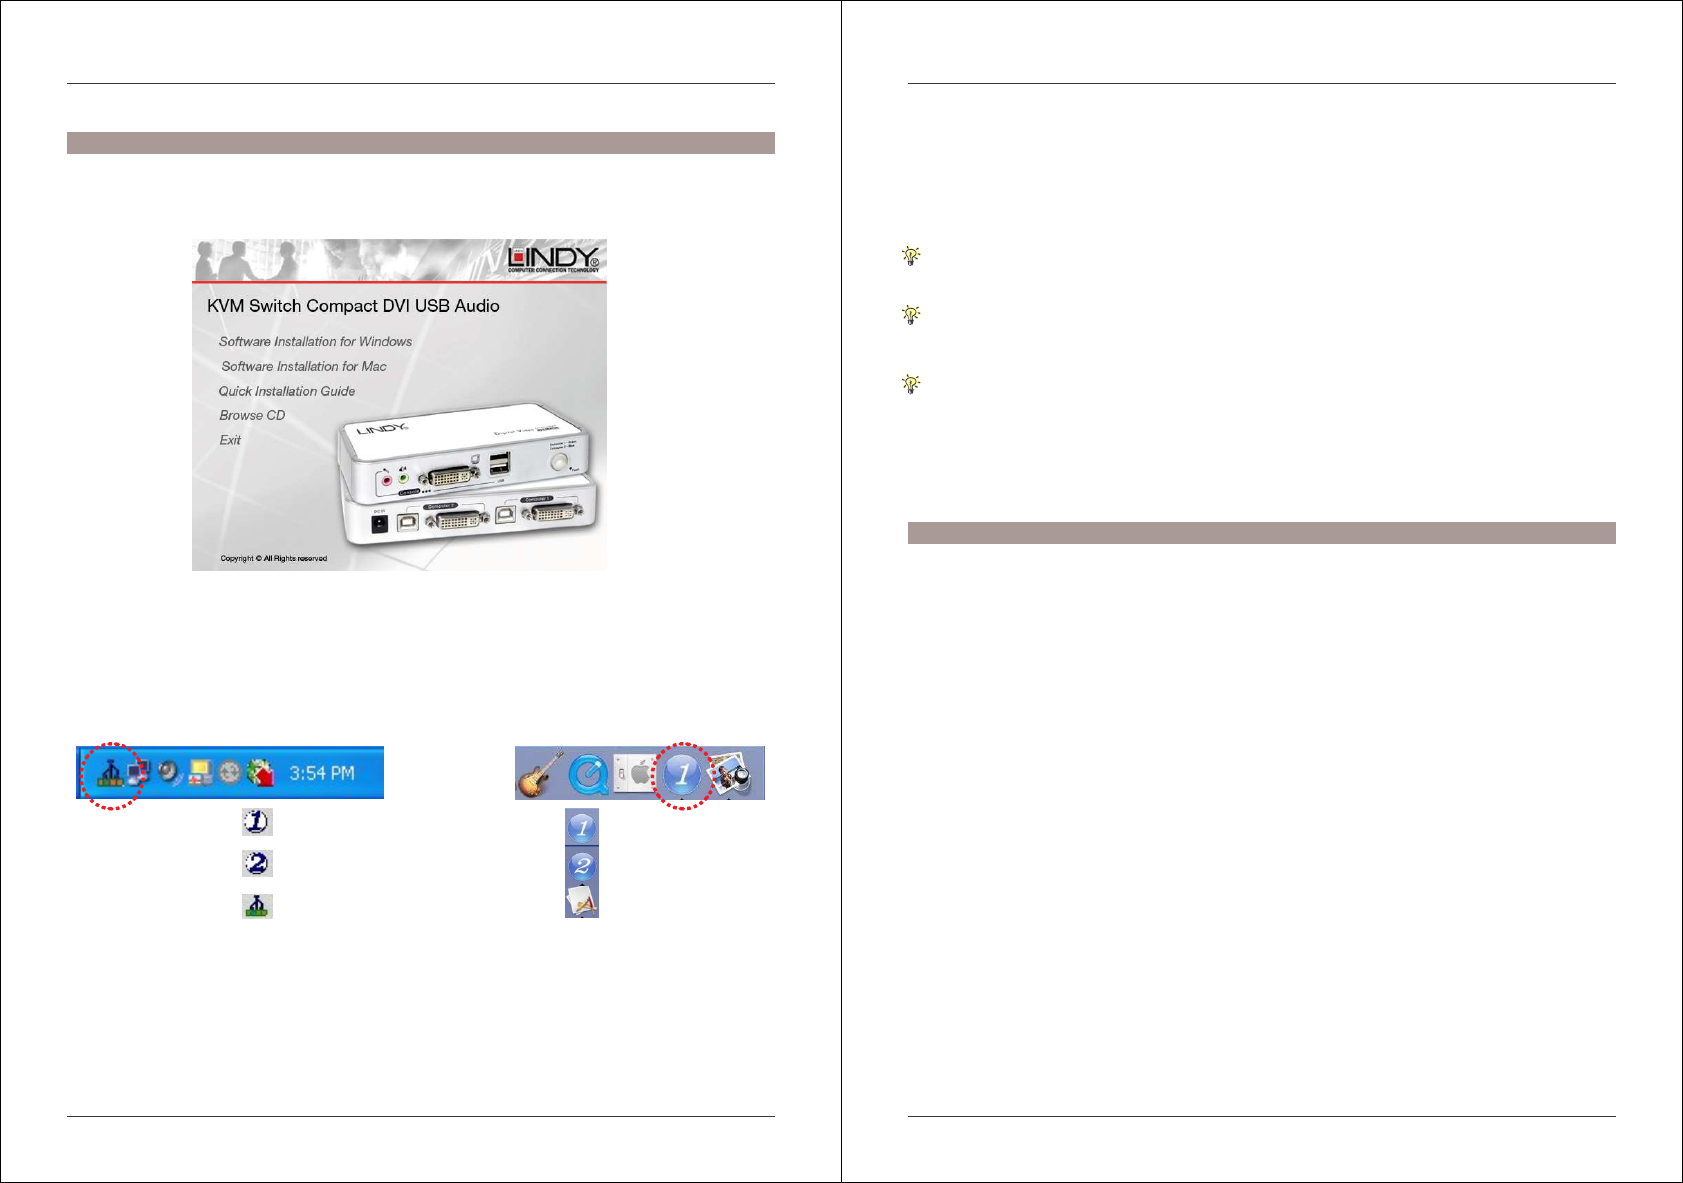
1. Before connecting your new KVM Switch Compact insert the CD ROM into your computers
CD-ROM drive. If the Autorun screen does not pop up automatically please start the
program Autorun.exe from the CDROM.
2. Click the “Software Installation for Window/Mac” to start the installation. (If the Mac version
software does not start, you should copy the files from the CD to your local Hard disk on the
Mac).
3. Once the installation is completed, you will find a KVM Switcher icon on the system tray of
your desktop. Right-click the icon to open the operation menu and double-click the icon to
open the configuration box.
The KVM Switcher Software supports both Windows (98SE or later) and Mac OS 10.4 (Tiger or
later) operating systems. For other OS platforms, such as Linux, you can still use the keyboard
hotkey - ScrLk + ScrLK - to switch between computers. Please note, hotkey switching is not
available on Mac OS.
4. Connect the shared USB keyboard, mouse, monitor, speaker/headphone and microphone
each to the corresponding port on your KVM Switch.
Windows OS
User Manual English
- 4 -
5. Connect each KVM PC port to a computer using the supplied KVM combo cable. Connect
the supplied power supply to the mains and to the KVM switch. After you have connected
the KVM and computers properly, you can start using the KVM Switch immediately.
Trouble Shooting
If you need to connect a computer with an analog VGA video port (HD-15) to the KVM switch,
you need to use a HD-15/DVI adapter (LINDY No. 41223) with the computer.
Some older computers with USB interface might need to manually enable the USB (Legacy)
Support option in the BIOS settings before you can use any USB devices. If your USB
interface does not work, please check the USB options in your computers BIOS.
If you use Windows 98SE or Mac OS and have not yet installed a USB mouse on your
computer, there might be an error message telling you that mouse is not detected and
prompting you to decide whether to ignore the same message in the future. As no USB
mouse is installed you will find that there is no mouse movement to disable this message and
so it is suggested that you install your USB mouse on your computer first, before connecting it
to this KVM Switch.
Switching Operation
There are three methods for controlling your KVM Switch for Computer and Audio/Mic channel
selection: using (1) the front-panel push button, (2) hotkey sequences, or (3) the OSD KVM
Switcher Software.
Front-panel button
The front-panel button gives you direct control over KVM switching operation. Simply press the
button to switch to the corresponding computer port. By default, PC port switching and
audio/mic port switching are bound together, unless you specify the audio to be fixed a specific
port (this is covered later in this guide).
Universal Hotkey Sequence
If you are using the KVM Switch in combination with computers running Windows or Linux OS
then you can use the universal hotkey sequence to switch between computers. This feature is
not available to Mac OS users.
Universal Hotkey sequence = ScrollLock + ScrollLock
User Hotkey Sequence
Using the supplied KVM Switcher software it is possible to define your own Hotkey to switch
between computers. The default Hotkey sequences are:
Hotkey sequence Computer 1 = Ctrl - Alt - 1
Hotkey sequence Computer 2 = Ctrl - Alt - 2
Information on how to configure the keys is provided in the KVM Switcher Software section of
this guide.
