MODELS: WD-60735 / WD-60C8 / WD-65735 / WD-65736 / WD-65835 / WD-65C8 / WD-73735 /
WD-73736 / WD-73835 / WD-73C8
Page 32
Data Transfer
After entering the Service Mode (MENU-2-4-5-7) and pressing (0), besides MANUAL KEYSTONE GEOMETRY
ALIGNMENT four data transfer choices are listed on screen.
• RESTORE ALIGNMENT AND WHITE BALANCE SETTINGS - copies HVPOS, White Balance and Engine
Color Wheel Delay from the Optical Engine to the PWB-MAIN..
• RESTORE KEYSTONE GEOMETRY FROM BACKUP - copies manual adjustment data from Optical Engine to
PWB-MAIN.
• LOAD INDEX DELAY FROM ENGINE - copies Engine data to PWB-MAIN..
• Copy SETTINGS TO BACKUP - WARNING, use only after replacing the OPTICAL ENGINE.
After Engine Replacement
1) Load Index Data from Engine.
2) Copy Settings to Backup
After PWB-MAIN Replacement
1) Restore Alignment and White Balance from Backup
2) Restore Keystone Geometry Alignment.
2) Load Index Delay from Engine.
4:3 MODE
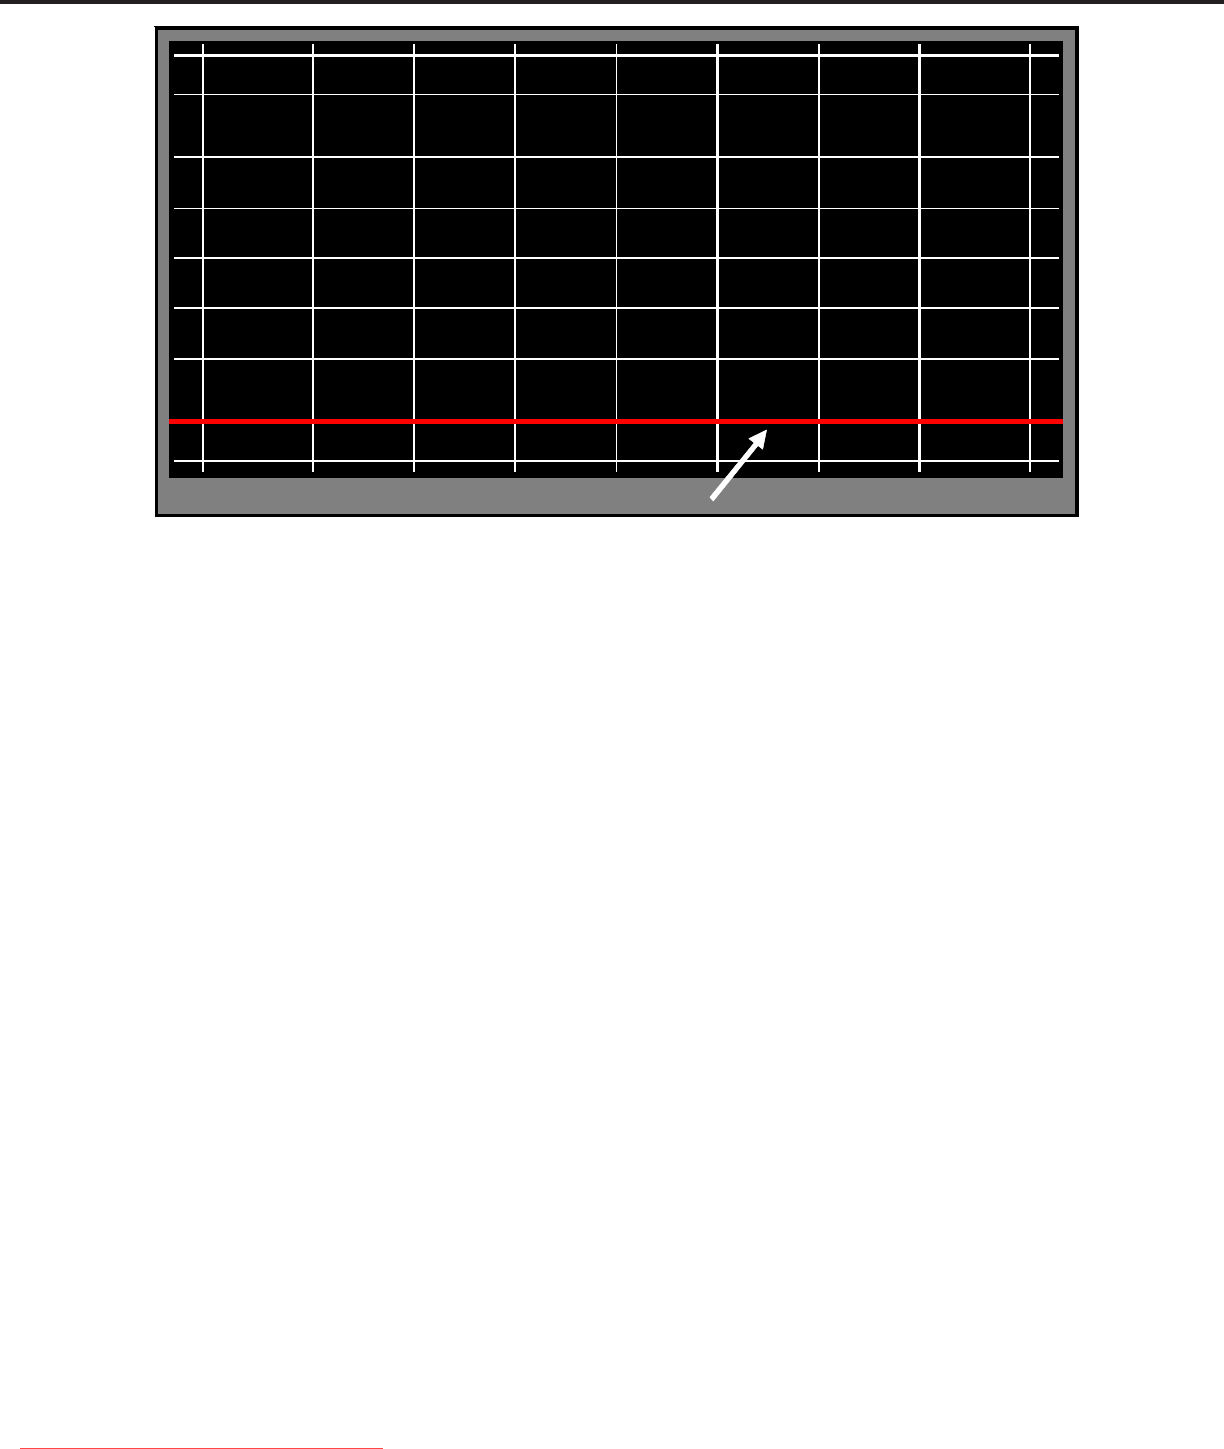
Select Straightest Red Line (Bottom)
Figure 4: Bottom Letter Box Mode Pattern
12. Press “VIDEO” to activate the Bottom Letter Box alignment mode, refer to Figure 4.
13. Use the (ff) or (ee) buttons to step through 10 preset alignment settings. Pick the setting with straightest
bottom letter box line that is parallel to the Bezel edge..
14. Press ‘ENTER” to save and exit the mode.
Part 3 (Touch Up Alignment Mode)
After Manual Data has been entered the Touch Up mode may be used.
15. Enter the MANUAL KEYSTONE GEOMETRY ALIGNMENT mode.
16. Use (ff) or (ee) to move the cursor to the point you want to touch up. Use the (bcef) keys to adjust
that point.
17. Press “INFO” to see the change, the change is not saved at this time.
18. Repeat at additional points as needed.
19. Press “ENTER” to save changes and exit the mode.
Touch Up 4x3 or Letter Box patterns
20: Enter the MANUAL KEYSTONE GEOMETRY ALIGNMENT mode and use the “VIDEO” button to enter the 4x3
or Letter Box mode.
20: Select another pattern and press “ENTER” to save and exit the mode.
Downloaded From TV-Manual.com Manuals
