8
Note
If you are not going to use the remote control for a long •
time, remove the batteries.
Do not mix batteries (old and new or carbon and alkaline, etc.).
•
Batteries contain chemical substances, so they should be •
disposed of properly.
Find the TV input channel
1 Press to turn on this product.
2 Turn on the TV and switch to the video input
channel (refer to the TV user manual on how
to select the A/V input channel).
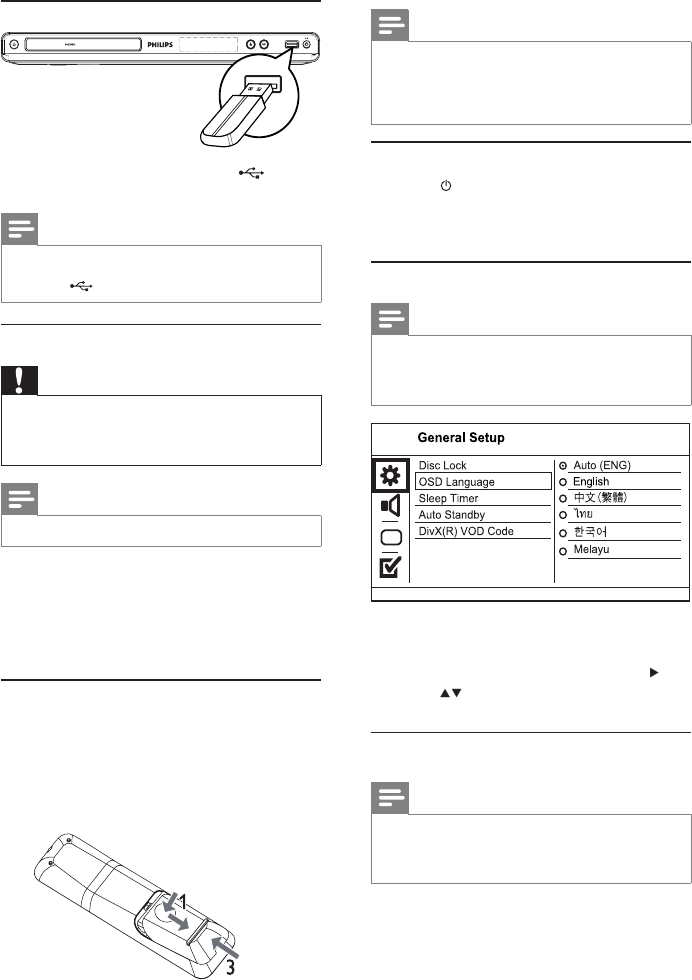
Select menu display language
Note
If this product is connected to a HDMI CEC compliant •
TV, skip this setting. It switches automatically to the
same OSD menu language as per your TV setting (if the
language set on TV is supported by this product).
1 Press SETUP.
» [General Setup] menu is displayed.
2 Select [OSD Language], and then press .
3 Press to select a language, and then press
OK.
Turn on progressive scan
Note
To use the progressive scan feature, you must connect a •
progressive scan TV with the component video jacks (see
“Connect” > “Connect audio/video cables” > “Option 2:
Connect to the component video jacks” for details).
Connect USB fl ash drive
1 Connect a USB fl ash drive to the jack on
this product.
Note
This product can only play/view MP3, WMA, WMV, DivX •
(Ultra) or JPEG fi les that are stored on a USB fl ash drive.
Press the
• button to access the content and play the fi les.
Connect power
Caution
Risk of product damage! Ensure that the power supply voltage •
corresponds to the voltage printed on the back of the unit.
Before connecting the AC power cord, ensure you have
•
completed all other connections.
Note
The type plate is located on the back of the product.•
1 Connect the AC power cable to:
this product.•
the wall socket.•
This product is ready to be set up for use.»
4 Get started
Prepare the remote control
1 Press and push the battery compartment to
slide it open (see “1” in the illustration).
2 Insert two AAA batteries with correct
polarity (+/-) as indicated.
3 Push and slide back the battery compartment
(see “3” in the illustration).
DVD PLAYER DVP3588K
EN


