Setting the language
You can select the language for the on-screen display (OSD).
The small display on the video recorder will only show english
text.
a Switch on the TV set. If required, select the programme
number for the video recorder.
b Press the MENU button on the remote control. The main
menu will appear.
c Select the line ’INSTALLATION’ with the P = or
P ; button and confirm with the P button.
d Select the line ’LANGUAGE’ and confirm with the P
button.
e Select your language with the P = or P ; button and
confirm with the OK button.
f To end, press the MENU button.
Setting the country
To call up the specific settings for your country, you must
install the country.
a Switch on the TV set. If required, select the programme
number for the video recorder.
b Press the MENU button on your remote control. The main
menu will appear.
c Select the line ’INSTALLATION’ with the P = or
P ; button and confirm with the P button.
d Select the line ’COUNTRY’ and confirm with the OK
button.
e Select the country you are in with the P= or P ;
button. If your country doesn’t show up, select ’OTHERS’.
f Confirm with the OK button.
g To end, press the MENU button.
Setting the time and date
If a TV channel which transmits TXT/PDC is stored under
programme number ’P01’, time and date will automatically be
taken from the TXT/PDC information.
If the time in the video recorder display is not correct or if
’--:--’ appears in the display, please set the clock manually.
a Switch on the TV set. If required, select the programme
number for the video recorder.
b Press the MENU button on the remote control. The main
menu will appear.
c Select the line ’INSTALLATION’ with the P = or
P ; button and confirm with the P button.
d Select the line ’TIME/DATE’ with the P = or P ;
button and confirm with the P button.
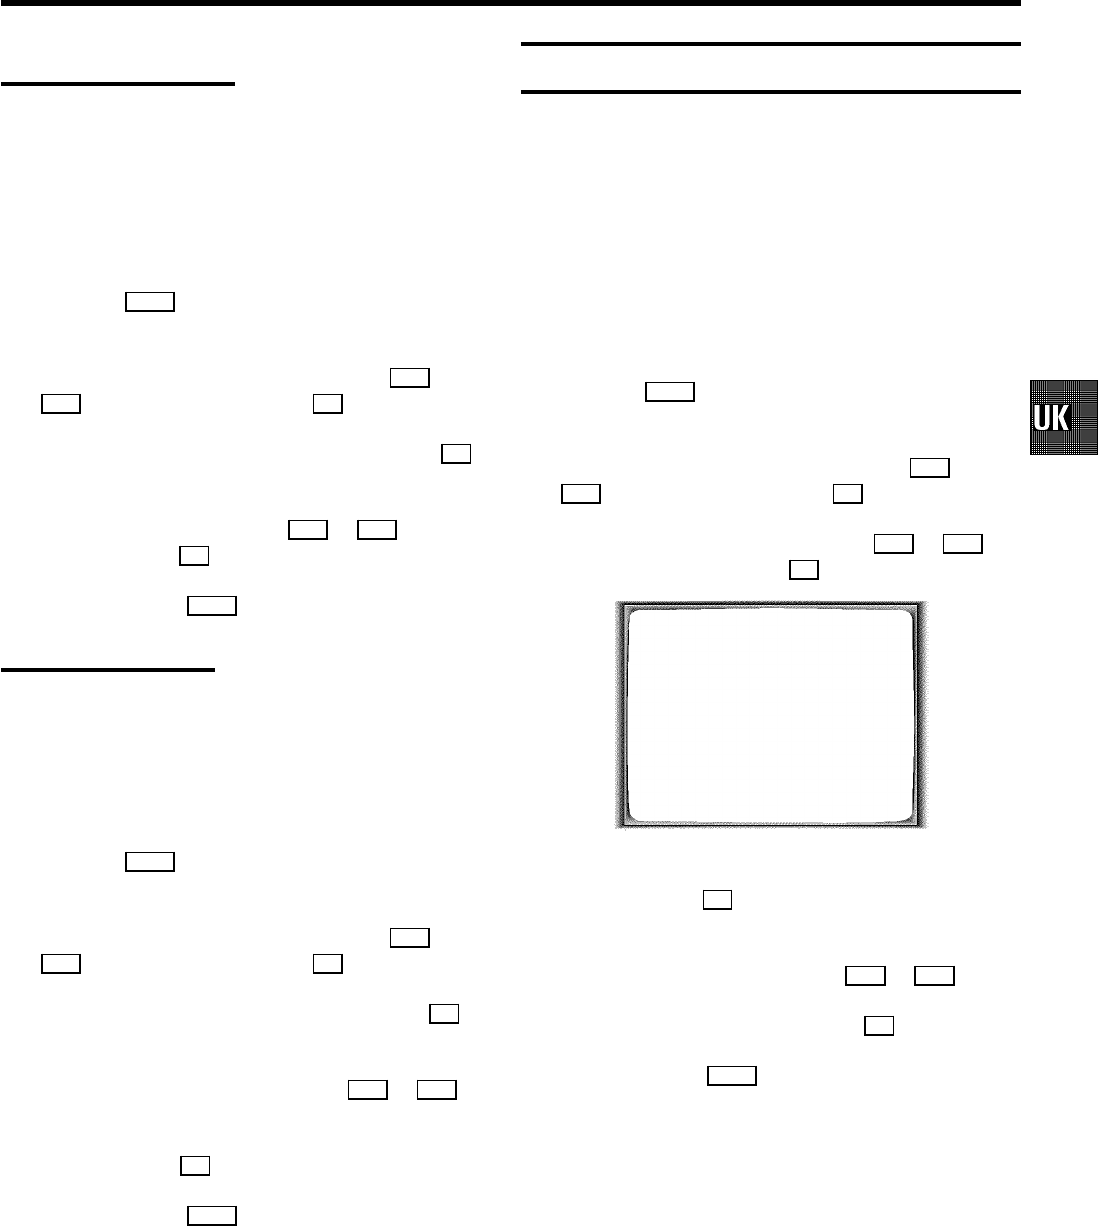
INSTALLATION
SET CLOCK
TIME 20:00
YEAR 1998
MONTH 02
DATE 06
________________________________
TO EXIT
PRESS MENU
e Check the time in line ’TIME’. If required, please change
the time with the 0-9 buttons on the remote control.
f Check ’YEAR’, ’MONTH’ and ’DATE’ in the same way.
Switch between the fields with the P= or P ; button.
g Confirm the new information with the OK button.
h To end, press the MENU button.
11


