110
Maximizing the Volume of a Song
This operation raises the volume of the entire song as high as possible without causing the
sound to distort. If the sound was recorded at too low a level, you can use this to increase the
volume.
1
Insert the SD memory card that you want to edit, and press the
[SD CARD] button.
SD becomes the audio source.
2
Use the [ ] or [ ] button to select the track you want to edit.
3
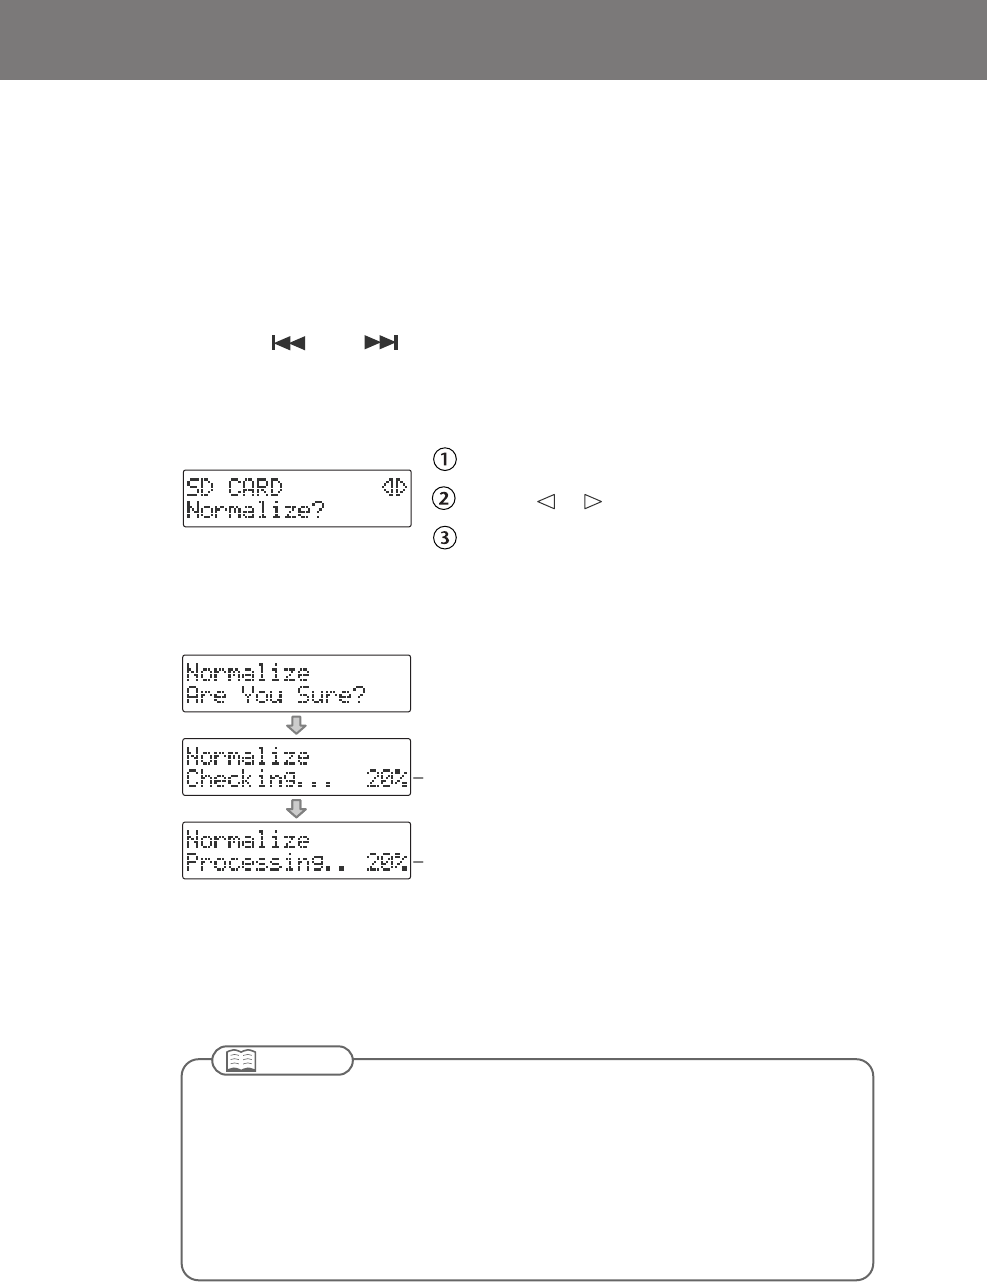
Press the [MENU] button to access the menu screen, and choose
“Normalize?”
fig.menu-normalize-e.eps
Press the [MENU] button to access the menu screen.
Use the [ ] [ ] buttons to choose “Normalize?”
Press the [ENTER] button to confirm your choice.
4
If you’re sure you want to proceed, press the [ENTER] button.
(If you decide to cancel, press the [EXIT] button.)
fig.normalize-mssg-e.eps
The display will show “Processing..,” and the volume of the song will be raised. When
the operation is completed, you’re returned to the audio source screen.
* If the volume of the song has already been maximized, the display will indicate “Checking...,”
and then the editing process will end.
Progress indication
Progress indication
●
This editing process will take a certain amount of time. The time required for this operation
will be approximately 1.5 times the playback time of the song. For example, if you apply
this operation to a four-minute song, processing will take approximately six minutes.
●
Maximizing the volume of a song will require free space equal to the size of the song
you’re editing. For example, if you’re editing a five-minute song, you won’t be able to
execute this operation unless you have at least five minutes of recording time remaining.
●
This operation cannot be performed if the SD memory card’s write protect switch (Page
26) is in the “LOCK” position.
Important
CD-2i_e.book 110 ページ 2010年3月15日 月曜日 午前10時15分


