4
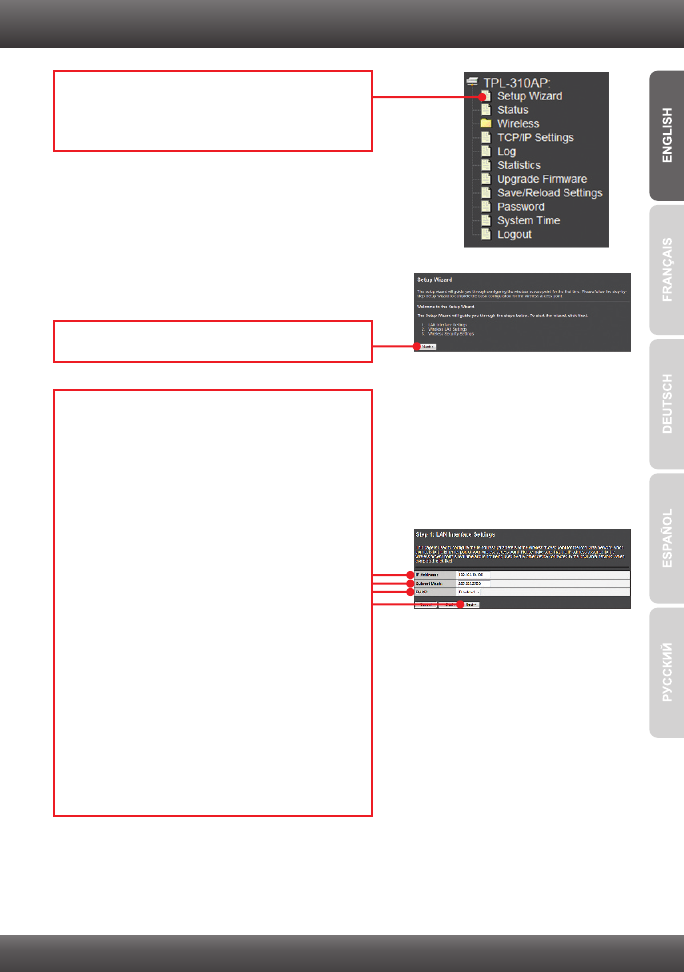
7. The Setup Wizard will automatically appear.
Click Setup Wizard if the Setup Wizard does
not automatically appear.
8. Click Next.
9. For DHCP, click on the drop down arrow and
Select Client for DHCP to have the TPL-310AP
automatically obtain an IP address from your
DHCP server (router). If Disabled is selected
for DHCP, you will need to configure the
following:
IP address: The assigned IP address should
match your network (e.g. 192.168.10.x,
192.168.0.x, 192.168.1.x). This IP address
should not be used by any other network
device on your network.
Subnet Mask: In most cases, the default
Subnet Mask (255.255.255.0) should be fine.
Then click Next.
Note: It is recommended to manually configure
the LAN Interface Settings (IP address and
Subnet Mask) in case you need to access the
TPL-310AP in the future. Please write down
the IP settings assigned for future reference.
