35
1
5
8
3
6
10
2
9
4
7
11
12
13
9 – Display and Confi guration (continued)
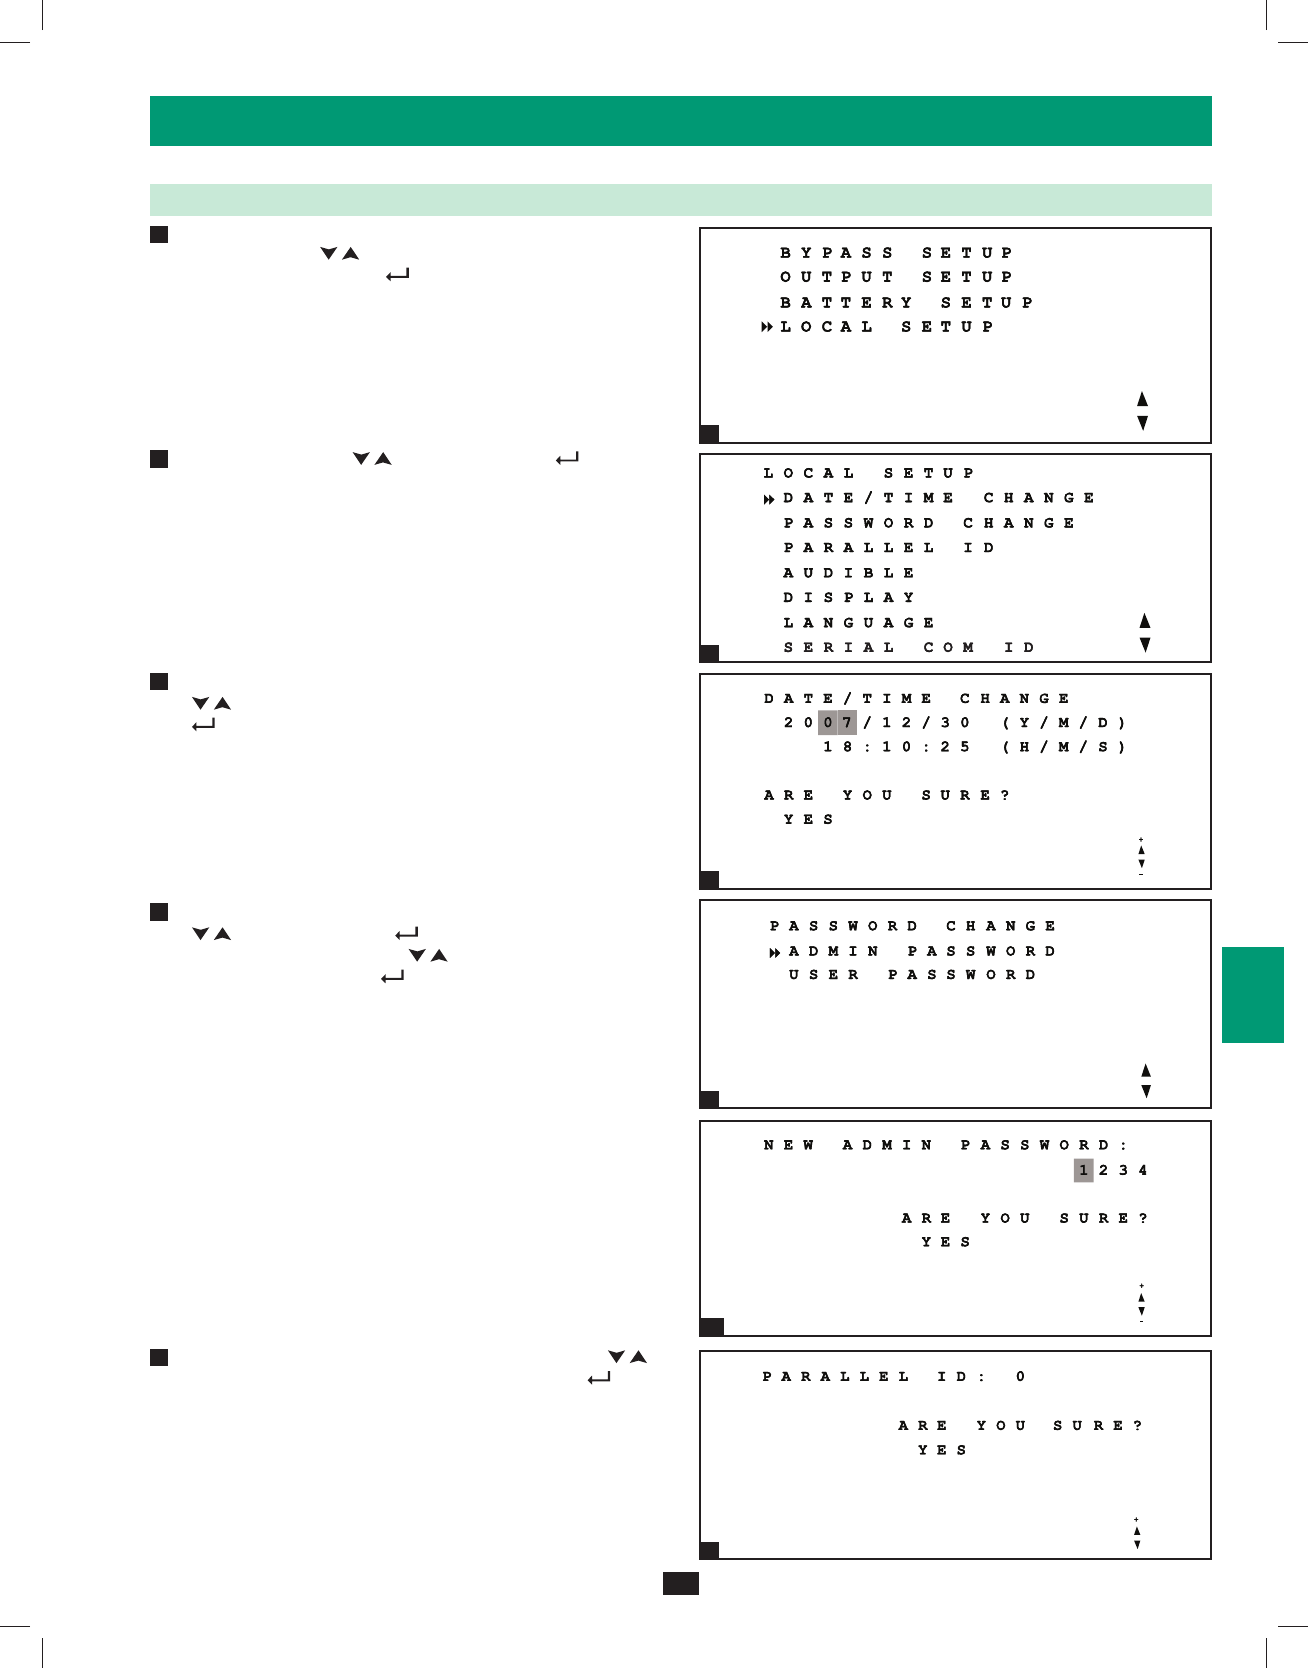
9-11 Local Setup Menu
Enter the UPS system setup menu as described in • Section 9-7. Use
the scroll buttons ( , ) to move the cursor to “LOCAL SETUP”,
then press the enter button ( ).
Use the scroll buttons (• , ) and the enter button ( ) to select
one of the menu choices.
From the “DATE/TIME CHANGE” screen, use the scroll buttons •
( , ) to select the desired settings and press the enter button
( ) to confirm the settings. Note: Changing this setting does not
require an administrator login – a user login is sufficient.
From the “PASSWORD CHANGE” screen, use the scroll buttons •
( , ) and the enter button ( ) to select the desired menu
choice. Use the scroll buttons ( , ) to select the desired settings
and press the enter button ( ) to confirm the settings. Note:
The administrator password should be used by qualified service
personnel only.
From the “PARALLEL ID” screen, use the scroll buttons (• , )
to select the desired settings and press the enter button (
)
to confirm the settings. Note: If two UPS systems are used in a
parallel redundancy configuration, the parallel ID numbers of the
UPS systems must be 1 and 2.
1
2
3
4
5
1
3
4b
2
4
5
200803004 93-2793 SU80k manual 4C.indd E35200803004 93-2793 SU80k manual 4C.indd E35 6/16/2008 1:43:58 PM6/16/2008 1:43:58 PM


