


2
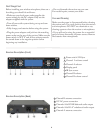
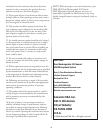
Receiver Description (Front)
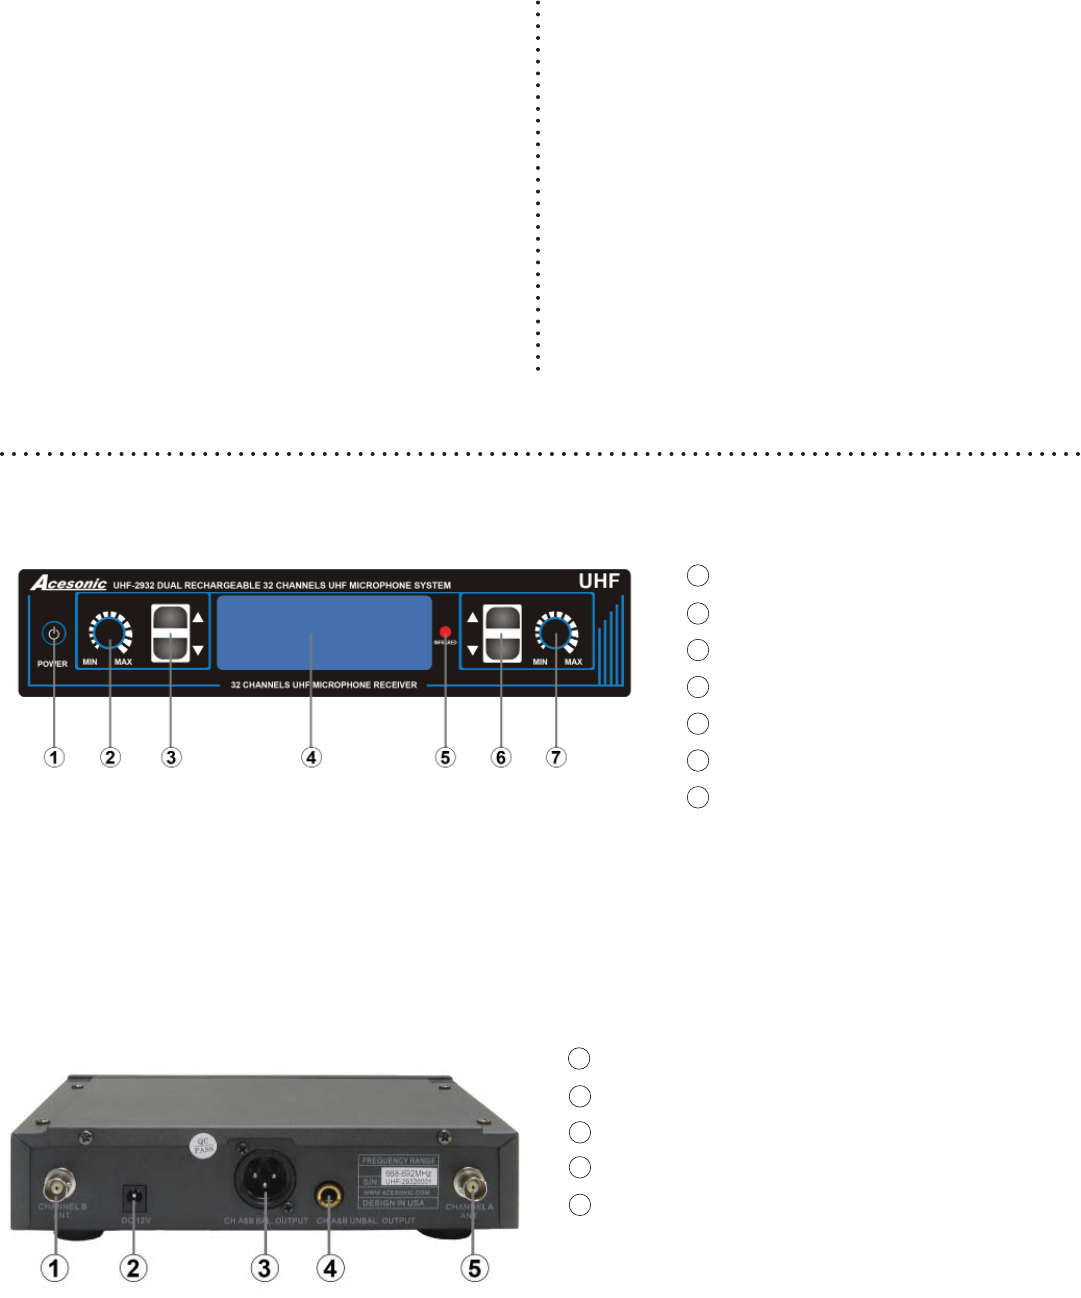
Receiver Description (Back)
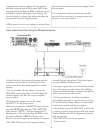
First Things First
Before installing your wireless microphone, there are a
few things you should do and know:
• Make sure your local power outlet supplies the
correct voltage for the AC adapter. Only use the
adapters supplied with the system.
• Turn o your audio system during set-up and turn
down volume.
• Fully charge your batteries before using the system.
•Plug the power adapter cord jack into the matching
power socket on the rear of the receiver. Make sure the
power switch is OFF “0” and all four volume controls
are turned down to the negative position before
beginning any installation.
• Do not dismantle the receiver on your own.
For needed repairs, contact your dealer
Care and Cleaning
Make sure the power is disconnected before cleaning
the receiver unit. Use a soft cloth to clean the receiver
and microphones. DO NOT use chemicals or any
cleaning agents to clean the receiver or microphones.
• If you will not be using the system for an extended
period of time, disconnect all power sources. Remove
the batteries from microphones.
1 Power switch / IR Sync
2 Channel A volume control
3 Channel A selector
4 Display panel
5 IR Sync sensor
6 Channel B selector
7 Channel B volume control
1 Channel B antenna connection
2 12V AC power connection
3 Channels A & B XLR balanced audio output
4 Channels A & B 1/4” unbalanced audio output
5 Channel A antenna connection