


©American DJ Supply® - www.americandj.com - Starball II™ Instruction Manual Page 5
Fixture Cleaning:
Due to fog residue, smoke, and dust cleaning the fixture should be
carried out periodically to optimize light output.
1. Use normal glass cleaner and a soft cloth to wipe down the outside
casing every 20 days.
2. Use a small brush and normal glass cleaner with a soft cloth to
wipe down the inside casing every 30-60 days.
3. Always be sure to dry all parts completely before plugging the
unit back in.
4. Frequent cleaning will extend lamp life and ensure fixture reliability.
Cleaning frequency depends on the environment in which the fixture
operates (I.e. smoke, fog residue, dust, dew). In heavy use we recom-
mend cleaning on a monthly basis. Periodic cleaning will ensure
longevity, and crisp beam output.
Starball II™ Cleaning
©American DJ Supply® - www.americandj.com - Starball II™ Instruction Manual Page 6
Trouble Shooting:
Listed below are a few common problems and solutions you should try
before contacting customer support.
Unit rotates but has no light output from the unit;
1. Be sure you have connected your unit into a matching wall outlet.
2. Remove the lamp cover and be sure the lamp is seated in its
socket properly. Occasionally lamps become loose during shipping
be sure the lamp is push in to its socket all the way.
3. Be sure the lamp is good.
4. If the lamps was recently replaced, be sure the lamp probes are
properly inserted in the socket assemble.
Unit does not rotate and lamp does not turn on;
1. Be sure you have connected your unit into a matching wall outlet.
2. Be sure the external fuse has not blown. The fuse is located on the
side panel of the unit.
3. Be sure the power cord is properly seated in the power outlet.
4. Be sure your main power outlet has power.
Starball II™ Trouble Shooting
Starball II™ Fuse & Lamp Replacement
Caution: Always replace with the exact same type lamp and fuse,
unless otherwise specified by an authorized American DJ® technician.
Replace with anything other than the specified part can damage your
unit and will void your manufactures warranty.
Warning: If after you have replaced the lamp or fuse and you
continue to blow either one, STOP using the unit. Contact customer
support for further instructions, you may have to return the unit for
servicing. Continuing to use the unit may cause serious damage.
Fuse Replacement:
Disconnect the unit’s main power supply. Insert a standard flat head
screw driver in to the fuse holder housing located on inner plate of the
unit. Turn the screwdriver in counter-clockwise direction to unlock the
fuse holder. Remove the fuse holder to expose the fuse. Remove the
old fuse and discard it. Replace the fuse with the same type. Insert the
fuse holder back into it’s housing and turn it in clockwise direction to
lock the holder back in to place.
Lamp Replacement:
Caution! Never attempt to change the lamp while the fixture is plugged
in and running. Always disconnect main power and allow the unit
ample time to cool before attempting to replace the lamp.
1. Be sure to follow all the proper handling procedures included
with your new halogen lamp. Never touch the new lamp with
your bare fingers.
2. Remove the three thumb screw that secure the upper half of the
dome to the lower half.
3. Carefully pull up the upper half of the dome to expose the lamp.
4. Remove and replace the lamp.
5. Reassemble in reverse order.
This fixture is fitted with halogen lamps which are
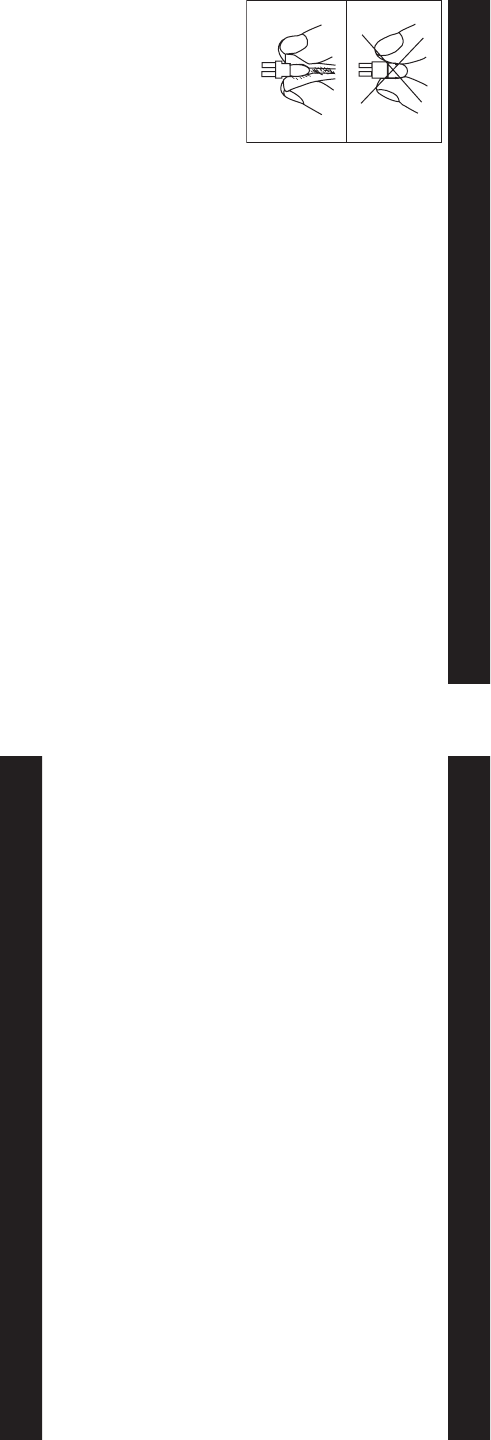
highly susceptible to damage if improperly handled.
Never touch the lamps with your bare fingers as
the oil from your hands will shorten lamp life. Also,
never move the fixture until the lamps have had
ample time to cool. Remember, lamps are not cov-
ered under warranty conditions.