Antes de enchufar el cable de
corriente, tire siempre de la hoja para
cerciorarse de que esté trancada de
modo seguro en el sujetador. Si no
lohace podría ocasionarle lesiones
graves.
6. Realice los pasos anteriores a la
inversa para desarmar la hoja.
Funcionamiento
Interruptor de corriente
y botón de bloqueo:
Para comenzar a cortar, apriete el
interruptor de corriente con el dedo.
Cuanto mayor sea el desplazamiento
del interruptor mayor será la
velocidad. La velocidad máxima se
puede ajustar con el interruptor de
velocidad variable. (Figura 3) Para
mantener una cierta velocidad, siga las
instrucciones anteriores y trabe el
botón de bloqueo. Para destrabar el
botón de bloqueo, simplemente
apriete el interruptor de corriente
para liberarlo.
Interruptor de control
de velocidad:
La sierra alternativa viene equipada
con un interruptor de velocidad
variable. Este interruptor es una rueda
giratoria que tiene 12 valores de
velocidad diferentes. Utilice las
velocidades inferiores para los
materiales más blandos y delgados,
!
WARNING
y utilice las velocidades superiores para
los materiales más duros y gruesos.
Asegúrese de que la sierra esté en el
valor de velocidad mínima antes del
encendido y después de cada uso.
Una vez que esté encendida, gire la
rueda hasta la velocidad deseada.
Permita que la sierra alcance la
velocidad seleccionada antes de
comenzar a cortar.
Corte general:
Se deberán usar gafas de
seguridad durante la
operación.
Sostenga la sierra con
firmeza adelante y alejada
de usted. Asegúrese de que la hoja de
la sierra no tenga material extraño y de
que el cable de corriente y el cable de
extensión no estén en la ruta de la hoja.
Asegúrese de que el material a cortar
esté sujetado con firmeza. Las piezas de
trabajo pequeñas deben sujetarse con
seguridad en una prensa o con
abrazaderas al banco o mesa de
trabajo. Marque claramente la línea de
corte. Presione el interruptor de
corriente para comenzar a cortar.
Coloque la zapata en el trabajo. NO LA
FUERCE. Ejerza únicamente la presión
suficiente para mantener el corte de la
sierra. Deje que la hoja y la sierra hagan
el trabajo.
Corte por penetración:
Marque claramente la línea de corte.
Desde un punto de arranque
conveniente dentro del área de corte,
coloque la punta de la hoja sobre dicho
punto con la sierra paralela a la línea de
corte. Baje lentamente la sierra hasta
que el borde de la zapata se apoye en
la pieza de trabajo. Encienda la sierra
y permita que llegue a la velocidad
deseada. Con la sierra apoyada en la
zapata, mueva lentamente la sierra hacia
delante para bajar la hoja por la línea de
corte. Continúe con este movimiento
hasta que la hoja de la sierra esté
perpendicular a la pieza de trabajo.
!
ADVERTENCIA
Asegúrese de que la hoja no toque la
pieza de trabajo hasta que la sierra
alcance la máxima velocidad definida
en el disco de ajuste de velocidad.
Deno hacerlo podría hacerle perder el
control y resultar en lesiones graves.
Corte de metales:
Cuando corte material metálico con
esta herramienta, asegúrese de usar
una hoja afilada diseñada para este
propósito. Recomendamos lubricar la
superficie de corte con aceite para
corte para evitar la acumulación de
calor. Siga los procedimientos
generales de corte en la página
anterior. No fuerce la herramienta.
Ejerza únicamente la presión suficiente
para mantener el corte de la sierra.
Mantenimiento
No permita que líquido de frenos,
gasolina, productos a base de petróleo,
aceites penetrantes, etc. entren en
contacto con las piezas plásticas.
Éstoscontienen sustancias químicas
que pueden dañar, debilitar o destruir
la caja, comprometiendo la integridad
del doble aislamiento.
Mantenga limpia la
herramienta
Todas las piezas de plástico deben
limpiarse con un paño húmedo.
NUNCA use solventes para limpiar
piezas de plástico. Podrían disolverse
o dañar el material de alguna otra
manera.
Inspeccione los tornillos
de montaje:
Inspeccione regularmente todos los
tornillos de montaje y asegúrese que
estén ajustados adecuadamente. En
caso de que alguno de los tornillos esté
flojo, ajústelo de inmediato. Si no lo
hace podría ocasionarle lesiones
graves.
Mantenimiento del motor:
El bobinado de la unidad del motor es
el “corazón” mismo de la herramienta
mecánica. Tenga cuidado de
asegurarse de que el bobinado no se
dañe ni se moje con aceite ni agua.
Inspeccione las escobillas
de carbón:
El motor utiliza escobillas de carbón
que son piezas fungibles. Como una
escobilla de carbón con un desgaste
excesivo puede provocar un problema
al motor, reemplace la escobilla de
!
WARNING
!
WARNING
14
Manual de Instrucciones
Ensamblaje
(continuación))
3
DG420700CK
www.chpower.com
• Do not start the saw with the blade
touching any surface. The blade
action will bounce the tool and may
cause bodily injury.
• Allow the tool to come to a complete
stop before putting it down. A
running tool will jerk when the blade
tip contacts any surface.
CAUSES AND USER PREVENTION
OF KICKBACK:
KICKBACK is a sudden reaction to a
pinched, bound or misaligned saw
blade, causing an uncontrolled saw to
lift up and out of the workpiece
toward the operator.
When the blade is pinched or bound
tightly by the kerf, or cutting slot,
closing down, the blade stalls and the
motor reaction drives the unit rapidly
back toward the operator.
If the blade becomes twisted or
misaligned in the cut, the teeth at the
back edge of the blade can dig into
the top surface of the wood causing
the blade to climb out of the kerf and
jump back toward operator.
KICKBACK is the result of tool misuse
and/ or incorrect operating procedures
or conditions and can be avoided by
taking proper precautions as given in
the following:
1. Maintain a firm grip with both
hands on the saw and position your
body and arm to allow you to resist
KICKBACK forces. KICKBACK forces
can be controlled by the operator, if
proper precautions are taken.
2. When blade is binding, or when
interrupting a cut for any reason,
release the trigger and hold the saw
motionless in the material until the
blade comes to a complete stop.
Never attempt to remove the saw
from the work or pull the saw
backward while the blade is in
motion or KICKBACK may occur.
Investigate and take corrective
actions to eliminate the cause of
blade binding.
3. When restarting a saw in the
workpiece, center the saw blade in
the kerf, or cut, and check that saw
teeth are not engaged into the
material. If saw blade is binding, it
may walk up or KICKBACK from the
workpiece as the saw is restarted.
4. Support large panels to minimize
the risk of blade pinching and
KICKBACK. Large panels tend to sag
under their own weight. Supports
must be placed under the panel on
both sides, near the line of cut and
near the edge of the panel.
5. Do not use dull or damaged blades.
Unsharpened or improperly set
blades produce narrow kerf causing
excessive friction, blade binding and
KICKBACK.
6. Blade depth and bevel adjusting
locking levers must be tight and
secure before making cut. If blade
adjustment shifts while cutting, it
may cause binding and KICKBACK.
7. Use extra caution when making a
“Pocket Cut” into existing walls or
other blind areas. The protruding
blade may cut objects that can
cause KICKBACK.
8. Set the depth of cut for no more
than 1/8" to 1/4" greater than the
thickness of the stock. The less
blade exposed, the less chance of
binding and KICKBACK. Before
cutting, be sure depth and bevel
adjustments are tight.
9. Be cautious of pitchy, knotty, wet or
warped stock. These are most likely
to create pinching conditions and
possible KICKBACK.
Assembly
To install cutting blade:
1. Unplug power cord first.
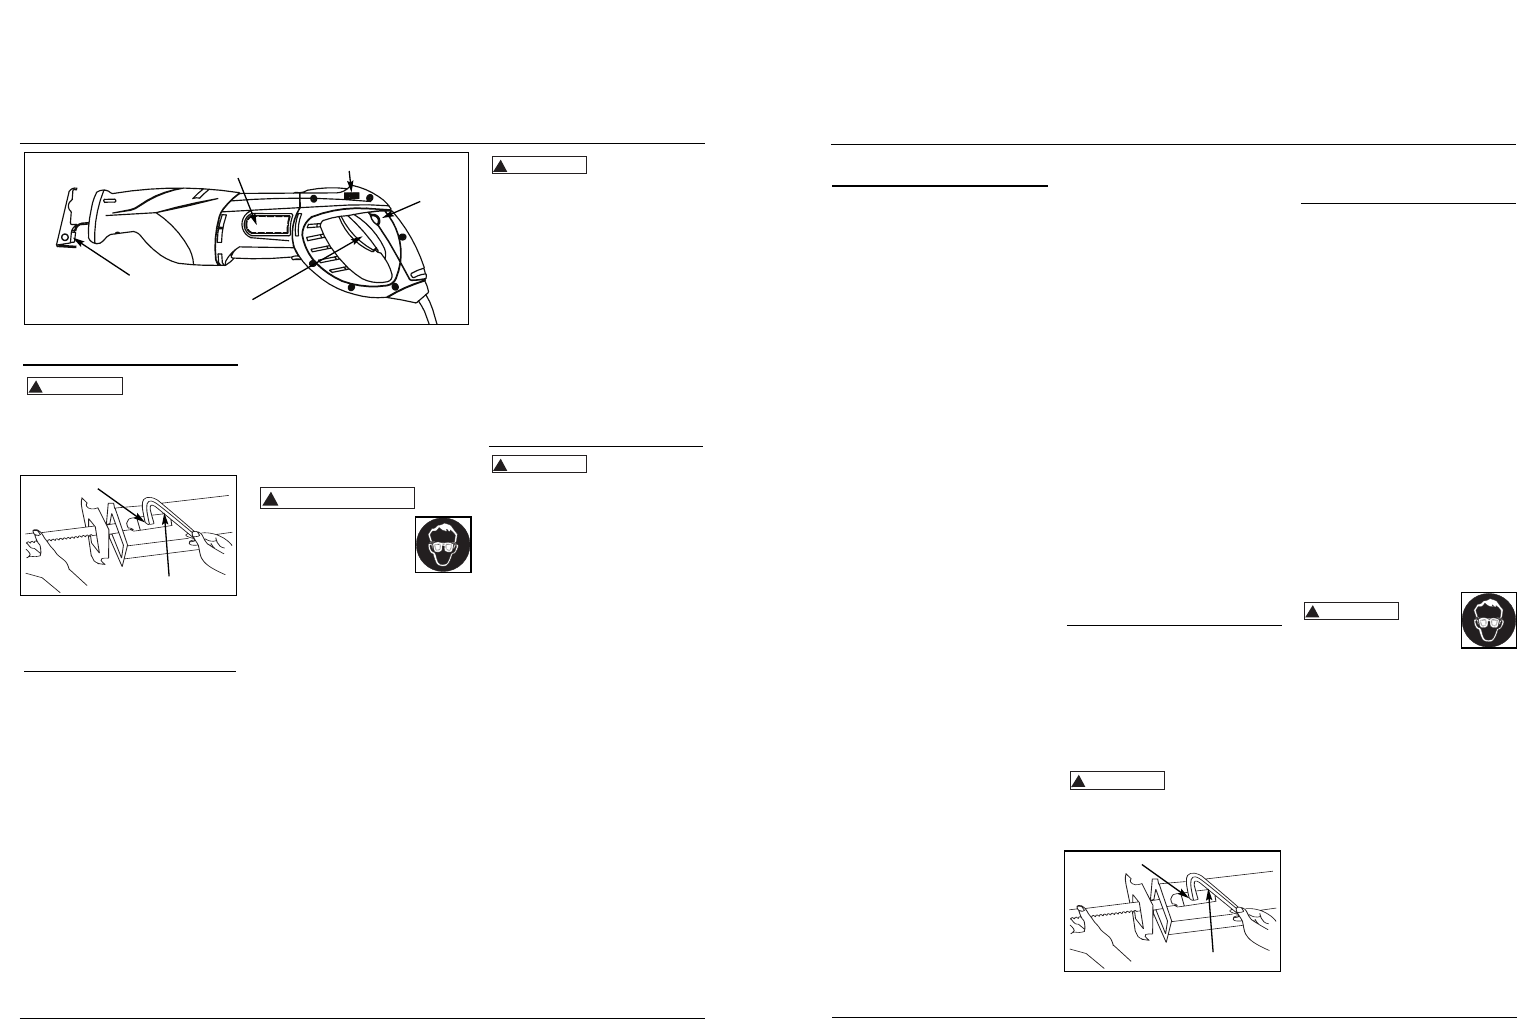
2. Aim blade at Blade Clamp then
insert blade with teeth facing up or
down as needed.
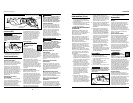
3. Tighten the screw with allen
wrench. (See Figure 2)
4. Pull on blade to make sure it is
securely fastened.
5. Plug in power cord to operate tool.
Before plugging in
power cord, always pull on the blade
to make sure it is securely locked in the
clamp. Failure to do so may result in
serious injury.
!
WARNING
6. Operate the contrary to the above
steps to disassemble blade.
Operation
Power Switch and lock-ON
Button:
To start saw, squeeze Power Switch
with finger. More switch travel will
achieve higher speeds. The maximum
speed can be adjusted with the
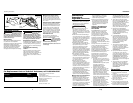
Variable Speed Switch. (Figure 3) To
maintain a certain speed, follow the
previous instruction and engage the
lock ON Button. To disengage Lock-ON
Button, simply squeeze the Power
Switch to release.
Speed Control Switch:
The reciprocating saw comes equipped
with a variable speed switch (See
Figure 3). This switch is a scroll wheel
that has 12 different speed settings.
Use lower speeds for softer, thinner
materials and use faster speeds for
harder thicker materials. Make sure
that the saw is on the minumum speed
setting before turning ON and after
each use. Once in use, scroll the wheel
to the preferred speed. Allow time for
the selected speed to be acquired
before beginning cutting.
General Cutting:
Safety
glasses must be worn during
operation.
Hold your saw firmly in front and clearly
away from you. Make sure saw blade is
clear of any foreign material and that
power cord and extension cord are out of
the blade path. Be sure material to be cut
is held firmly. Small work pieces should be
securely clamped in a vice or with clamps
to the work bench or table. Mark the line
of cut clearly. Pull in the power switch to
start the cutting action. Set the shoe on
the work. DO NOT FORCE. Use only
enough pressure to keep the saw cutting.
Allow the blade and saw to do the work.
Plunge Cutting:
Clearly mark the line of cut. From a
convenient starting point within the cut
out area, place the tip of the blade over
that point with saw parallel to the line of
cut. Slowing lower the saw until the
button edge of the shoe rests on the
work-piece. Start the saw and allow it to
attain full speed. With the saw resting on
the shoe, slowly let the saw forward to
lower the blade onto the cut line.
Continue this motion until the saw blade
is perpendicular to the work-piece.
!
WARNING
General Safety
Information (cont’d.)
Figure 2
Screw
allen wrench
Figura 3
Botón de
seguro del
gatillo
Interruptor de velocidad variable
Interruptor
de corriente
Protección
de la hoja
Etiqueta adhesiva de advertencia
Figura 2
Tornillo
Llave Allen


