E-17
625A-E-019B
Percussion sounds
Example: 99 PERCUSSION
This tone assigns various percussion sounds to the keyboard.
See the “Percussion Instrument List” on page A-5 for full de-
tails.
Sound Effect Tones
With sound effect tones 77 through 79, the type of sound pro-
duced depends on the octave where the key you press is lo-
cated. When 78 PHONE is selected available sound types are
PUSH TONE 1, PUSH TONE 2, RING 1, RING 2, and BUSY
SIGNAL.
Polyphony
The term polyphony refers to the maximum number of notes
you can play at the same time. The keyboard has 12-note po-
lyphony, which includes the notes you play as well as the
rhythms and auto-accompaniment patterns that are played
by the keyboard. This means that when a rhythm or auto-
accompaniment pattern is being played by the keyboard, the
number of notes (polyphony) available for keyboard play is
reduced. Also note that some of the tones offer only 6-note
polyphony.
❚
NOTE
• When rhythm or auto accompaniment is playing, the number
of sounds simultaneously played is reduced.
Digital Sampling
A number of the tones that are available with this keyboard
have been recorded and processed using a technique called
digital sampling. To ensure a high level of tonal quality, sam-
ples are taken in the low, mid, and high ranges and then com-
bined to provide you with sounds that are amazingly close
to the originals. You may notice very slight differences in
volume or sound quality for some tones when you play them
at different positions on the keyboard. This is an unavoid-
able result of multiple sampling, and it is not a sign of mal-
function.
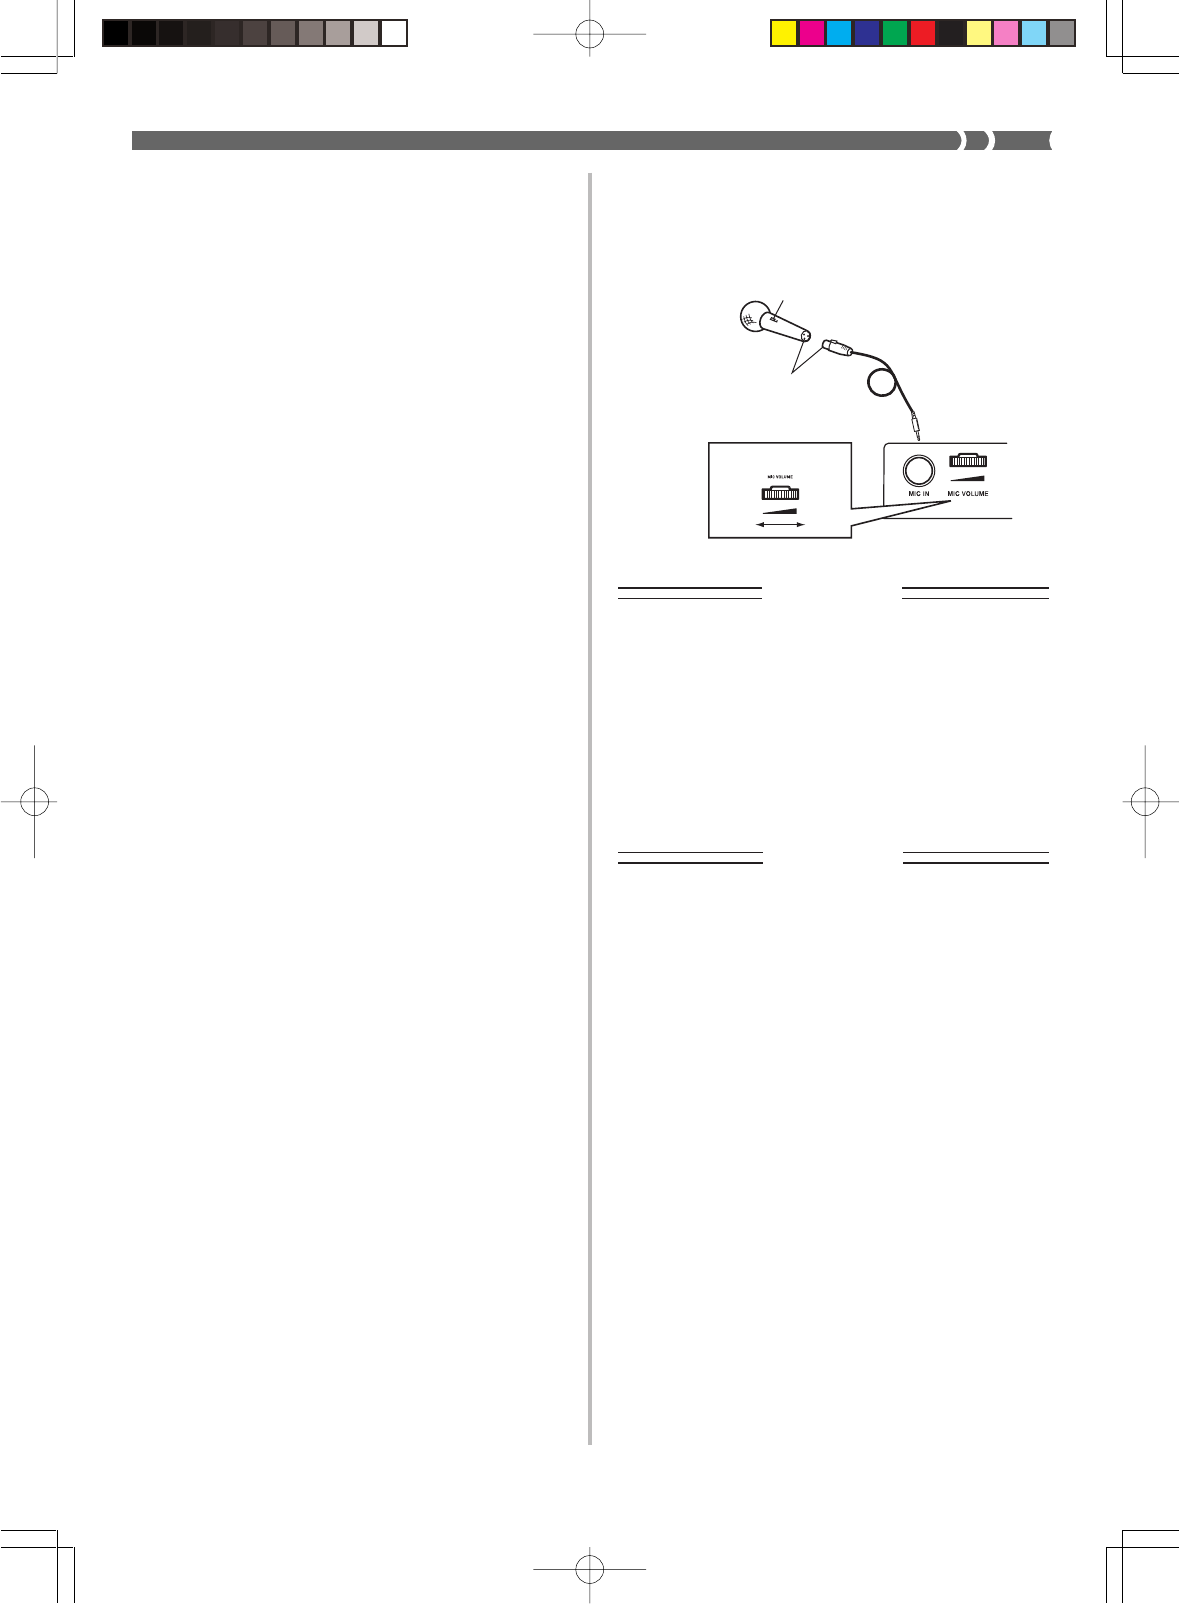
Using the Microphone Jack
(CTK-491 only)
Connecting a commercially available microphone to the MIC
IN jack makes it possible to sing along with the keyboard’s
built-in tunes or with output from a MIDI device. When con-
necting a microphone, be sure to first adjust the MIC VOL-
UME to a relatively low setting, and then adjust to the level
you want after connecting.
1.
When connecting a microphone, we recommend
that you set the MIC VOLUME to a very low lev-
el.
2.
Turn on the microphone’s ON/OFF switch.
3.
Use the MIC VOLUME to adjust microphone
volume to the level you want.
IMPORTANT!
• Be sure to use the microphone’s ON/OFF switch to turn off
the microphone and to disconnect the microphone from
the keyboard whenever you are not using it.
Required Microphone Specifications
• Microphone Type : Metal shielded
(microphone body)
• Microphone and Cord
Connector : Cannon type (3-prong)
• Keyboard Jack Connector : Standard plug (monaural)
IMPORTANT!
• Connection to the MIDI terminal of an external device can
cause static in the microphone signal. Use of a Cannon
type microphone with a metal-shielded body helps to pre-
vent static.
• Be sure to disconnect the microphone from the keyboard
whenever you are not using it.
Howling (Feedback Noise)
Any of the following conditions can cause howling (feedback
noise).
• Covering the head of the microphone with your hand
• Positioning the microphone too near to a speaker
Should howling occur, try grasping the microphone further
away from the head, and move away from any nearby speak-
er.
Static Noise
Fluorescent lighting can cause static noise in the microphone
signal. When this happens, move away from the lighting you
suspect may be causing the static.
Microphone
Cannon type (3-prong)
Microphone ON/OFF switch
MIC VOLUME dial
High
Low
CTK481_E08_17.p65 03.10.7, 2:58 PMPage 17 Adobe PageMaker 6.5J/PPC


