


E-38
Recording Your Keyboard Play
5.
To stop punch-in recording, press the
(START/STOP) button again.
Anything in the track following the point where you
pressed the
(START/STOP) button will be retained
as-is.
• If you want to delete all of the data in the track
following the section you re-recorded with punch-in
recording, press the
(RECORDER) button in place
of the
(START/STOP) button above.
• If you want to cancel punch-in recording and retain
the original (unedited) track data, hold down the
(RECORDER) button until the display exits the
punch-in recording screen.
Specifying the Punch-in Recording
Location (Auto Punch-in Recording)
You can use the following procedure to specify a
particular range for punch-in recording.
1.
Turn on the recorder, enter the record mode,
and display the recording setup screen.
• While holding down the
(FUNCTION) button,
press the
(RECORDER) button.
2.
Use the
(
u
) and
(
i
) buttons to display
“AutoPu.IN”, and then use the
(
w
,
q
)
buttons to select the start measure.
3.
Use the
(u) and
(i) buttons to
display “AutoPu.OUT”, and then use the
(w, q) buttons to select the end measure.
• After selecting the start and end measures, press the
(EXIT) button to exit the recording setup screen.
4.
Select the track that contains the range of
measures you want to re-record.
• See step 3 under “Recording to a Specific Track
(Part)” (page E-35).
5.
Hold down the
(RECORDER) button until
the punch-in recording screen appears on the
display.
6.
Press the
(q) button to turn on auto
punch-in recording.
7.
Press the
(START/STOP) button to start
playback.
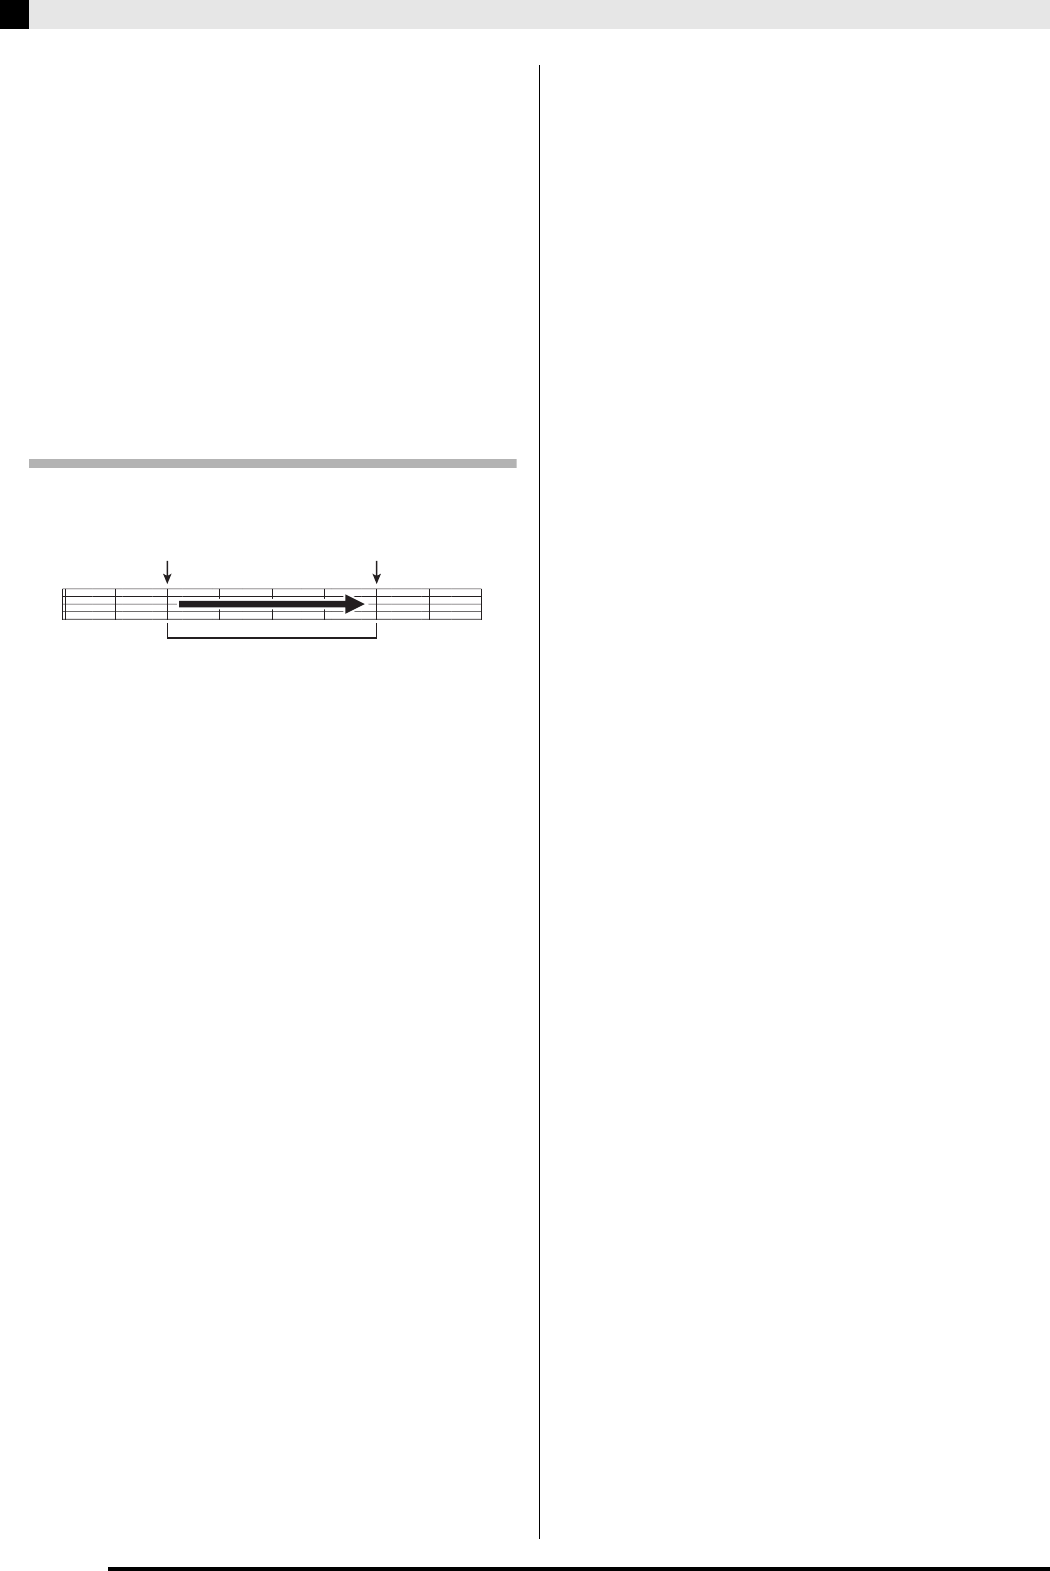
• Punch in recording will start from the start measure
and stop with the end measure automatically.
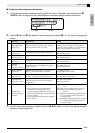
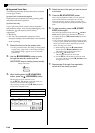
8.
Play the notes and perform the other
operations you want.
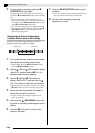
Start measure End measure
Punch-in recording range