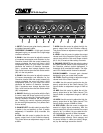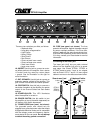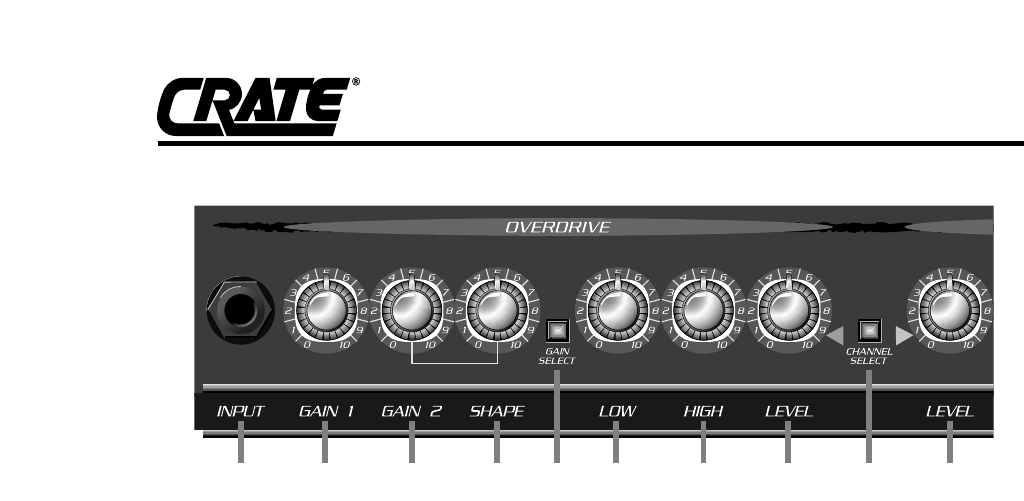
1: INPUT: Connect your guitar here by means of
a shielded instrument cable.
OVERDRIVE CHANNEL: A high gain channel
designed to give you sounds from a slight edge
to serious overdrive.
2: GAIN 1: Use this control to adjust the amount
of moderate compression and distortion for the
Overdrive channel. With the control rotated fully
counter clockwise the sound will have a thick
compressed quality. As you rotate the control
clockwise the amount of distortion increases.
Gain 1 produces less intense distortion than
Gain 2 and is active when the Gain Select switch
(#5) is in the out position.
3: GAIN 2: Use this control to adjust the amount
of intense compression and distortion for the
Overdrive channel. With the control rotated fully
counter clockwise the sound will have a thick
compressed quality. As you rotate the control
clockwise the amount of distortion increases.
Gain 2 produces more intense distortion than
Gain 1 and is active when the Gain Select switch
(#5) is depressed.
4: SHAPE: Working in conjunction with the Gain
2 control, rotate the Shape control until you find
the sound you’re looking for. Rotating the control
counter clockwise enhances the mid frequen-
cies. Rotating the control clockwise enhances
the low and high frequencies. (Only affects Gain
2 when active.)
5: GAIN SELECT: Use this switch to select Gain
1 (switch in the out position) or Gain 2 (switch
depressed). A footswitch (#18) overrides this
switch.
6: LOW: Use this control to adjust the low fre-
quency output level of the Overdrive channel.
This control allows an adjustment range of 11dB
at 80Hz.
7: HIGH: Use this control to adjust the high fre-
quency output level of the Overdrive channel.
This control allows an adjustment range of 10dB
at 10kHz.
8: LEVEL: Use this control to adjust the output
volume level of the Overdrive Channel. Use this
control along with the Gain and Shape controls
(#2, 3 & 4) to create a wide variety of sounds.
9: CHANNEL SELECT: Use this switch to select
the Clean channel (switch in the out position) or
the Overdrive channel (switch depressed). A
footswitch (#18) overrides this switch. The adja-
cent LEDs indicate which channel is selected.
CLEAN CHANNEL: A normal gain channel
designed to give you crystal clear sounds.
10: LEVEL: Use this control to adjust the output
volume level of the Clean Channel.
11: LOW: Use this control to adjust the low fre-
quency output level of the Clean channel. This
control allows an adjustment range of 22dB at
80Hz.
12: MID: Use this control to adjust the mid fre-
quency output level of the Clean channel. This
control allows an adjustment range of 14dB at
600Hz.
13: HIGH: Use this control to adjust the high fre-
quency output level of the Clean channel. This
control allows a range of 28dB at 10kHz.
14: DSP LEVEL: Use this control to adjust the
amount of digital signal processing. With the
control rotated fully counter clockwise the output
signal is “dry” (no effect). As you rotate the con-
trol clockwise the amount of effect increases.
15: DSP MODE: Use this control to select
thedesired digital effect(s). Each category and
its central location is called out (delay, flange,
etc.) by the markings around the control..
GFX-65 Amplifier
1 2 3 4 6 7 8 105 9


