


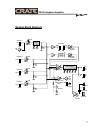
3 7
5
4
3
5
4
8
6
21 9
3
5
4
9
3
5
4
9
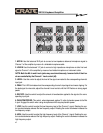
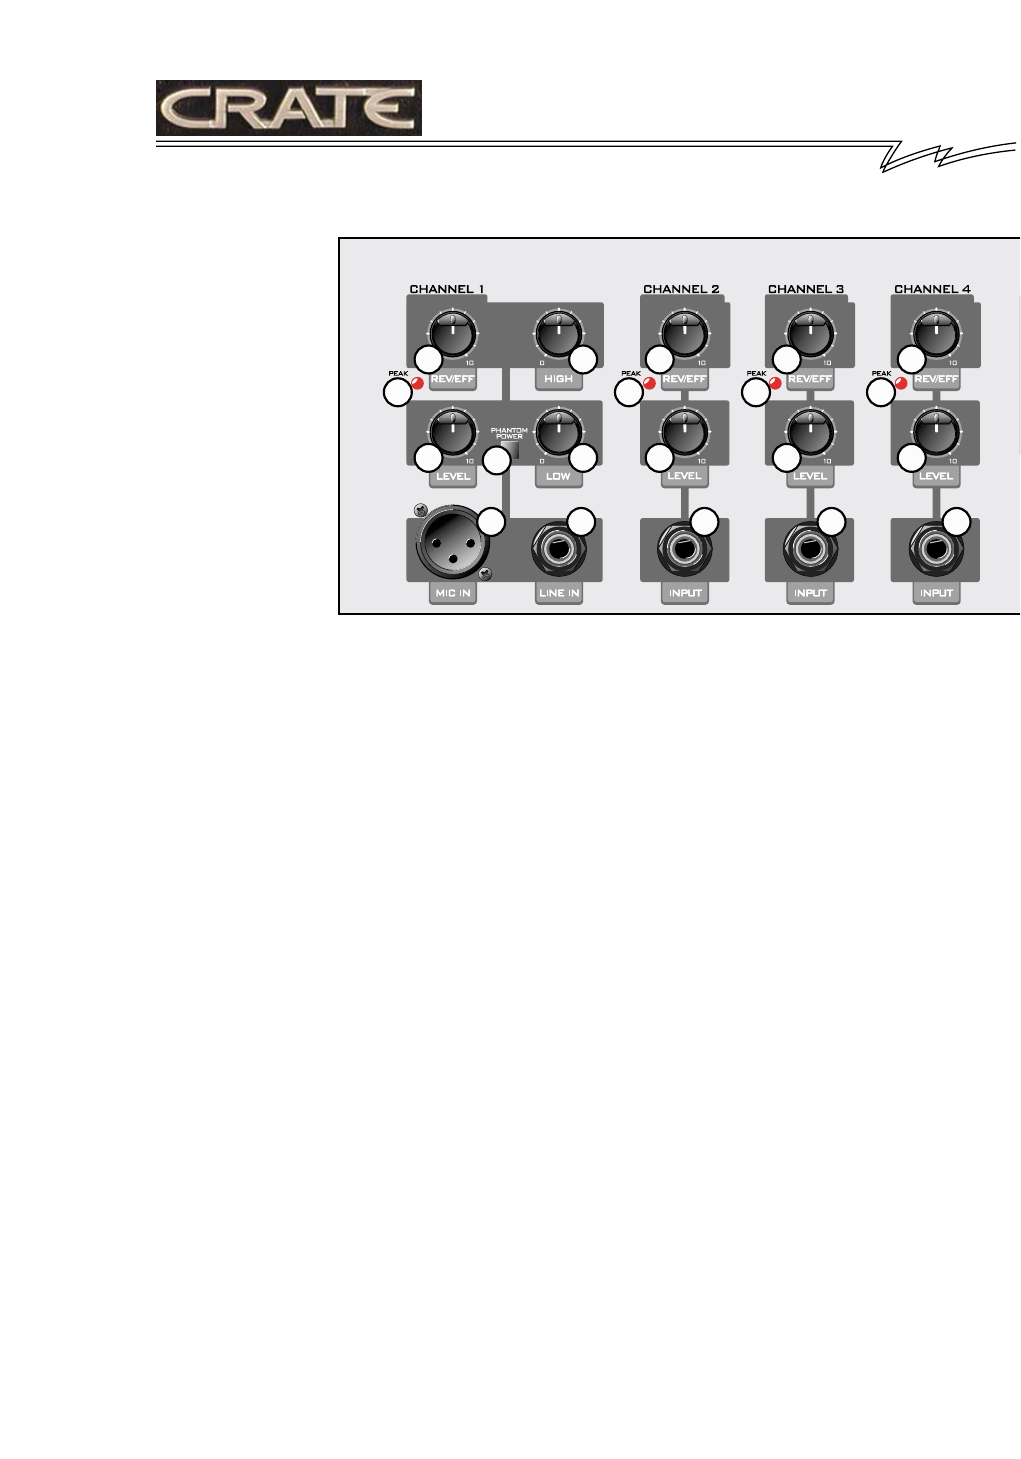
1. MIC IN: Use this balanced XLR jack to connect a low impedance balanced microphone signal to
Channel 1 of the amplifier by means of a shielded microphone cable.
2. LINE IN: Use this balanced 1/4” jack to connect a high impedance microphone or other line level
signal to Channel 1 of the amplifier by means of a shielded microphone or instrument cable.
NOTE: Both the Mic In and Line In jacks may used simultaneously, however both of their lev-
els are controlled by the Channel 1 Level control (#3).
3. LEVEL: Use this control to adjust the level of the signal connected to the corresponding channel’s
input jack.
4. PEAK: This LED illuminates when the corresponding channel’s input signal level nears clipping. For
the best signal to noise ratio, adjust the channel’s Level control until this LED flashes on strong signal
peaks.
5. REV/EFF: Use this control to adjust the amount of reverberation applied to the signal at the corre-
sponding input jack.
6. PHANTOM POWER: This switch, when depressed, applies 15 volts of phantom power to the Mic
In jack. Engage this switch when using microphones which require phantom power.
7. LOW: Use this control to adjust the low frequency level of the Channel 1 signal. Rotating the con-
trol counterclockwise reduces the low frequency output. Rotating the control clockwise increases the
low frequency output.
8. HIGH: Use this control to adjust the high frequency level of the Channel 1 signal. Rotating the con-
trol counterclockwise reduces the high frequency output. Rotating the control clockwise increases the
high frequency output.
XK100 Keyboard Amplifier
4