


Rack Mounting Kit Crestron C2N-RMAK
Assembly
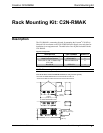
To allow shorter cable runs between adjacent devices in a rack, devices can be
attached directly to the rack mounting plate or to extension brackets that attach to the
rack mounting plate. Mount the device directly to the rack mounting plate when
mounting in a rack next to devices with a similar depth. Use the optional extension
brackets to align the device ports with the ports of a PRO2 control system or other
device of equivalent depth.
Rack Mounting Plate Only
Tools/hardware required
3/32” Hex key
Wrench or nut driver
8-32 Nut (quantity four, supplied)
8-32, 3/8” L Button cap screw (quantity four, supplied)
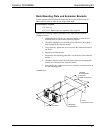
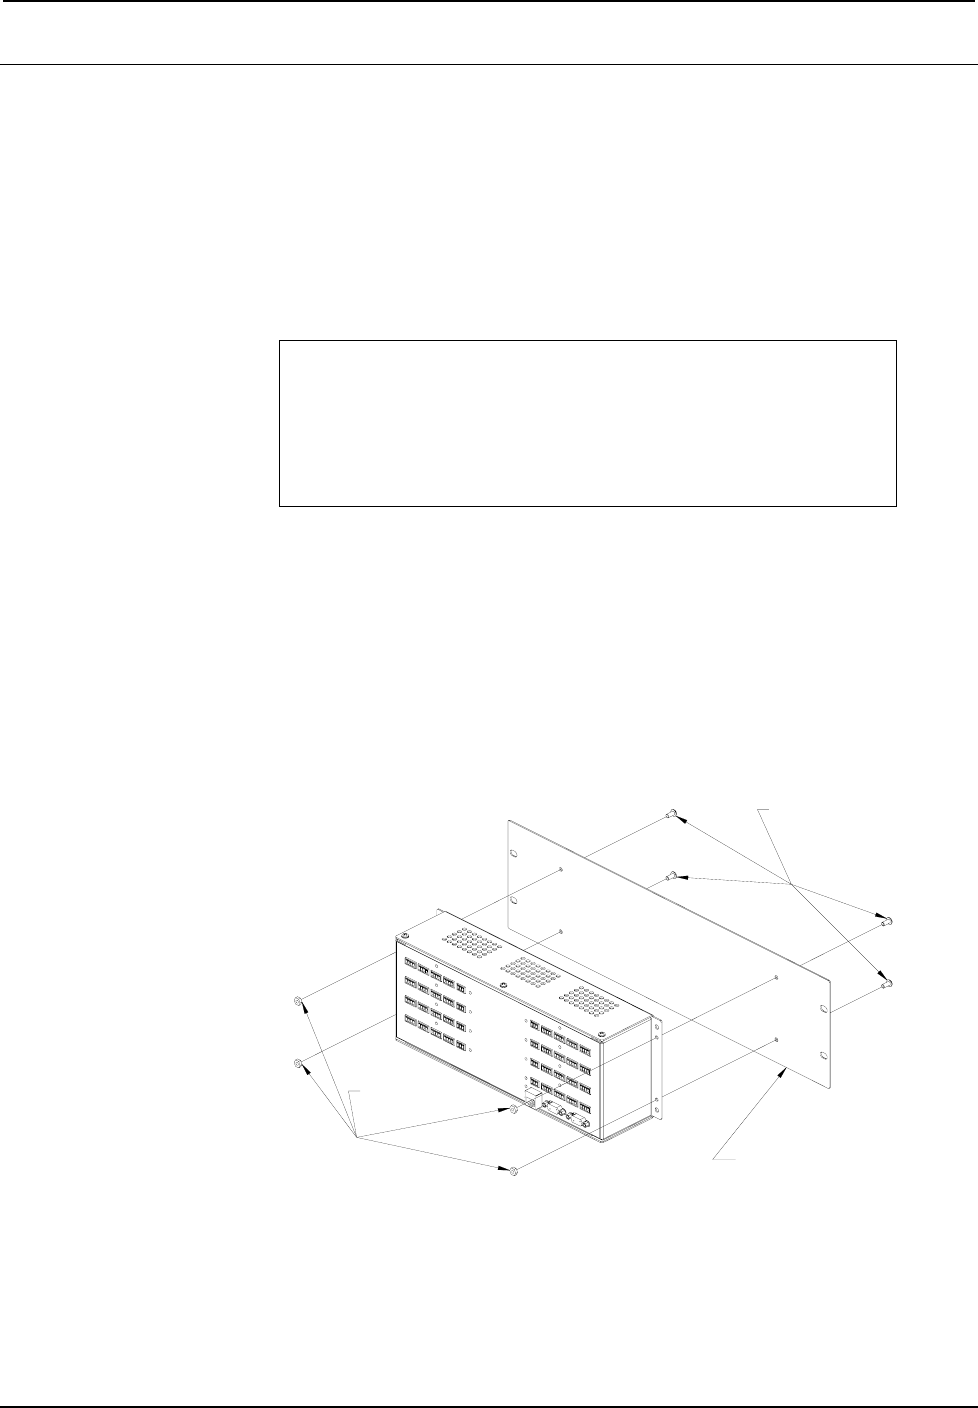
Complete the following assembly procedure in the order provided (refer to
illustration below).
1. Holding the device facing you, position the rack mounting plate over
the device’s mounting holes as shown in the following diagram.
2. Insert screws from back of rack mounting plate through mounting holes
located on side of the device.
3. Using a wrench or nut driver, and hex key, secure the plate to the
device using the supplied screws and nuts (four of each).
Assembly View
NUTS
8-32
(NT08-32-1)
SCREWS, BUTTON HEAD
8-32X3/8"L
(SR08-32-0R3750-8)
PLATE
(MTPL02820-1SS1)
2
• Rack Mounting Kit: C2N-RMAK Installation Guide - DOC. 6131