


-8-
H3098 Western Guitar Kit
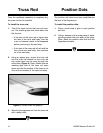
Once the neck/body assembly is completely dry,
the truss rod can be installed.
To install the truss rod:
1. Test fit the truss rod into the truss rod chan-
nel. The masking tape side faces down into
the channel.
— If the face of the truss rod is higher than
the face of the neck and body, then the
truss rod channel needs to be deepened
before continuing to the next step.
— If the face of the truss rod is flush with the
face of the neck and body, then continue
on to the next step.
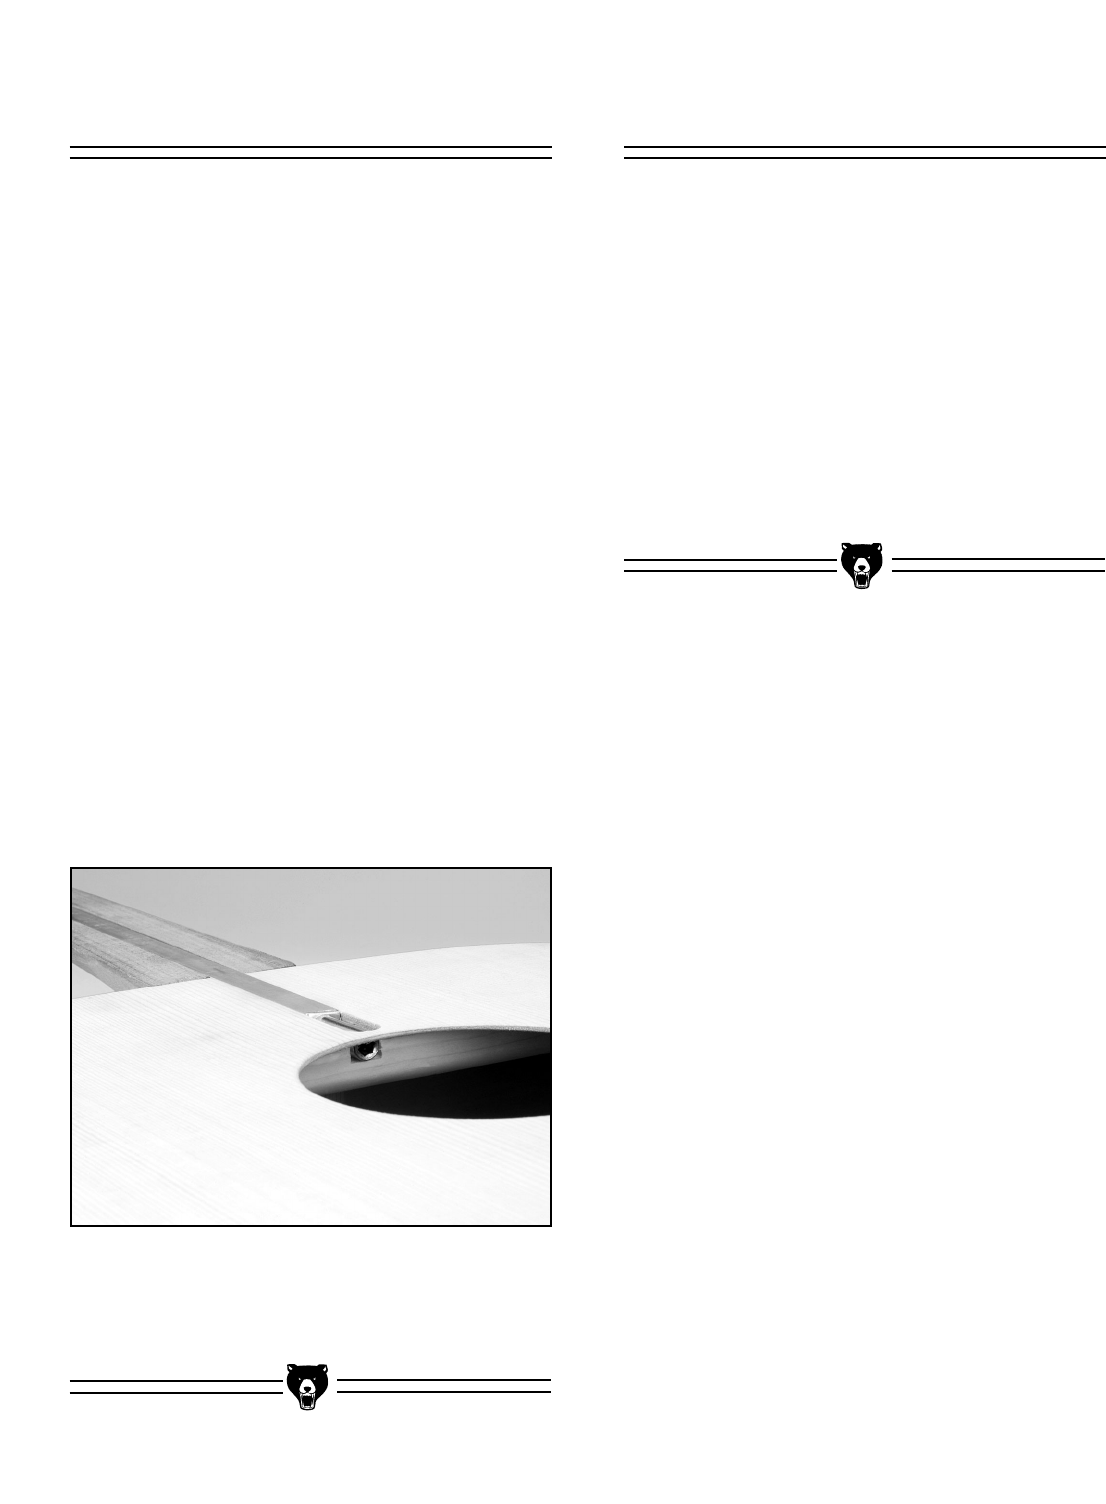
2. Using an epoxy glue, secure the truss rod
into the truss rod channel so the truss rod
cap screw head can be seen through the
sound hole (Figure 6). Note—Make sure the
masking tape side of the truss rod faces
down and that the surface of the truss rod is
flush with the surface of the neck and body.
3. Wipe the glue squeeze-out from the truss rod
with a damp cloth.
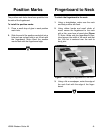
The position dot holes have been predrilled into
the face of the fingerboard.
To install the position dots:
1. Place a small drop of glue in each position
dot hole.
2. Using a hammer and a scrap piece of wood,
tape the position dots into each of the holes.
Note—Sand the position dots flush with the
fingerboard surface.
Position DotsTruss Rod
Figure 6. Correct truss rod position.