MT75HS RAMMER — OPERATION AND PARTS MANUAL — REV. #11 (01/12/12) — PAGE 17
2. Remove the bolts that secure the oil tank to the fuel tank, and
drain all oil from the tank.
3. Remove cock holder, then clean strainer and cock holder in
a kerosene solution.
4. Make sure every part is clean and dry, then reassemble oil
tank. Fill oil tank with 2-stroke outboard motor oil (FB class)
to the "H" level.
FUEL AND OIL LINES
■
Check the fuel and oil lines regularly for damage and ensure
that there are no leaks.
■
Replace fuel and oil lines every 2 years to maintain
performance.
■
When replacing the oil hose perform the following procedure:
1. Replace oil hose with manufactures suggested type hose or
equivalent.
2. If necessary, fill oil tank with 2-stroke outboard motor oil.
3. Fill fuel tank with 25:1 fuel mix ratio.
4. Operate rammer with 25:1 fuel mixture until all air is bled from
oil injection line.
5. Once it is certain that all air has been purged from the oil
injection line, regular unleaded gasoline may be used.
CAUTION:CAUTION:
CAUTION:CAUTION:
CAUTION:
It is normal for a new 2-stroke engine to emit
excess smoke, until moving parts have been
seated to their normal operating specifications.
This excess smoke normally stops after one full
tank of fuel.
CLEANING THE RAMMER
■
If using a high pressure spray washer, be careful not to splash
water directly on the air cleaner, carburetor, muffler, fuel and
oil tank caps. Excessive amounts of water may cause severe
engine damage.
Yearly
■
Check the fuel line and the oil line regularly for damage and
to ensure that there are no leaks.
■
Replace the oil and fuel lines every two years to maintain the
performance and flexibility lines.
Long Term Storage
■
Drain fuel from fuel tank, fuel line and carburetor.
■
Remove spark plug and pour a few drops of motor oil into
cylinder. Crank engine 3 to 4 times so that oil reaches all
internal parts.
■
Clean exterior of rammer with an oil-moistened cloth.
■
Store unit covered with plastic sheet in moisture free and
dust free location out of direct sunlight
■
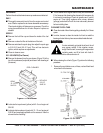
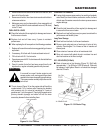
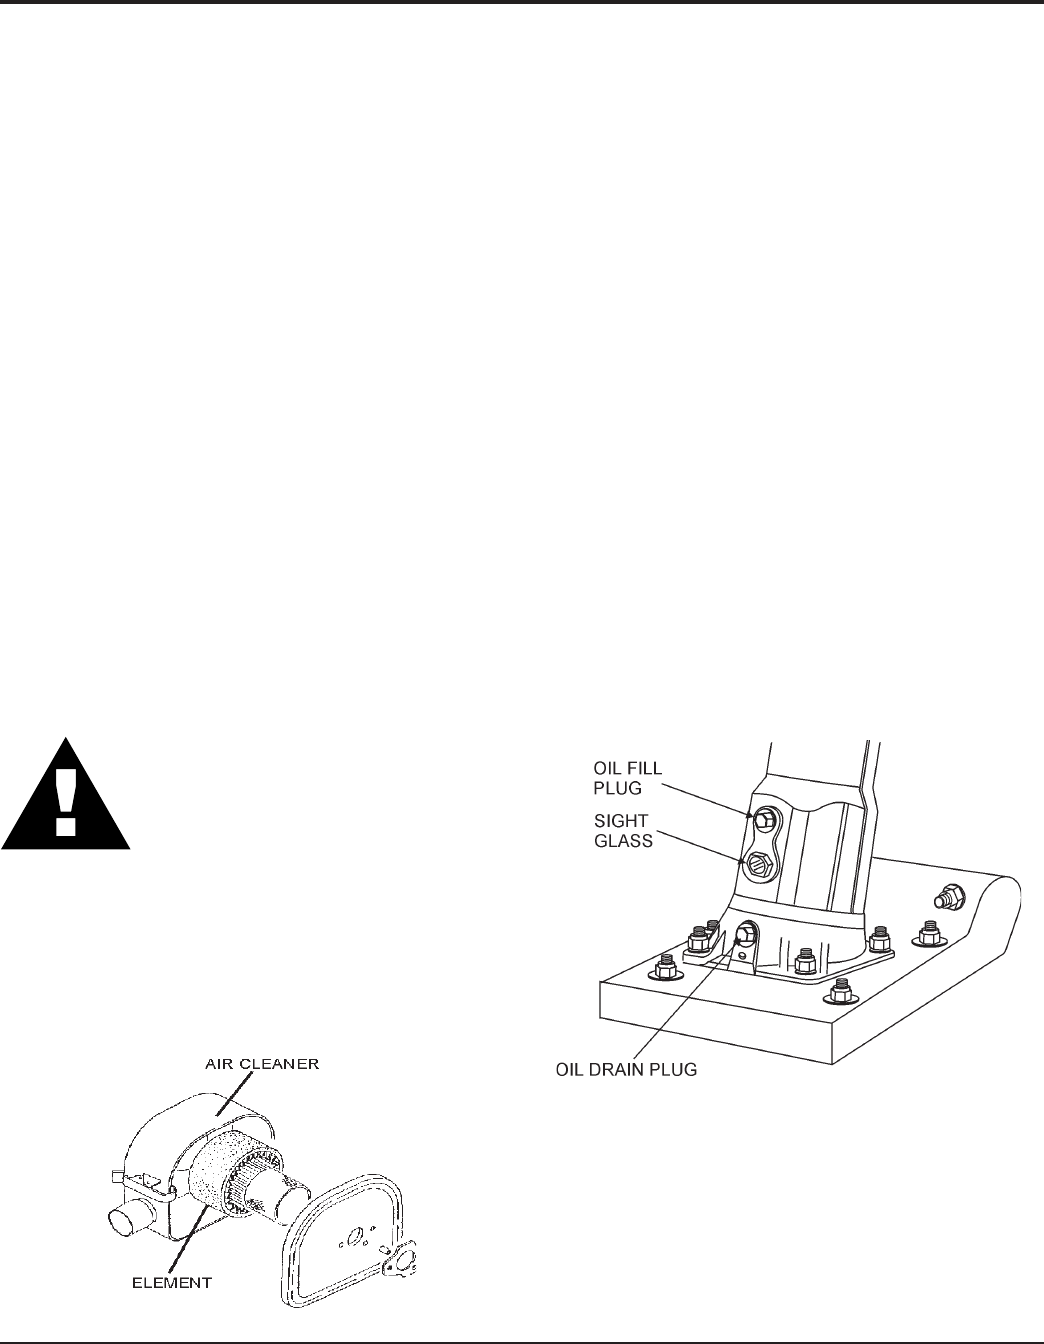
The air cleaner (Figure 14) on the engine side will hardly be
contaminated, if it is, however after cleaning the element
with kerosene, dip it in mixed oil consisting of 3 parts of
gasoline and 1 part of engine oil. Then tightly squeeze outer
primary element (sponge) and shake off well the inner
secondary element before installing them.
Figure 14. Air Cleaner
Figure 15. Oil Drain Plug
200 - 300 HOURS (Oil Bath)
■
Drain oil reservoir on foot housing (Figure 15). Refill with
approximately 1.7 pt. (800cc) of 10W-30 motor oil. Oil should
be midway in sight glass. Break in oil should be changed
after first 50 hours.
MAINTENANCE


