12
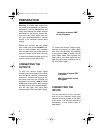
If you did not connect an input source
to every jack or do not want to mix ev-
ery input source connected to the mix-
er’s input jacks, you do not need to
follow all the steps in this section. Af-
ter you decide which source(s) you
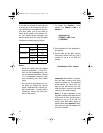
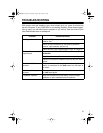
want to preset and mix, use this table
to determine which steps to follow.
Notes:
• While you adjust the input signal
levels for channels 1, 2, and 3, ei-
ther use the headphones or turn
up the receiver/amplifier’s volume
to a comfortable listening level
(not necessarily the final usable
level).
• Do not play a quiet portion of mu-
sic while you adjust the volume
levels, otherwise the volume lev-
els for channels 1, 2, and 3 will be
overdriven during the loud por-
tions of the music.
To Preset See Steps
Channel 1 Phono 1 1–4
Line 1 5
Channel 2 Phono 2 6–9
Line 2 10
Channel 3 Line 3 11–14
Line 4 15
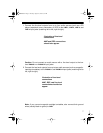
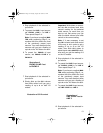
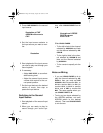
1. To preset the
PHONO 1
input
source, set
PHONO 1
/
LINE 1
to
PHONO 1
.
2. Start playback of the selected in-
put source.
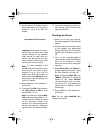
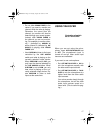
3. Slowly slide up the
CH 1
volume
level slide control until you get a
reading of up to
0
on both VU
meters.
Important: Write down or remem-
ber the
CH 1
volume level slide
control’s setting for the selected
audio source, so each time you
want to mix that source you can
slide the
CH 1
volume level slide
control to the correct setting.
Note: If it was necessary to set
the
CH 1
volume level slide control
all the way to
10
in order to get a
reading of up to
0
on the VU
meter, then slide
CH 1
down to
about
8
and rotate
MASTER
clock-
wise until you get the reading of
0
on the VU meters.
illustration of
PHONO 1/LINE 1 set
to PHONO 1
illustration of CH 1 control
32-3009.fm Page 12 Tuesday, August 10, 1999 8:31 AM


