


16
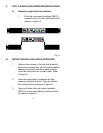
2. BATTERY INSTALLATION
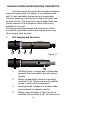
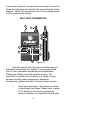
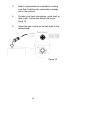
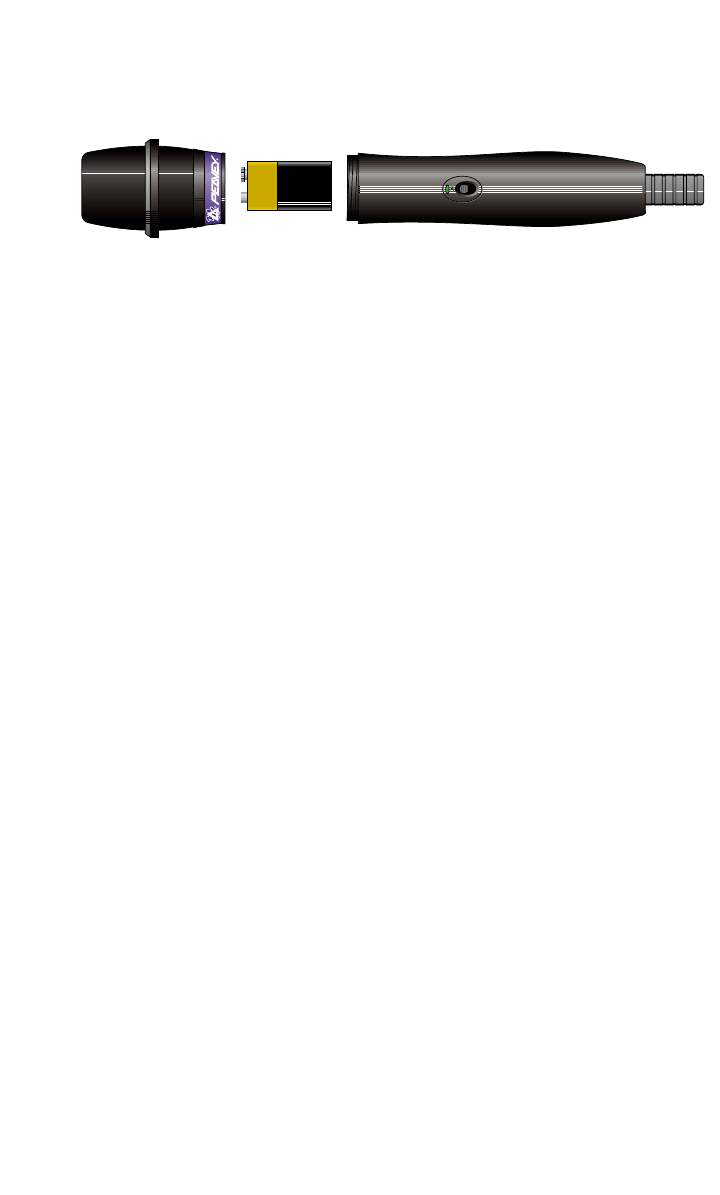
Fig.12
1. Unscrew the grill/ball screen assembly at the
collar to expose the battery compartment.
2. Insert the 9-volt battery taking care to observe
the correct polarity. If the polarity is correct,
the battery status indicator lamp will flash
briefly. If no flash is observed, then it is likely
the polarity is incorrect or the battery is dead
flat and needs to be replaced.
3. Replace the grill/ball screen assembly, taking
care to line up the 3 pins and polarizing lug
with the 3 contractor plates. Screw the grill/ball
screen back in to place, taking care not to
force the turns. The turns should be smooth
and easy. If the grill/ball screen assembly
appears to either not engage, or tries to cross
thread, remove it and check for the correct
alignment of the pins.
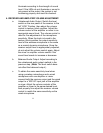
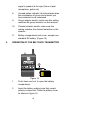
2. OPERATION OF THE HAND HELD TRANSMITTER
When the microphone is switched on, the led indicator will
flash briefly to indicate that the battery is OK and that the
transmitter is powered up. At the receiver, the RF indicator
will illuminate almost immediately to indicate that a RF link
has been established and the AF indicator will illuminate